Ford F-150/F-250: Why are My Headlights Dim?
Dimmed headlights are a hazard and often a mystery on your Ford F-150 or F-250 Super Duty. Check out our guide for helping you determine the source of the problem.
This article applies to the Ford F-150 (2004-2014), and the F-250, F-350 Super Duty (2005-2014).
Dim headlights can be caused by a myriad of problems and only made worse by poor weather conditions or unlit highways. We will explore a few do-it-yourself fixes for your headlights here.
Materials/Tools Needed
- Baking Soda
- Water
- Brush
- Voltmeter
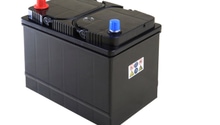
Step 1 - Check the battery
Corrosion could be hindering the flow of energy from the battery to the accessories of the truck. With the engine off, inspect the battery and its terminals. If there is corrosion, pour baking soda and water on the affected terminals and scrub the terminals with a brush.
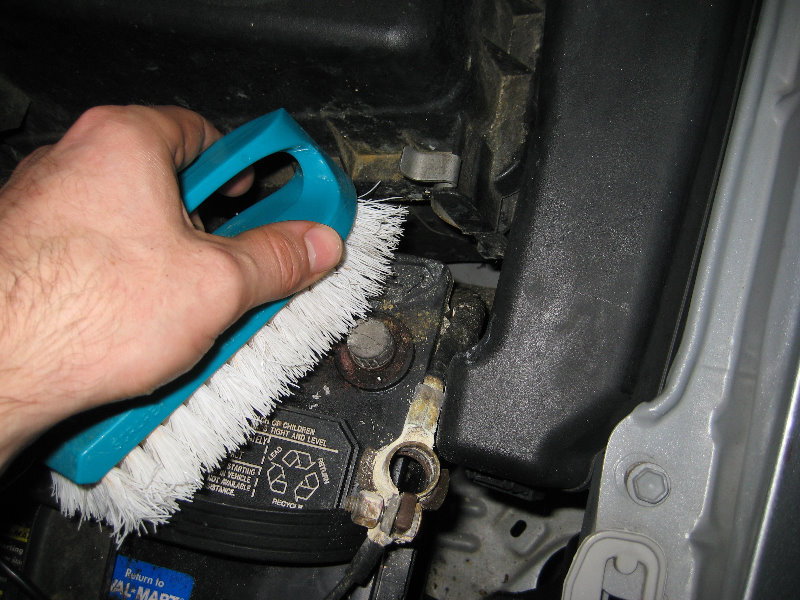
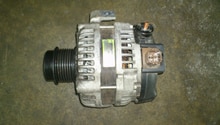
Step 2 - Check the alternator
An alternator that isn't functioning properly could cause the lights to dim. You can use a voltmeter to check the alternator. Rev the engine to 2,000 rpm. Connect the voltmeter to your battery terminals, if it reads above 13, your alternator is working properly.
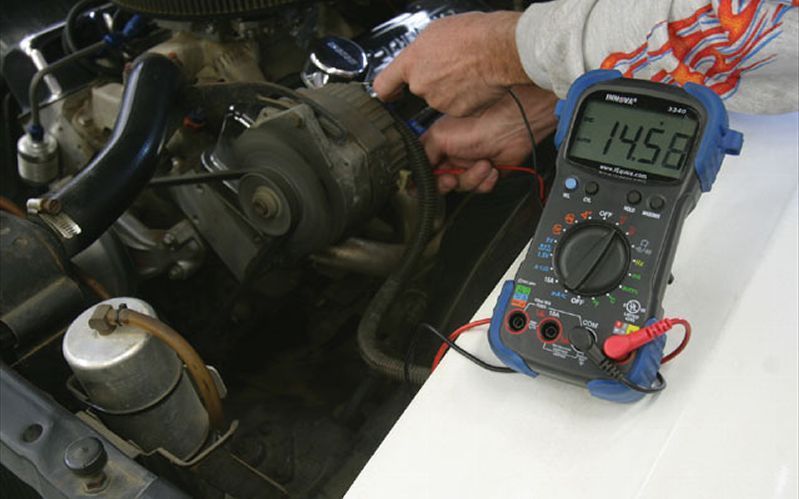
Featured Video: How to check the alternator with a voltmeter
Step 3 - Check the regulator
If the regulator is not functioning then variance in voltage output could not be properly regulated, causing the lights to dim. Find the regulator on the back of the alternator. Then, locate the screw that is labeled "Ground here to test." Put your black probe on a ground screw (circled in black). Put your red probe on each of the pins including any "cut" or "stub" pin. Test it with each pin and see results. If the voltage reads below 13, it means the regulator is bad.

Step 4 - Check your belts
A slipping belt could cause accessories to function improperly. Check to make sure the belt fits tightly. Replace the belt if it is too loose. Make sure to check the belt tensioner, which could cause the belt to become loose.
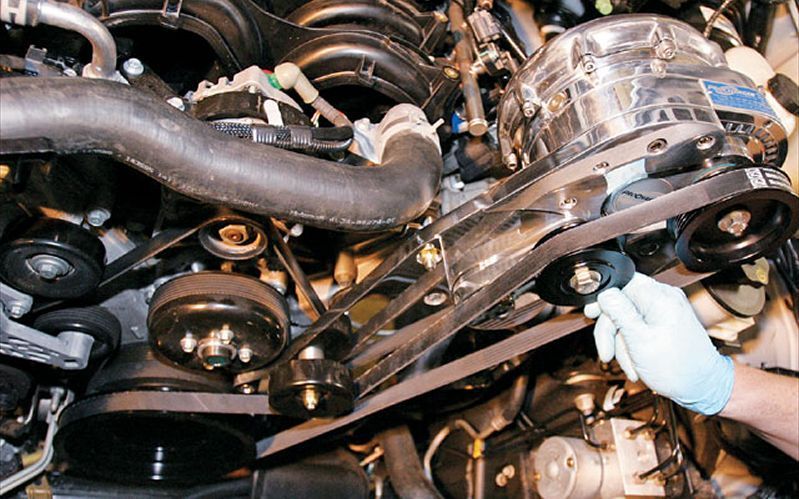
Figure 4. Check for loose belts. 
Figure 5. Diagram of belt tensioner.
Related Discussions
- Dim Headlights - Ford-trucks.com
- Dim Issue - Ford-trucks.com

