3g alternator rebuild
#1
3g alternator rebuild
Hi y'all , I've rebuilt my Ford Large case 3g alternator, and thought i'd post a step by step walk through on the process.
I upgraded to the 3g about, I don't know, 5ish years ago, and it's a very nice alternator, the one I pulled had very high milage already when I installed it, so it finally crapped out, burnt out rotor.
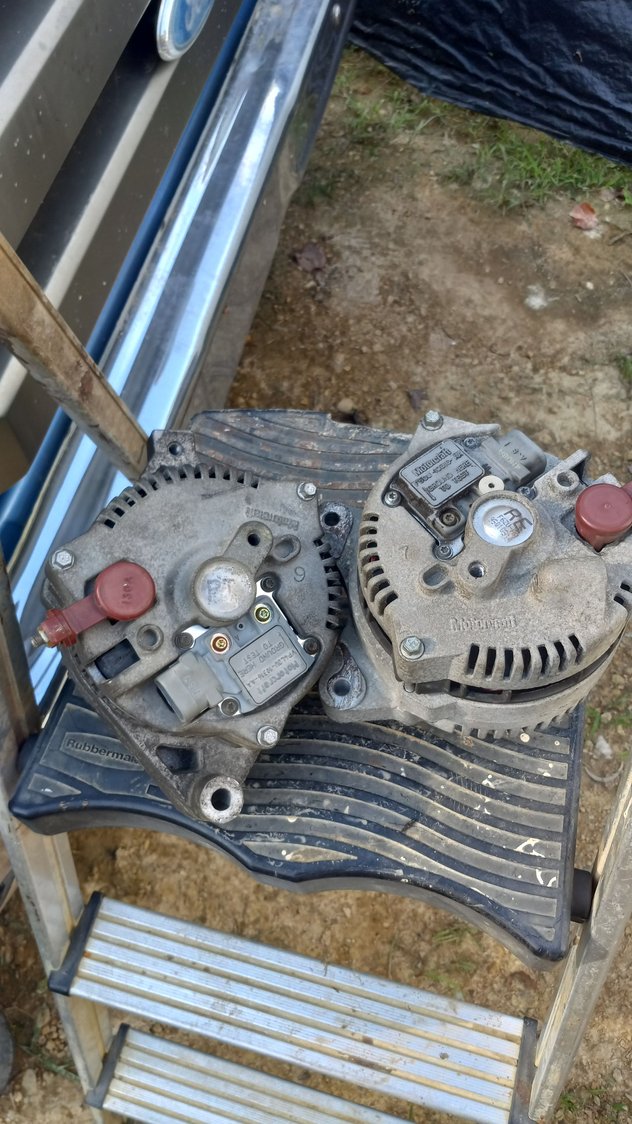
Well, I found a very good condition used oem unit off a 95 thunderbird, and this procedure outlined will be rebuilding my 148mm large case, large mounting tab space, and this V case 95model alternator.
It's become very hard to find a 94-95 taurus or sable, or 95 windstar, with a direct fit replacement, so I am gutting the internals and combining the best of available parts and working everything as I go.
The internals parts of the 148mm large case 3g, swap over all throughout the 3g family, from the 90's to 2000's and it's easier to find one of a different mounting style, if it's also hard for you to come by the large space case.
I will take it one as I go, please don't comment just buy a new one, or that you would have done this or that some other way, this is just how I do it, and maybe some of this information can be useful for someone, because when I searched, there was almost nothing available about the details on the internet, somehow.
The following users liked this post:
#3
#4
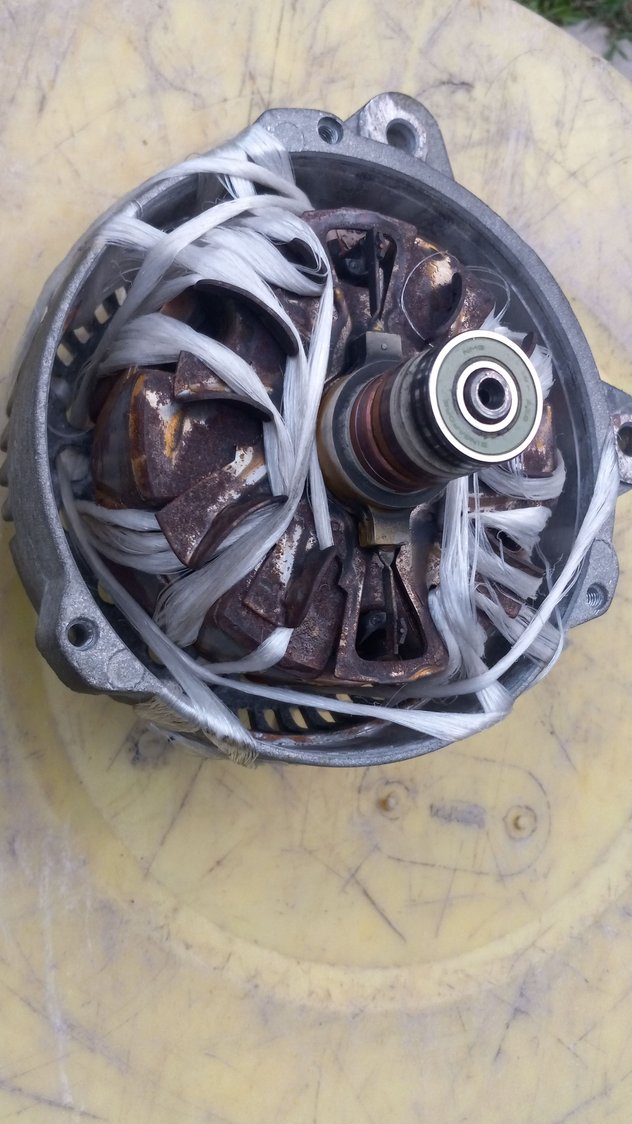
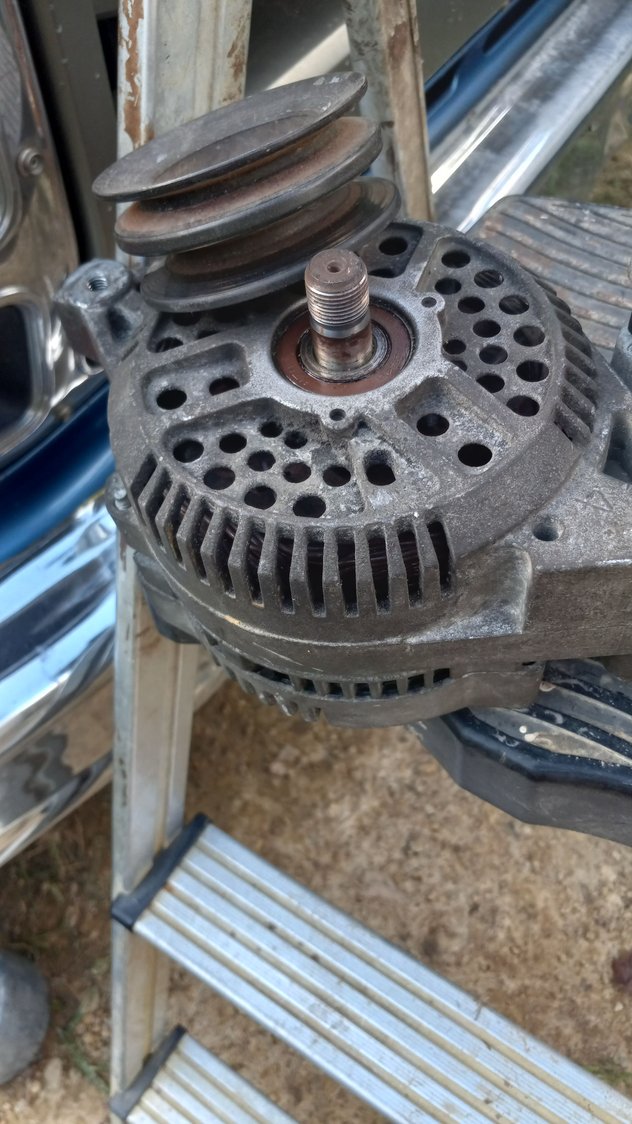
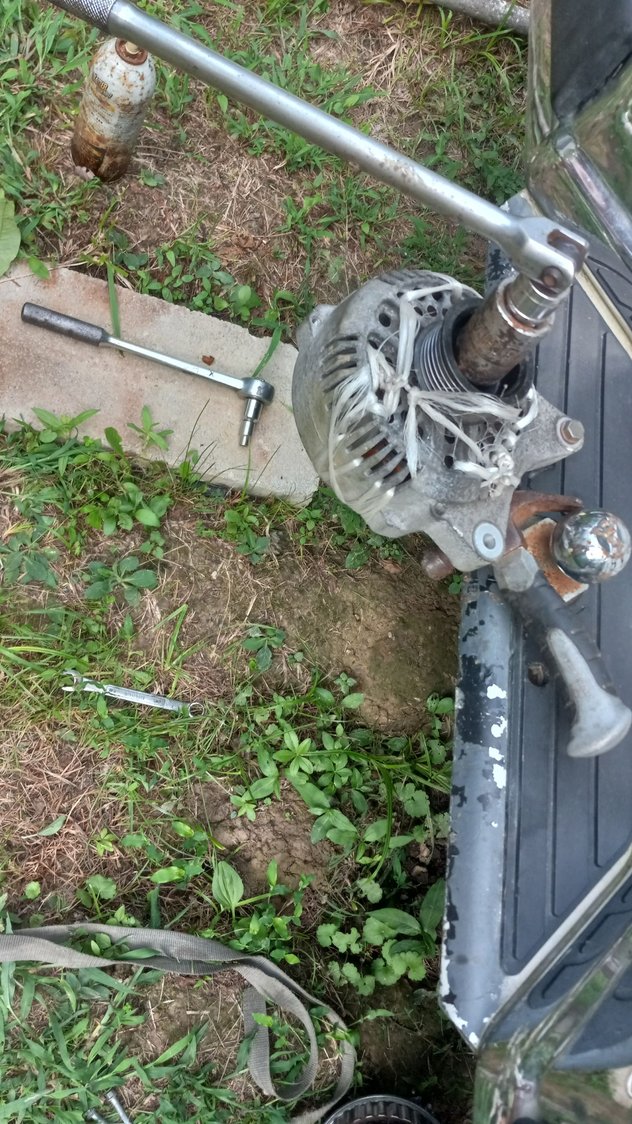
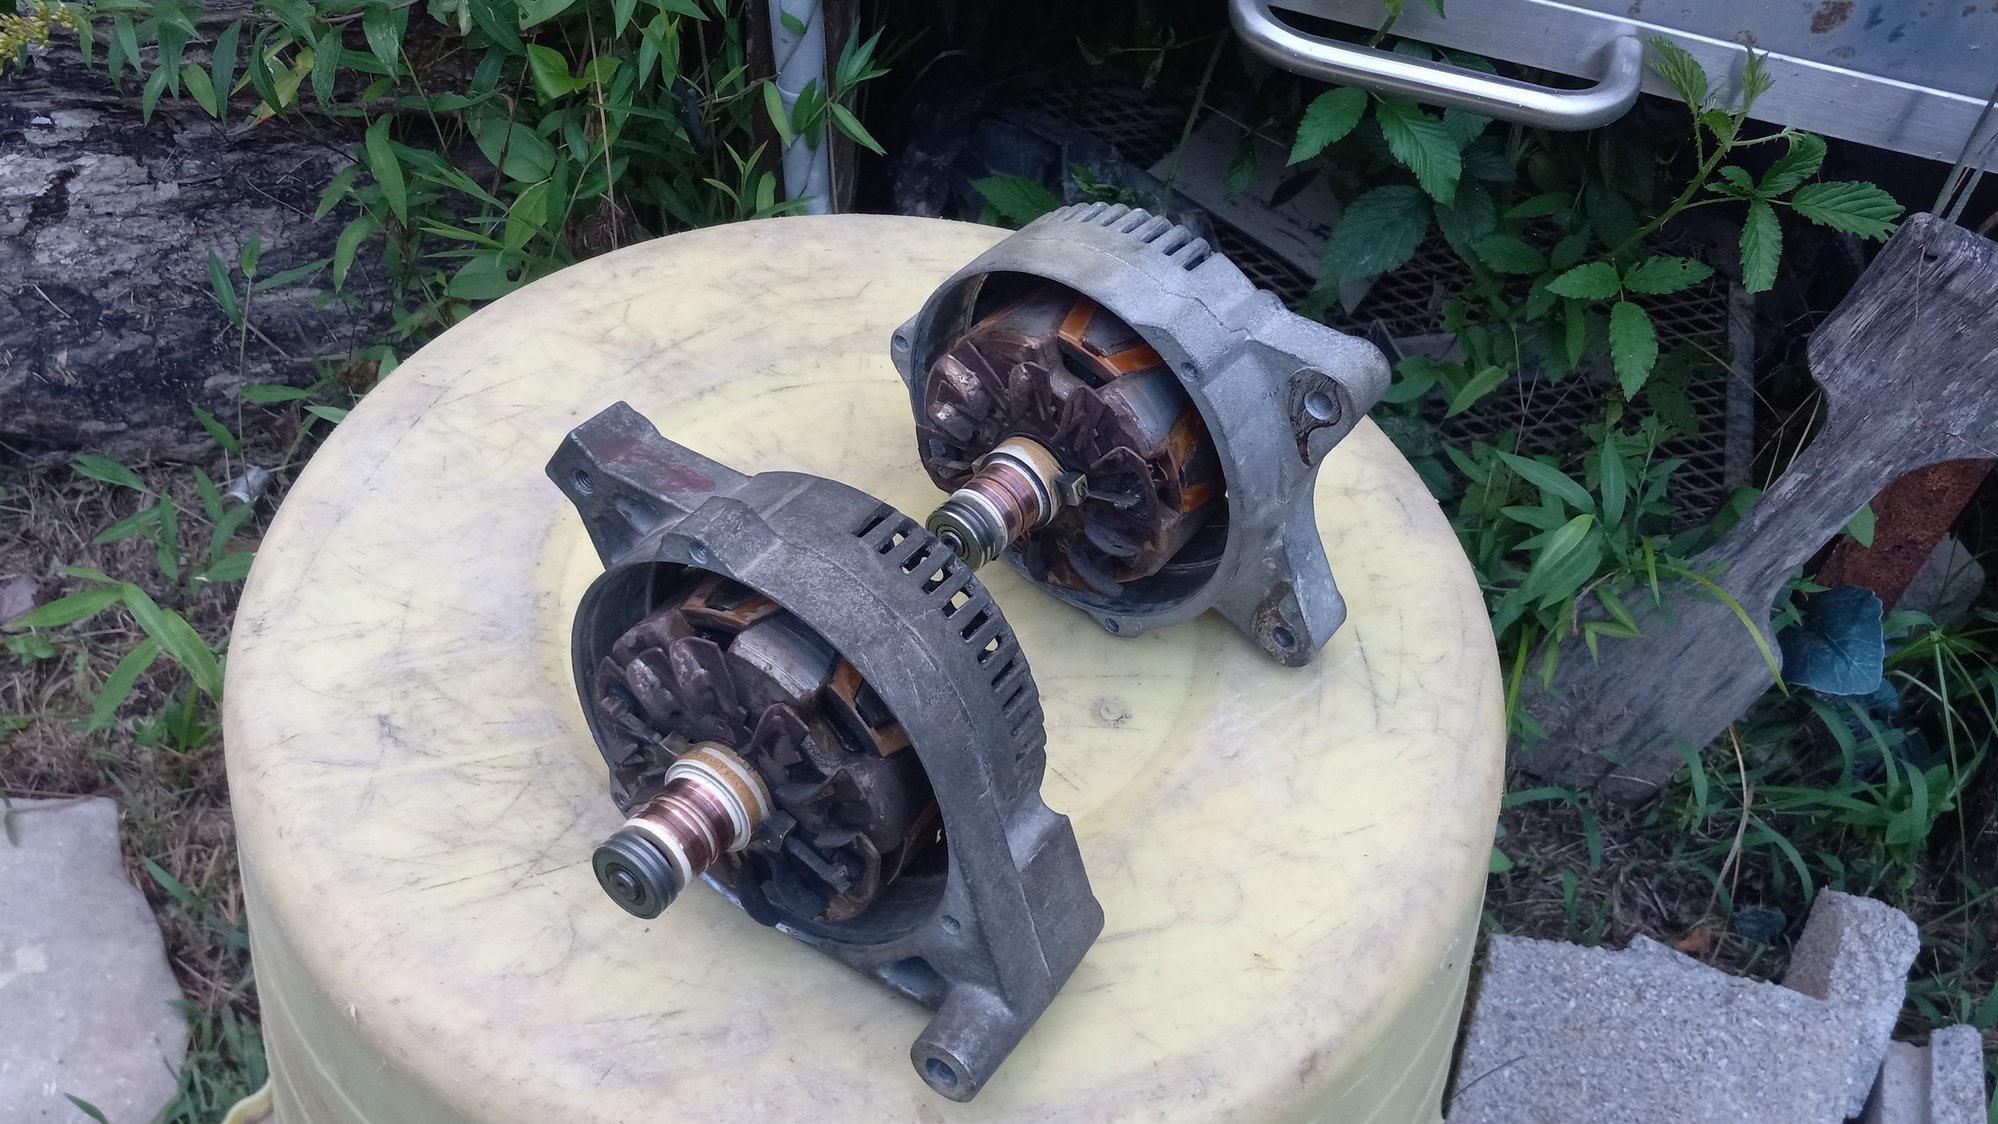
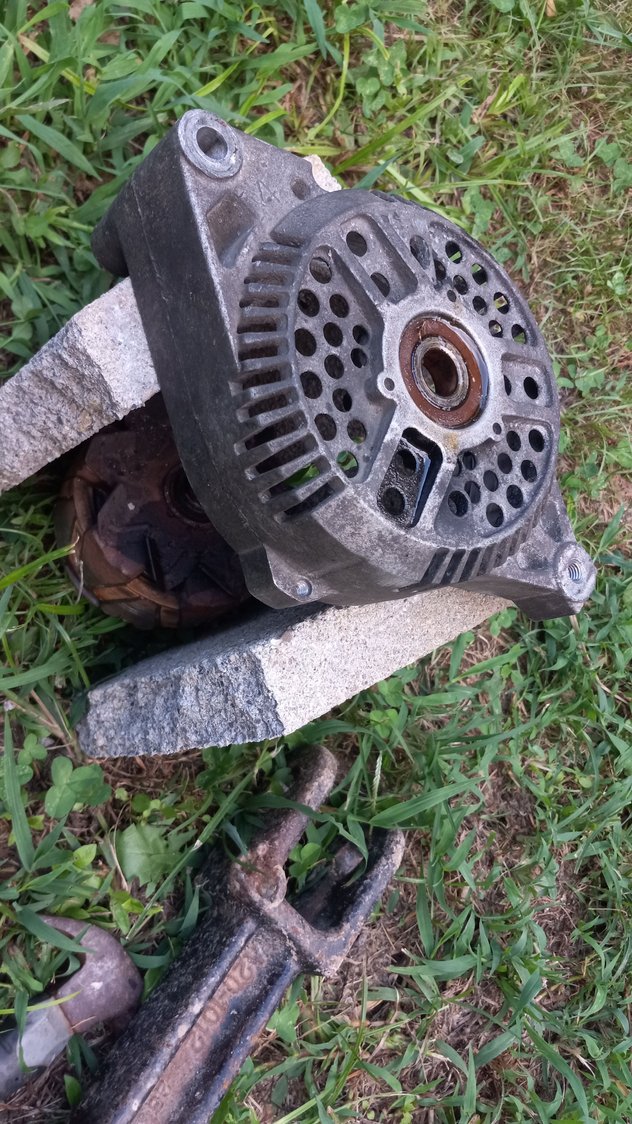
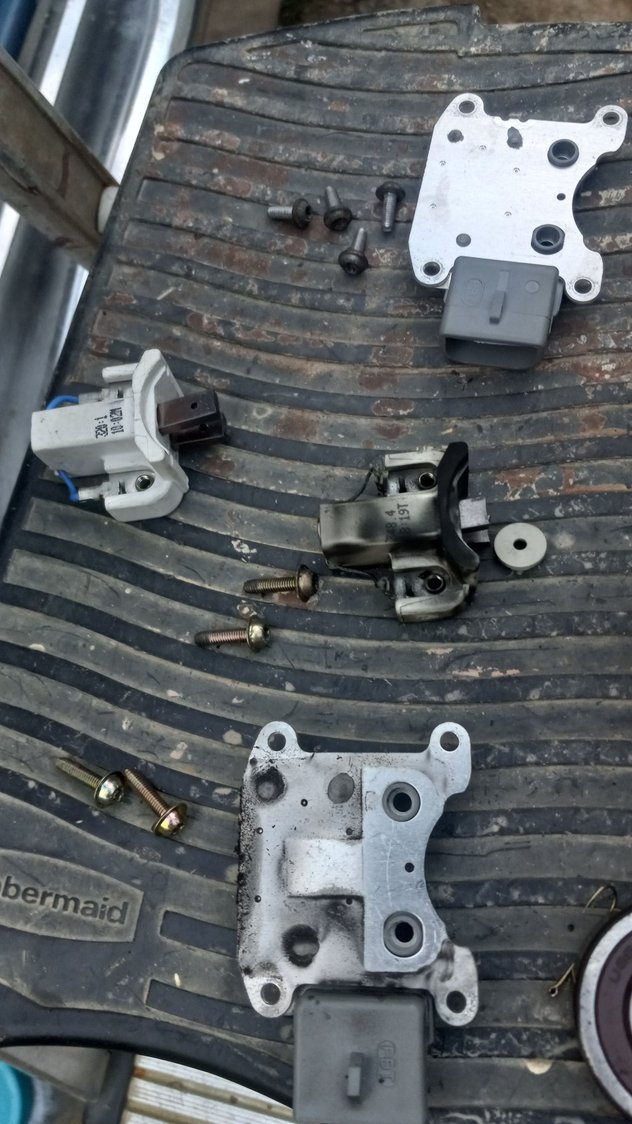
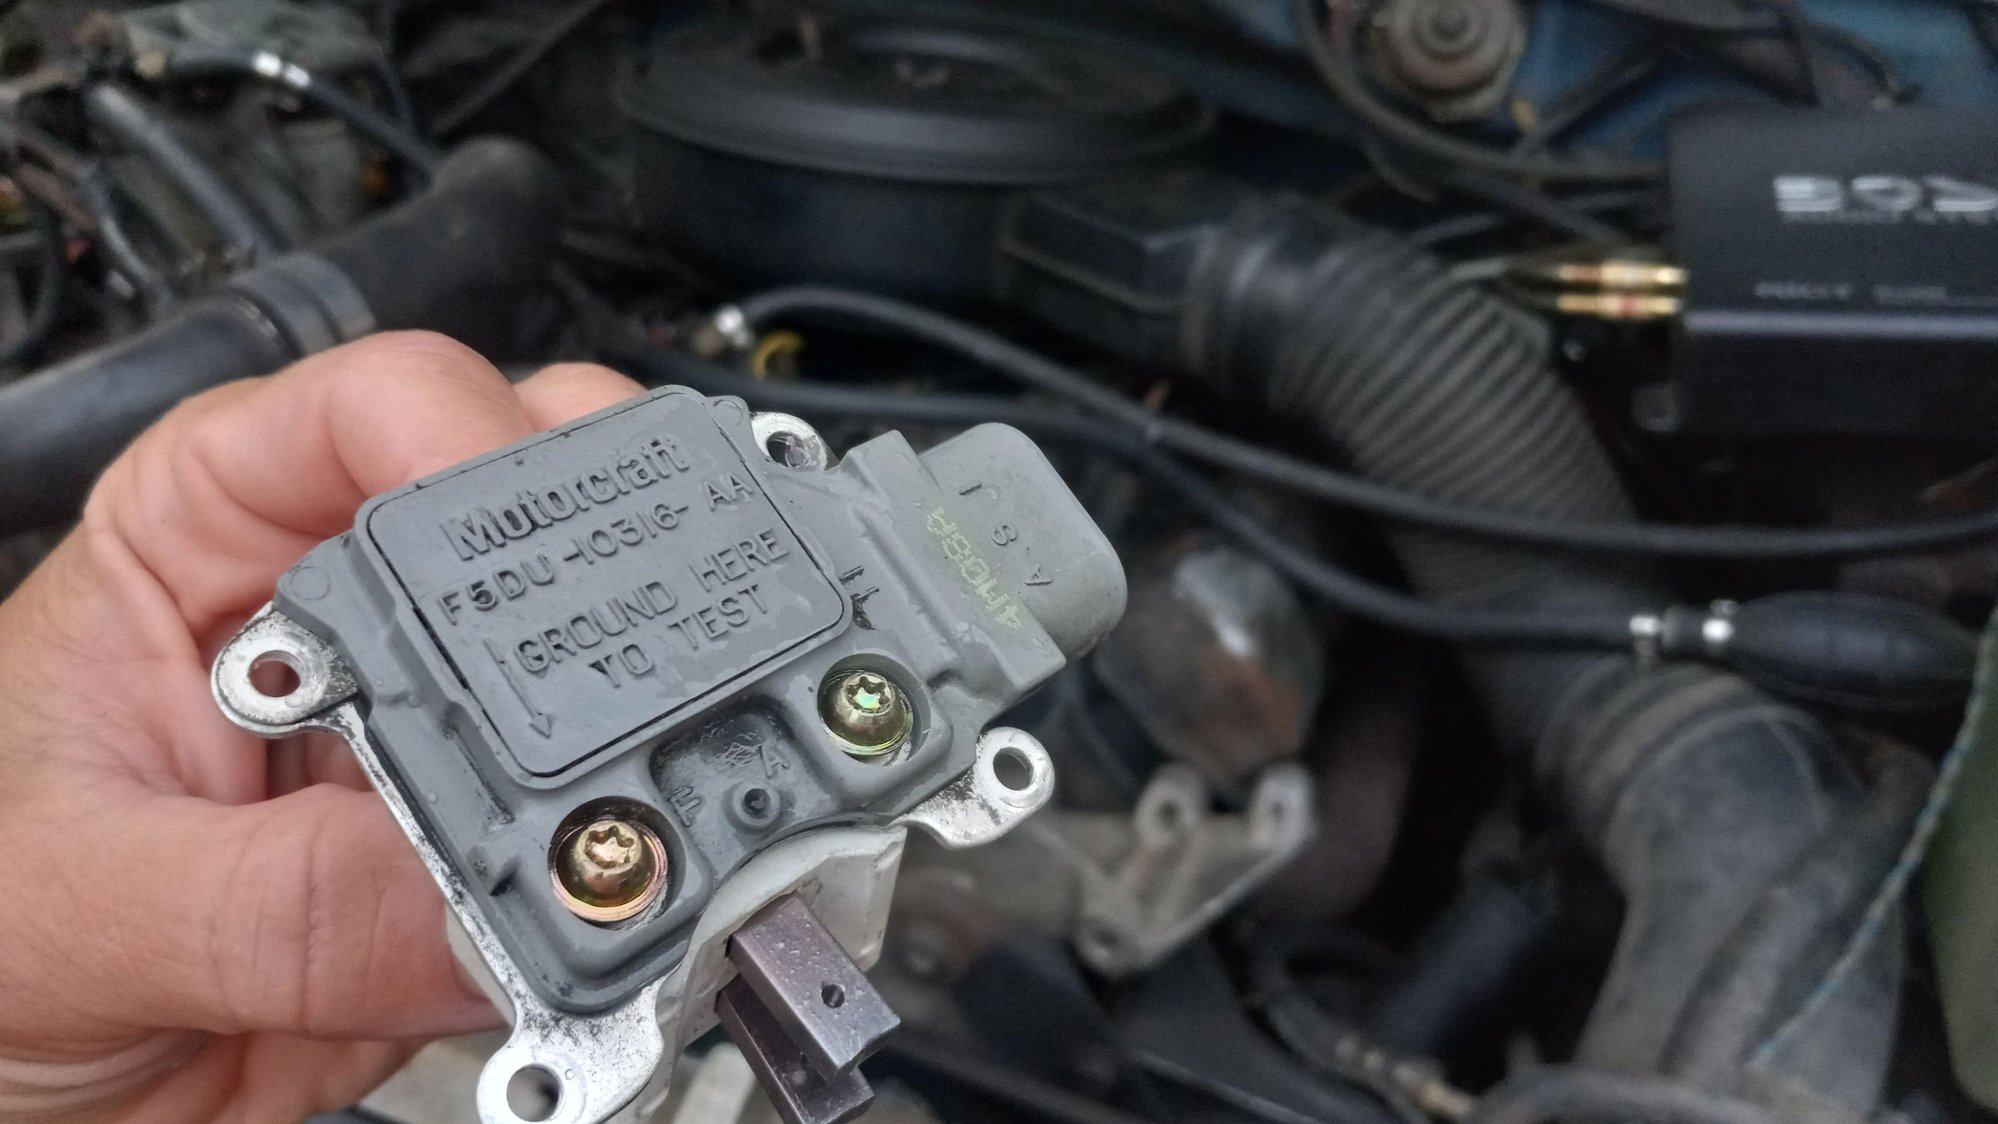
On the new (used) one, the pulley nut wasn't coming out without a fight. I took the back case off, removed the voltage regulator, the 3, 1/4 inch head through bolts, and evenly, gently pried out the stator winding assembly, leaving the front half of the case and the rotor. I wound the rotor fan with twine through the front venting holes in a distributive spider web type git in er, ya see. Be careful to look in the direction where you will be turning, to keep clear of the stator power leads..
#5
#7
Trending Topics
#8
#11
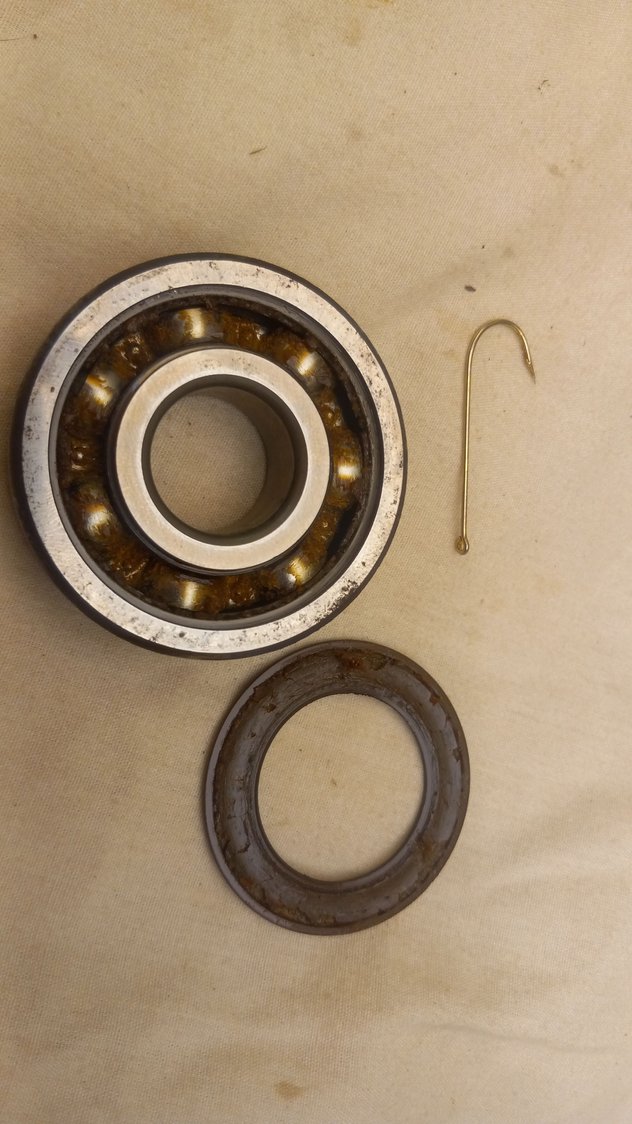
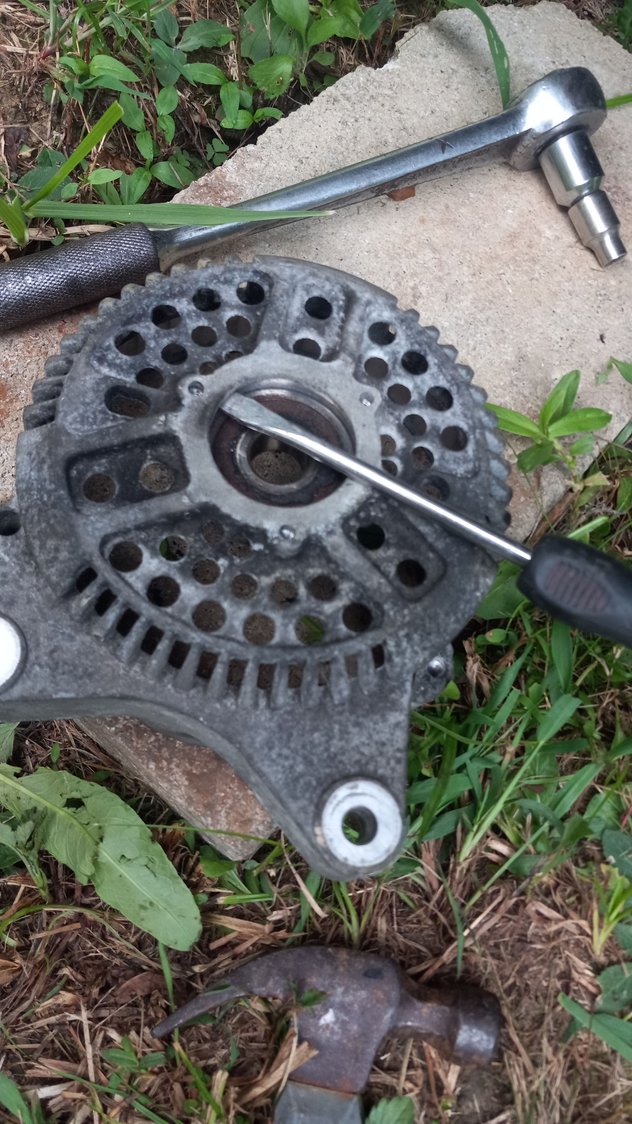
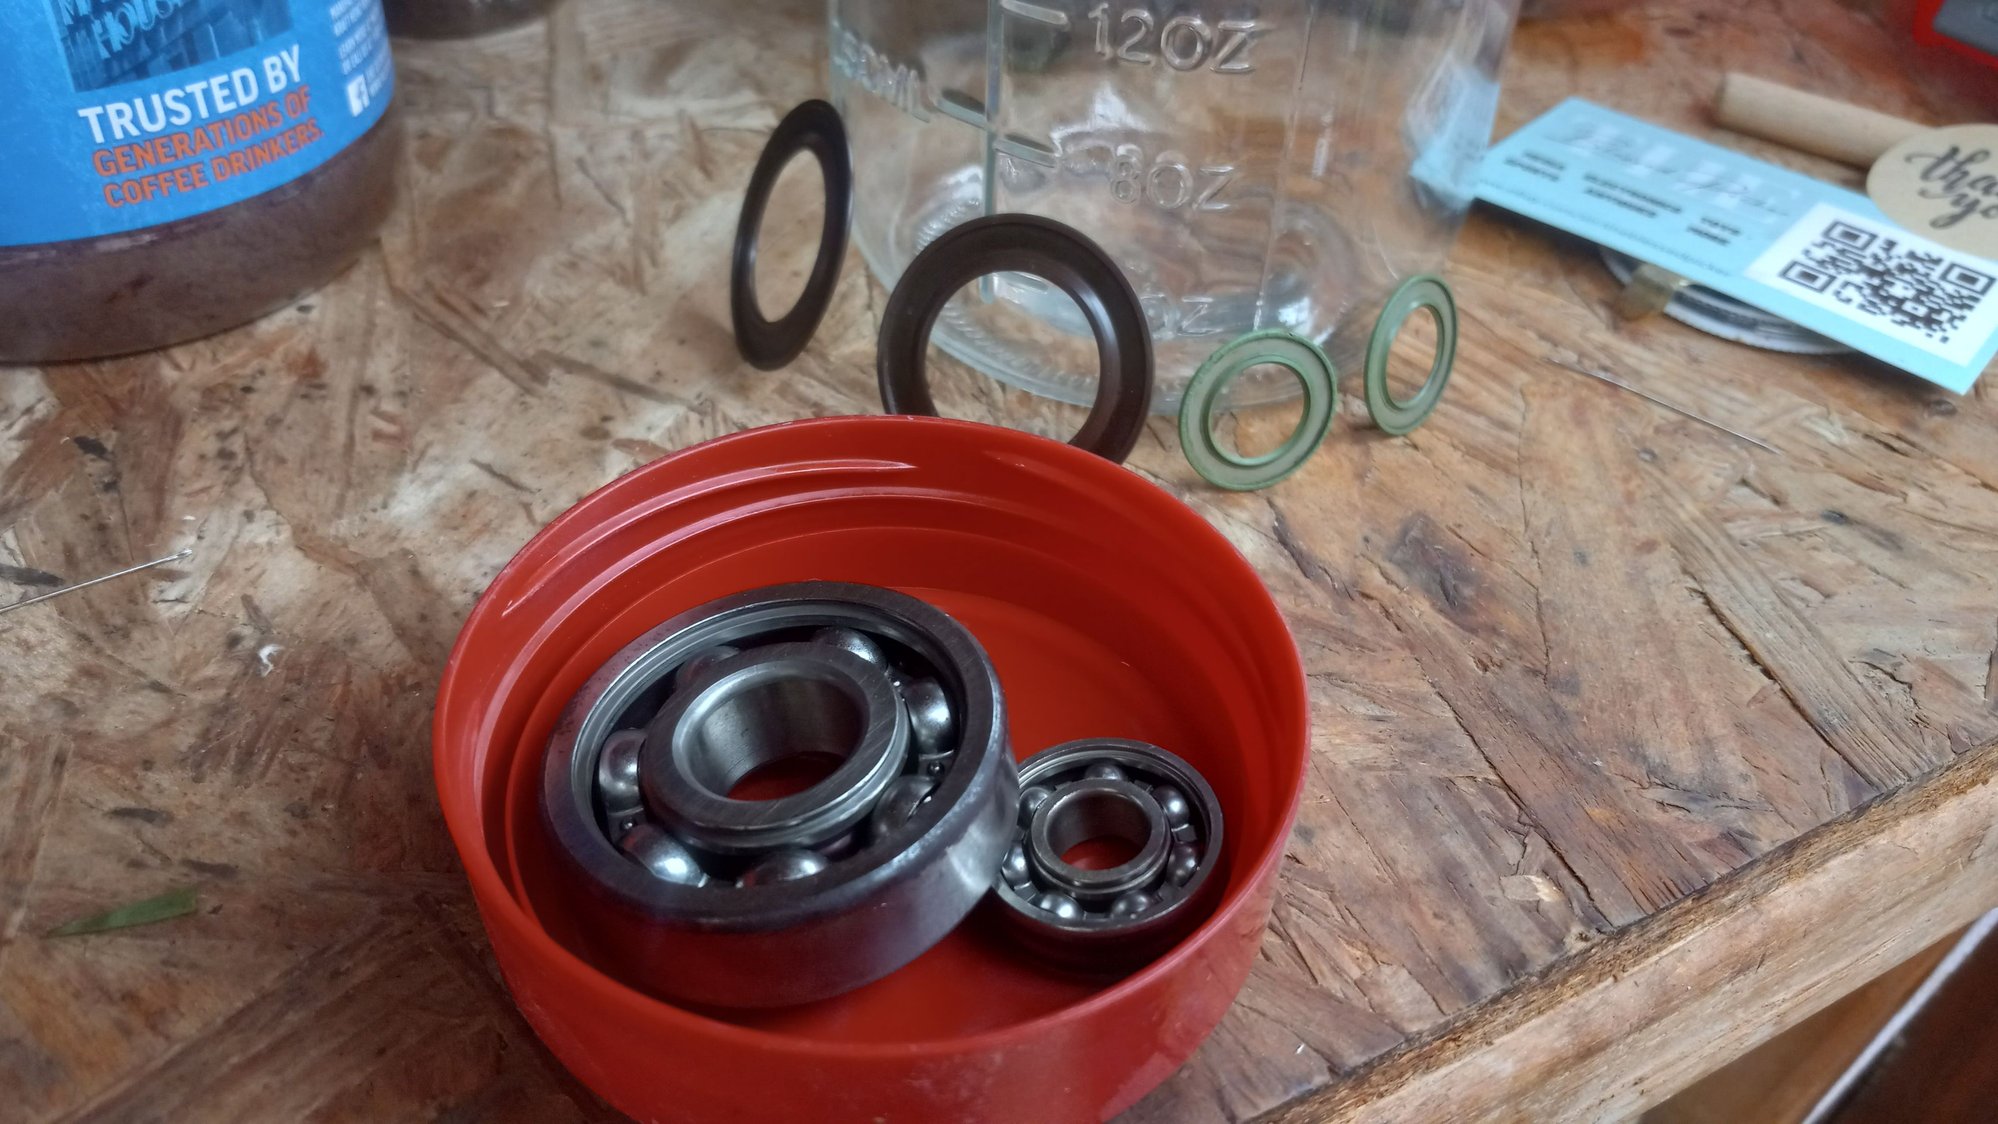
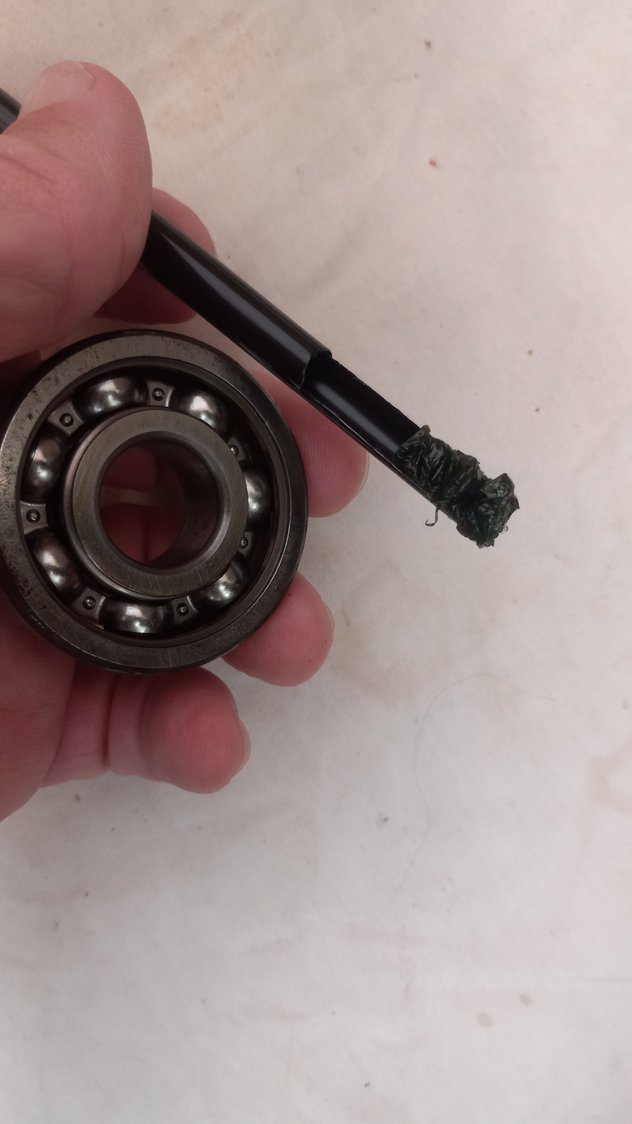
Very carefully remove the rubber bearing seals. Use a fishing hook, bend it outward slightly and crimp down the barb, only go around the outside edge, work it around, down, then in, then pull up, it's okay if it bends a little pulling it out, bend it back straight. The two bearings are worth 50 dollars so be patient and try to not damage the shield, with practice you can pull bearings without damage, maybe the first one you will goober up,try it out on an easy one something else first if you can
#12
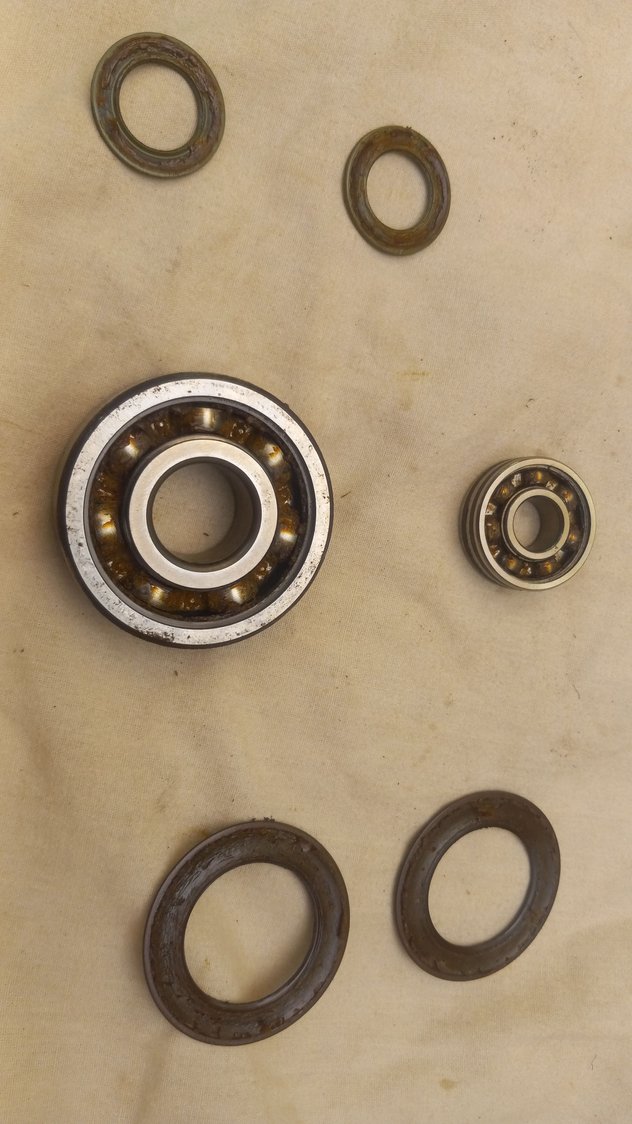
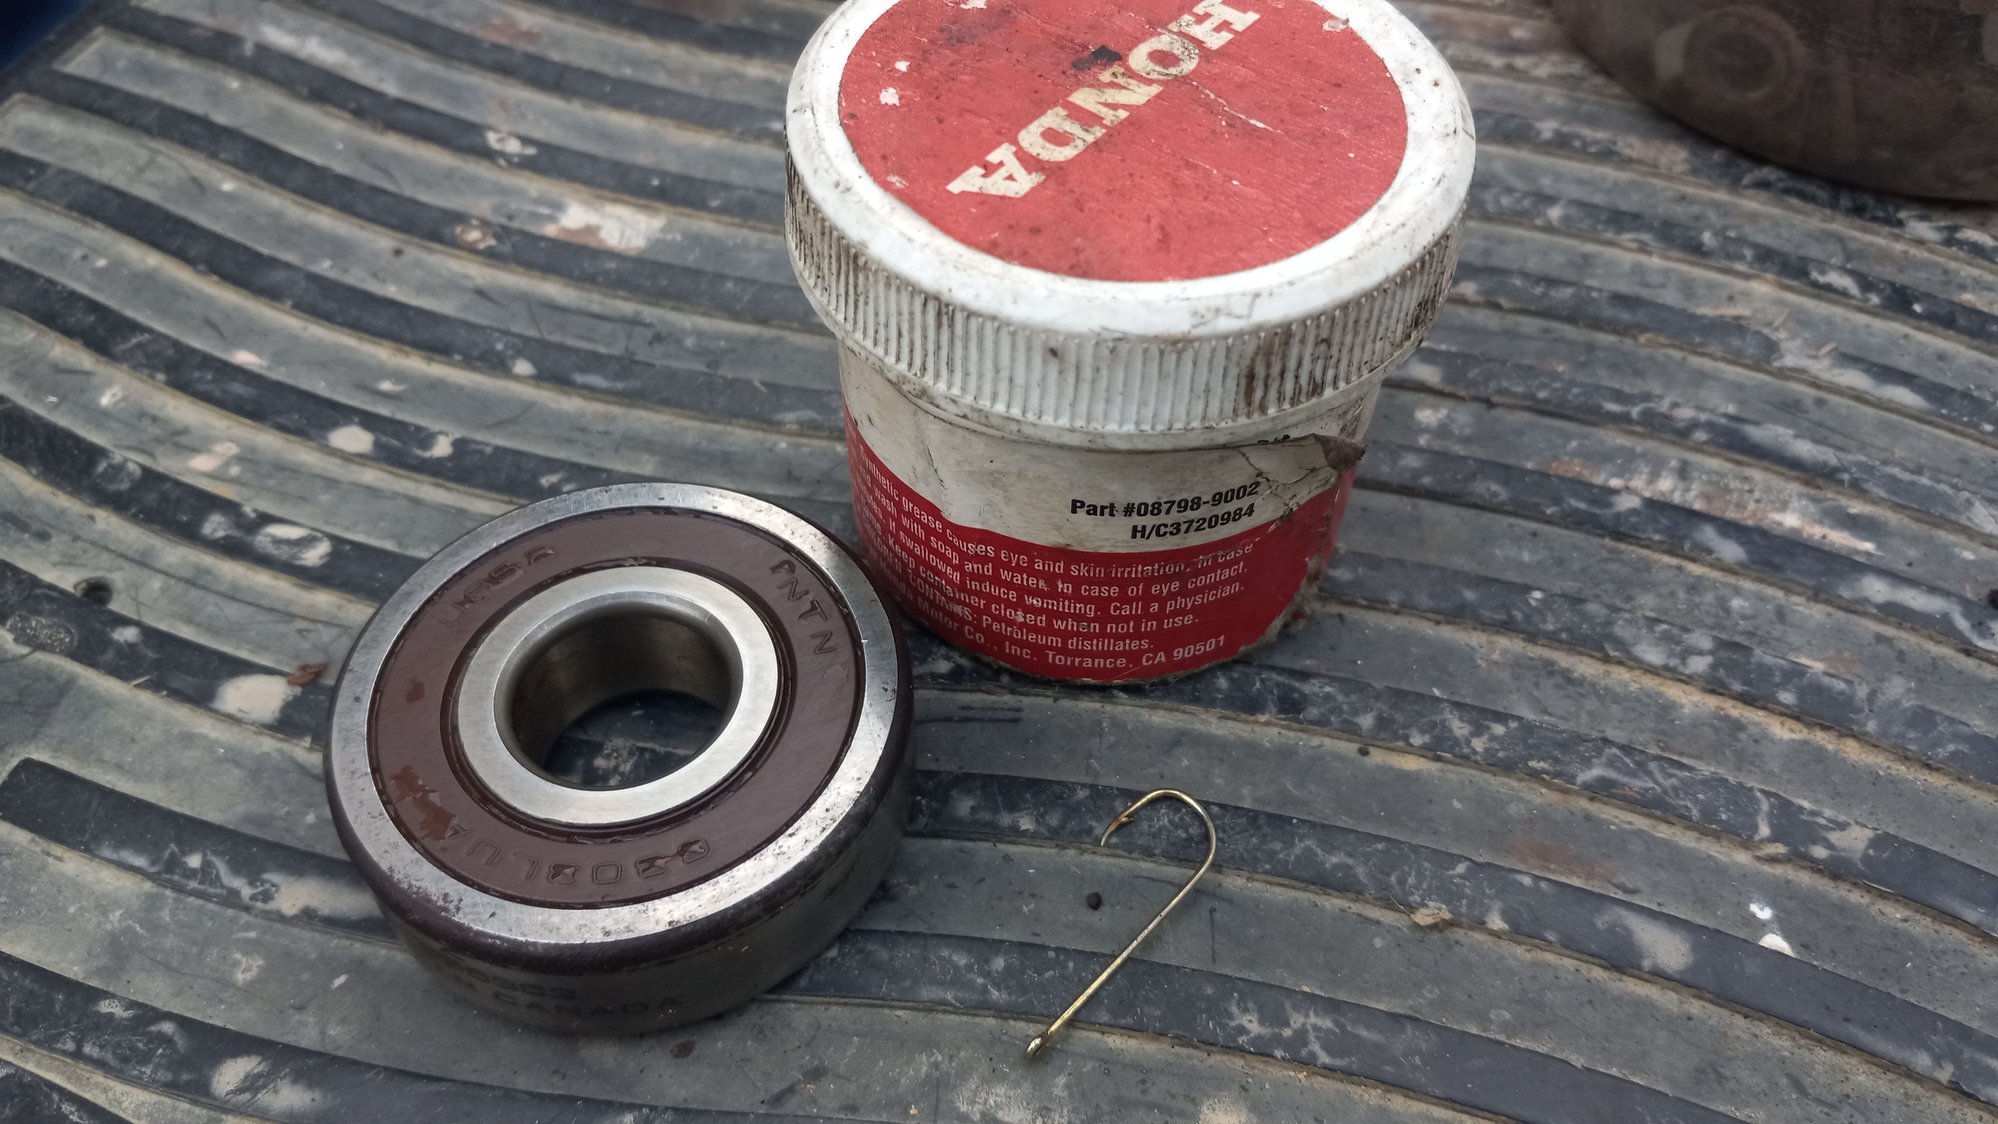
See that ol grease is thickened up and bad, this would have damaged the bearing if it'd run much longer like that, but it's okay, caught it just in time, it's fine, just dry, not hard and gone yet.. Soak the bearings in solvent, I used gasoline, but use whatever osha approved solvent you approve of, you can also clean the shields with solvent, but be very quick about it. The bearings can soak for half an hour or so, however long really, but they'll be clean by half and hour,
#13
#15
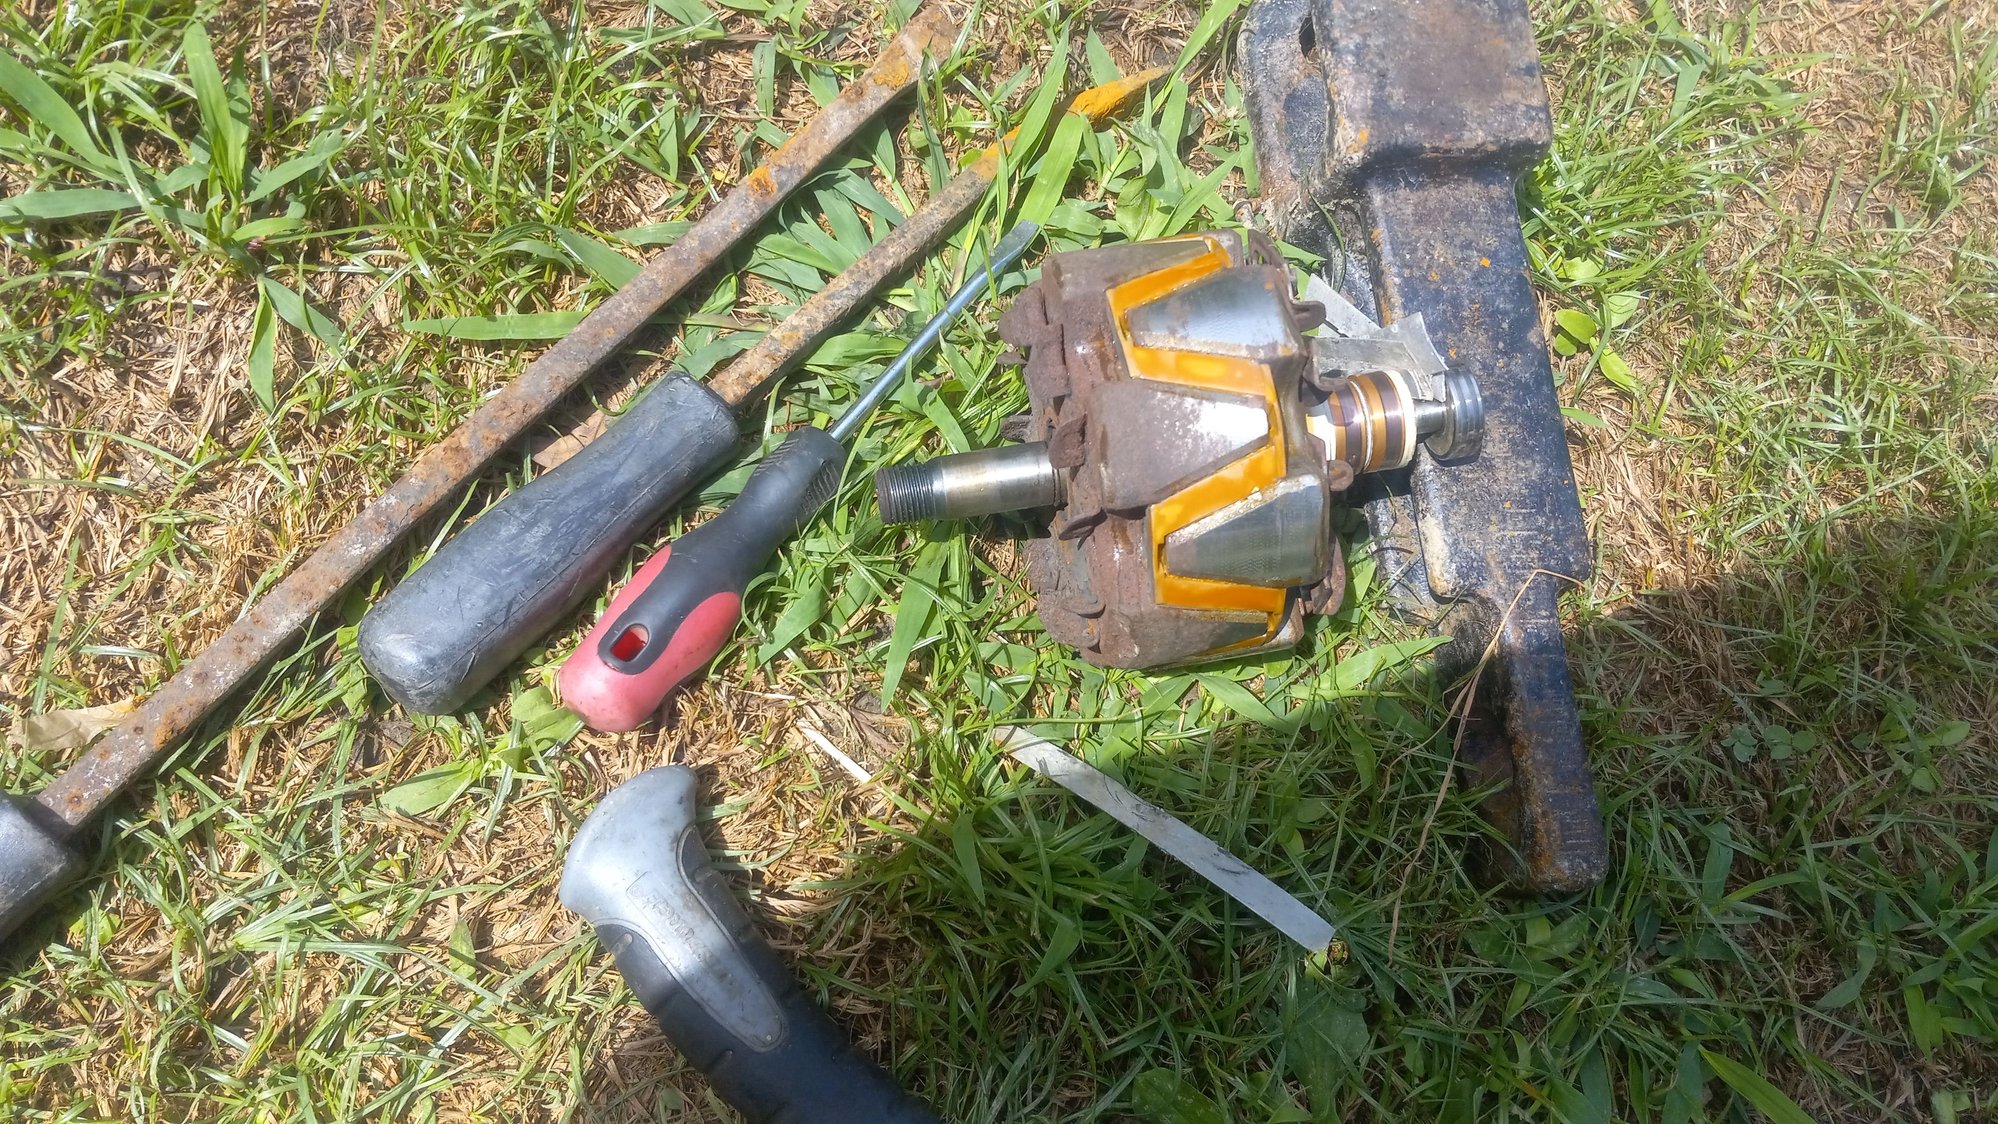
Oh, I almost forgot to tell you about the rear bearing. You remove this one from the inner race, first use a screwdriver, then, drop in a piece of tin, as a shim, tap it off a little further, two pieces of tin, drive it further, and so on, 5 ect pieces of tin as a spacer, and can add the blades of pry bars or bigger screwdrivers as you further drive it down the shaft. Be super very careful to not damage the rotor communicator, do not wedge against that, wedge against the protrusion


