When you click on links to various merchants on this site and make a purchase, this can result in this site earning a commission. Affiliate programs and affiliations include, but are not limited to, the eBay Partner Network.
Did you put the Jetcoat over the top of the Dicor? How well did it adhere to the Dicor? I don't recall trying to put anything on top of the Dicor on my roof, so I don't know if anything will stick to it.
I did put the JetCoat over the Dicor, and had no trouble at all with it sticking to it. I also think Dicor will stick to the JetCoat just fine when I need to do touchups in the future. The JetCoat actually goes on thin, just like paint, which is why I did four coats. (Three would have worked, but I had lots left so why not.)
Depending on what your goals are, there are other options out there that are much thicker than JetCoat. I was at an RV show last year and some guy was selling some kind of sealant that went on really thick, almost 1/8" IIRC. His schtick was that you don't need to replace a bad roof, just coat it. That wasn't a DIY project though, he did everything and the cost was several thousand as I recall.
In my case, the JetCoat was appealing because it seemed like a relatively inexpensive way to add reflective properties to help keep the RV cool. It does an excellent job of that, but using it for repair would be a stretch, IMO.
The link from @ttavasc shown above is correct, and if his 15% coupon works I'd go for it! I would suggest you take your AC covers off and measure before ordering, as suggested on their website.
I don't recall saying anything about Dicor, but I would recommend using their lap sealant to fix spots as needed before painting the roof with the JetCoat.
Thanks guys. I went ahead and purchased the RV Airflow kit last night, obviously not installed yet but hopefully it'll come in and get installed before our next camping trip in a couple of weeks. I had a hard time pulling the trigger on a piece of Styrofoam at $150, but plenty of reviews and a few people here said it worked so if it works it's worth it.
Thanks guys. I went ahead and purchased the RV Airflow kit last night, obviously not installed yet but hopefully it'll come in and get installed before our next camping trip in a couple of weeks. I had a hard time pulling the trigger on a piece of Styrofoam at $150, but plenty of reviews and a few people here said it worked so if it works it's worth it.
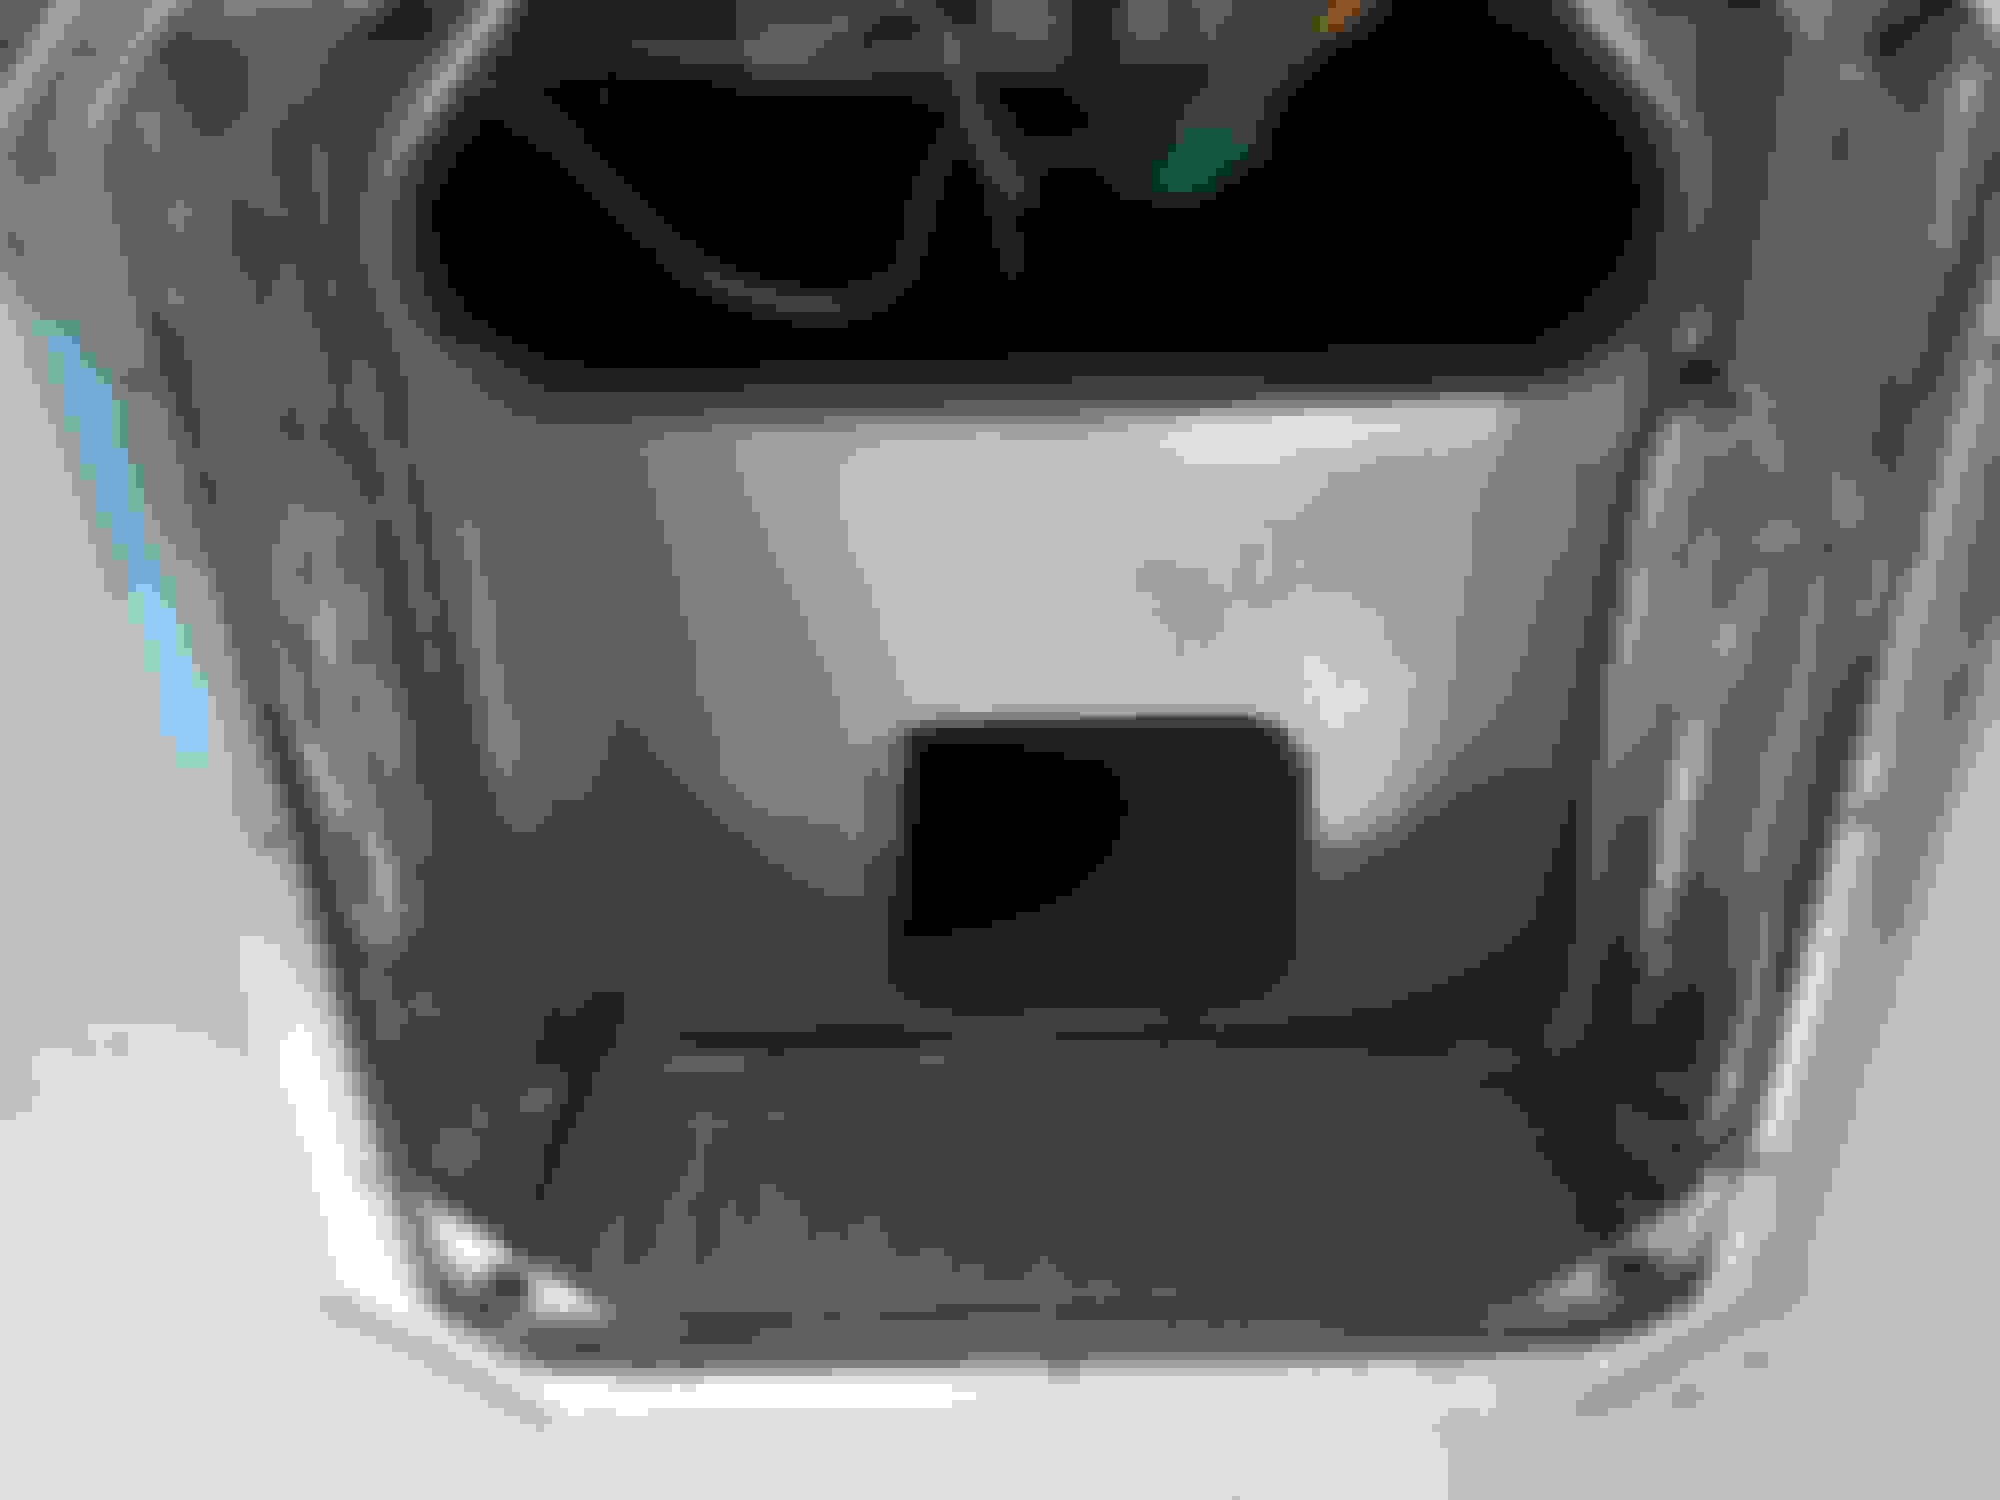
To me it was huge, hope you get the same results! Plan on spending an hour or so cleaning up and taping the plenum before you install the block. I forgot to take "after" pictures, but this "before" picture shows some of the foam I had to cut back. It'll be fairly obvious what you need to do after you take all the covers off. Good luck, and let us know how you like it after your trip!
To me it was huge, hope you get the same results! Plan on spending an hour or so cleaning up and taping the plenum before you install the block. I forgot to take "after" pictures, but this "before" picture shows some of the foam I had to cut back. It'll be fairly obvious what you need to do after you take all the covers off. Good luck, and let us know how you like it after your trip!
I'm a patient guy (NOT!), I'll have it installed the day it comes in . Luckily it looks like if I run into issues I have a couple resources to ask here . I removed the cover and did measurements last night, so I just left everything off. Looking at your picture the only thing I'll need to do is remove the piece of insulation between the air duct and the electrical opening. Mine did not have the foam in your pic that you ended up cutting back, so I don't think I'll need to do much trimming on the camper.
The install looked pretty straight forward after taking the cover off and measuring last night. I'm sure there are plenty of youtube how to's for it as well. Hopefully I get a cooler day to install it instead of the 93 degrees yesterday. Damn near sweat to death doing my measurements lol. Came outside from the camper and thought 93 felt pretty damn good .
I'll try to remember to take a before and after pics as well as maybe a few pics during the install.
Here's what my duct looked like before I fixed it.
This part connected to the duct in the ceiling and the round hole is where the rectangular vent attached.
I ditched the above contraption and made my own out of aluminum sheet and a generous amount of aluminum tape.
The finished product.
I also fixed the ductwork at the air conditioner. While I don't have any pictures of that, it was a lot of work and a lot of pieces of insulation and tape.
My ductwork also looked like drunk toddlers put it together. I spent the better part of two days cutting up 2" foam insulation and using HVAC tape to seal everything up and DIY the airflow kit. The difference in the ability of the AC to cool off is dramatically different. Makes sense really, just a shame that we as owners need to follow in the footsteps of the manufacturer in order to have a product perform as it was intended.
If I didn't have the 2" foam insulation on hand from another project, I likely would have purchased an Airflow kit.
I installed the RV Air Flow kit at lunch, took right about an hour, and most of that was unscrewing the long screws holding the metal plate on that has to be removed to stuff the air flow kit in place lol. To reinstall I used my impact drill until it was close to being tight then used my ratchet to finish it off. Overall the install was pretty easy. The instructions were straight forward outside of exactly how the stick tape went on the new plastic duct work. I'm pretty sure I messed it up with my first try, but the second one was right I think. Regardless the AC seems to work much better and a lot quieter. I didn't run it very long as my RV was only hooked up to 110 so we'll see in a couple weekends how it really does. Below are a couple pics, first is before and second is after.
I left the air shower installed on mine, the instructions said to remove it, but I don't see a reason to have it removed, it doesn't interfere with anything that I can tell, so I'll keep it there in case for some reason down the road I want to get rid of the RV Air Flow kit. Hopefully in a couple weeks I can report back to see how much cooler and quicker the RV cools off.
I opened the air dump on the cover to see if any air was coming through and there is very slight air coming through, but very little, so I'm calling the job a success at this point, pending a real weekend test.
We had our first camping trip since installing the RV Air Flow Kit and it's a lot quieter and blows quite a bit harder. As far as cooling off quicker, I can't say it cools quicker for sure but believe it cooled off a bit quicker, we dropped 12-14 degrees in about 2-3 hours, however we were in full shade and it wasn't the typical 90s summer temp, it was probably low 80s outside when we first hooked it up. The inside temp seemed to feel cooler than it used to as well, I think we can probably set our tstat a degree or two warmer going forward. The air definitely blows harder out of the vents, and that's what we bought it for. So far this is money well spent. The temps were a bit milder than what the usual summer camping, so I suspect by our July 4th camping trip we will see how well it does in typical summer weather (high 80s to mid 90s with high humidity is the norm). So far I'm glad I stumbled along this thread and decided to try my luck on it.
Still appears to be as good as week it was rolled on. Froze the wife out every day this summer in 95⁰+ temps Only needed 1 AC to keep it 72⁰ inside during daylight. Before it took em both running to keep her happy while we were inside in daylight for lunch or siesta between hiking trails
Was really nice to turn off the AC in the kitchen and run the other one in the master bedroom and maintain inside temps so we could all talk and watch part of a movie during lunch instead of hearing the AC blasting on high
Thanks for replying, after reading reviews on Amazon, I was a little hesitant about how it adheres, naysayers probably did not prep roof correctly. I am looking to do this to my 2015 fiver roof as it is showing black splotches all over the roof. My understanding is the white of the membrane is the UV protectant. If you get a chance, could you post a recent pic? Thanks for your time.
Mine still looks fine too, no plans to put another coat on. I did the JetCoat and put an RV Airflow in my single, 15k AC unit. Last trip out we were in full sun and humid 90's and it peaked at 78 or 79 inside the fiver for a few hours in mid-afternoon. That was okay for us because it used to peak in the high 80's. So, no plans to install a second AC in mine and mission accomplished. I would also say that RV Airflow made a BIG difference in the amount of air coming out of the bedroom vents, so both upgrades are worth doing in my opinion. Plan on several days on the roof for the JetCoat, 60 to 90 minutes to install the RV Airflow.
Here's my first coat going on last September, and a crummy picture taken ten minutes ago. There's water from dew all over but certainly no peeling. If you want I'll try to get a better picture later.
First coat going on last September. The roof wasn't dirty, it was gray colored.
This morning, with dew all over making it look streaky. The coating looks perfect (as it should) even though it sits outside.

 05-31-2023 | 10:11 AM


 . Luckily it looks like if I run into issues I have a couple resources to ask here
  . I removed the cover and did measurements last night, so I just left everything off. Looking at your picture the only thing I'll need to do is remove the piece of insulation between the air duct and the electrical opening. Mine did not have the foam in your pic that you ended up cutting back, so I don't think I'll need to do much trimming on the camper.


 Only needed 1 AC to keep it 72⁰ inside during daylight. Before it took em both running to keep her happy while we were inside in daylight for lunch or siesta between hiking trails