When you click on links to various merchants on this site and make a purchase, this can result in this site earning a commission. Affiliate programs and affiliations include, but are not limited to, the eBay Partner Network.
Took her to the dump. Got home backed her into her spot and something was shaking to beat hell.
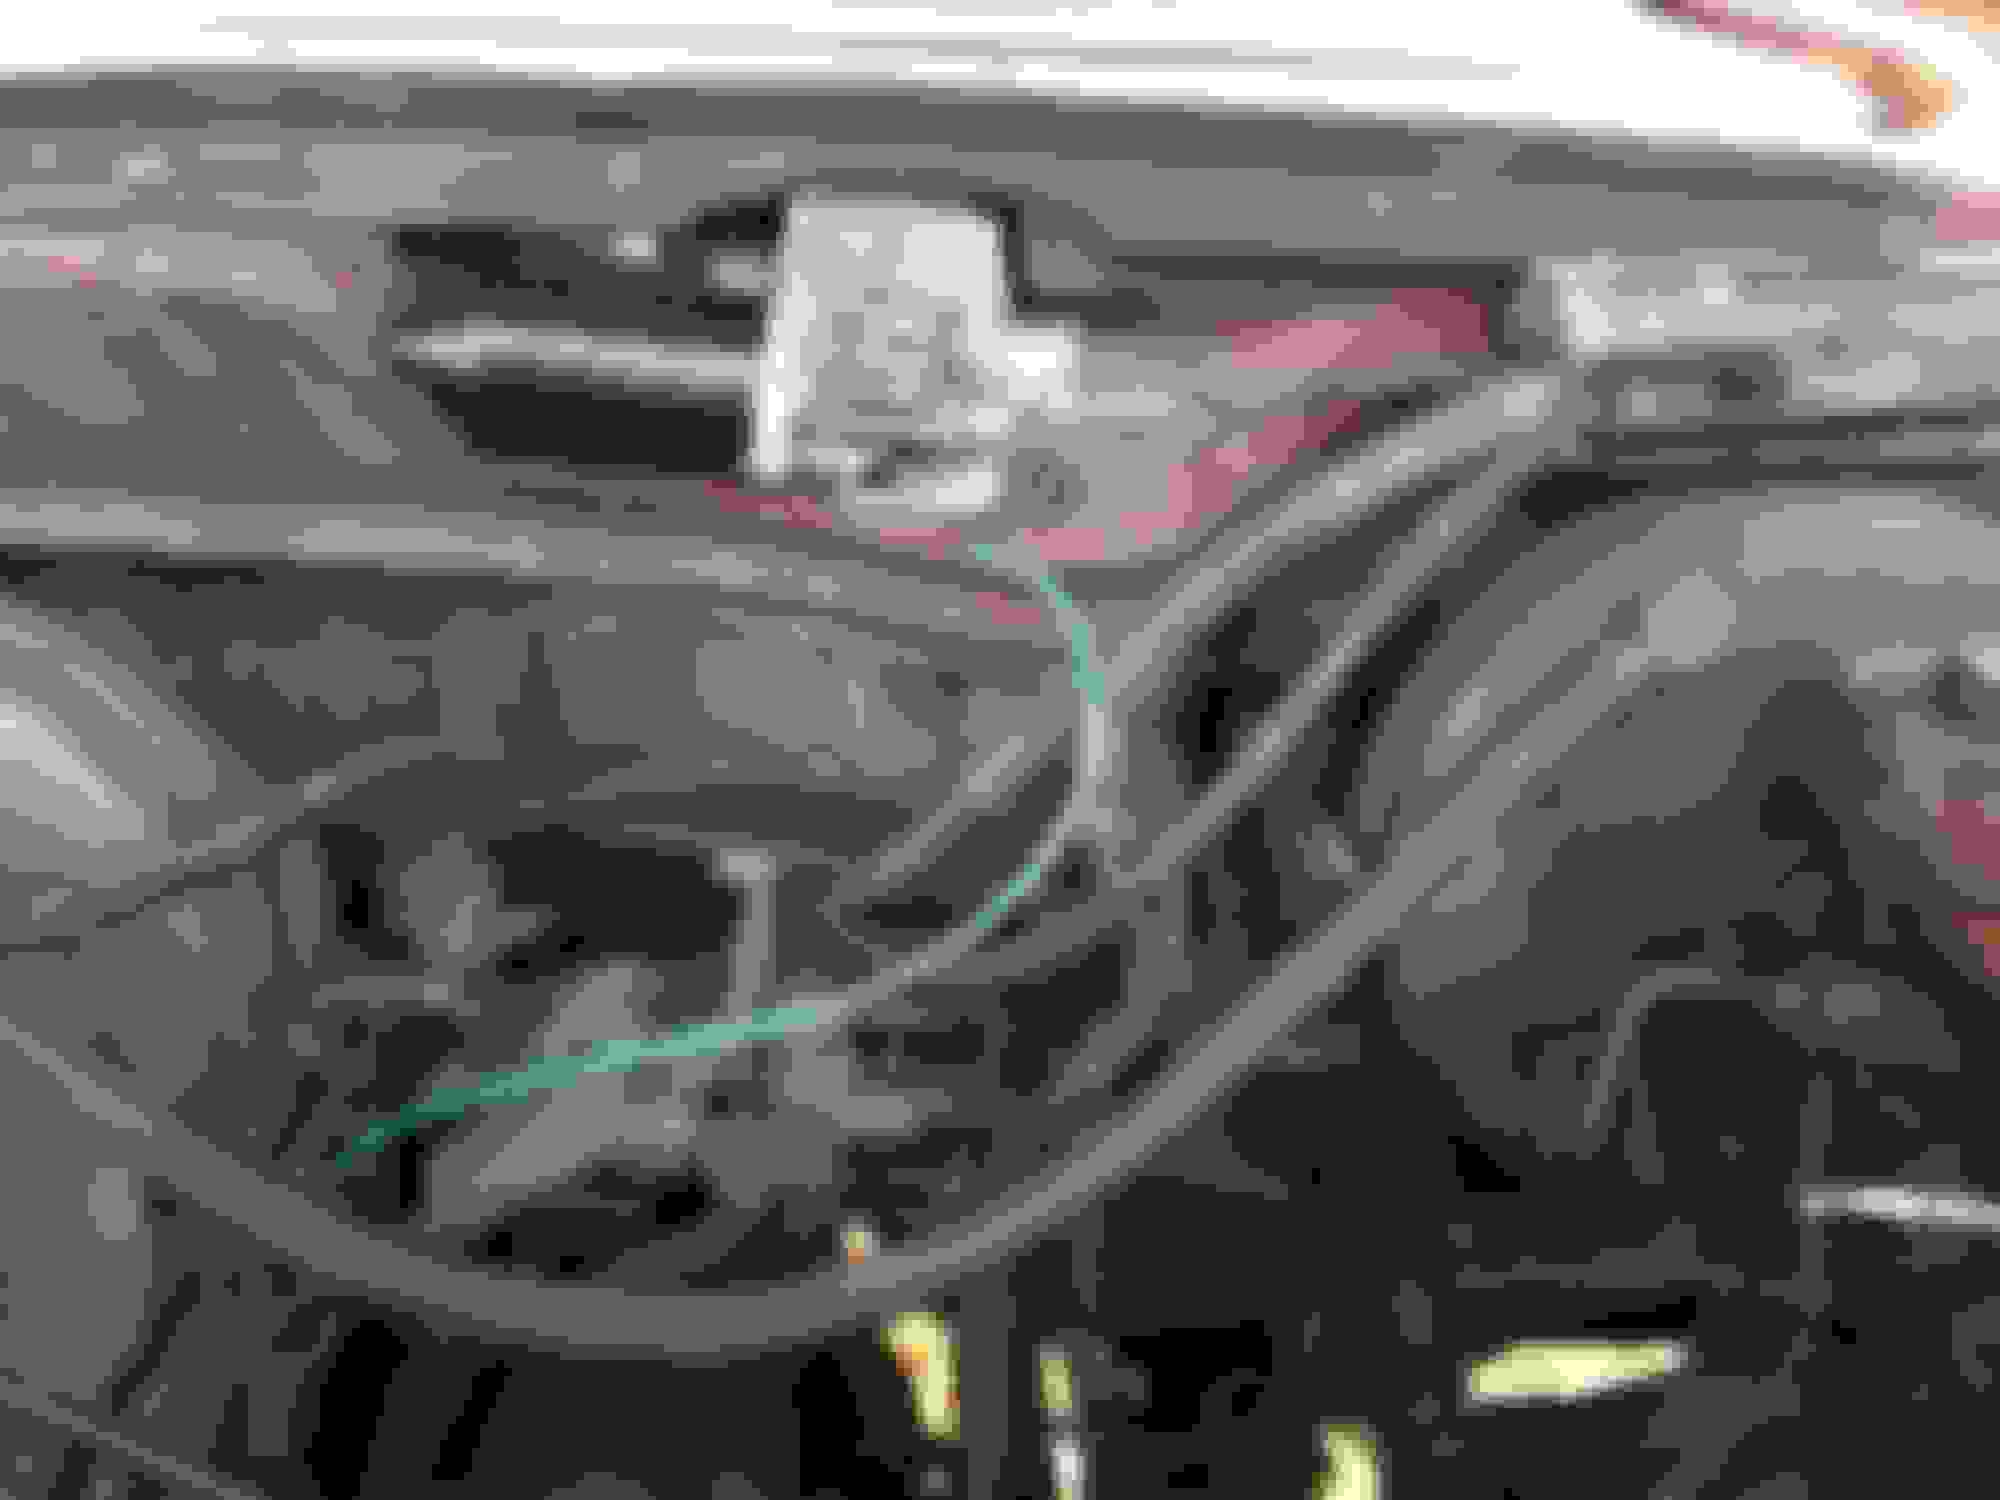
Opened the hood and the fan was wobbling like crazy. Shut her down and this.....
One was still mostly still in, the 3 you are looking at were not even threaded. I pulled them straight out.
Pulled it all apart to check for damage, fortunately everything, including the bolts were just fine.
For the past few drives I heard a loud rhythmic screech or grind on the passenger side.
Originally thought it was coming from the front, and after many attempts to find the reason (even replaced the bearings) I almost gave up. But then asked my wife to stand outside and listen as I drove passed.
She said it was the rear passenger wheel.
Sure enough.
After removing the drum I found the adjusting cable in pieces.
A deep groove in the rear pad right in the middle. Lots of dust. Cleaned things up and put everything back without the cable for now. Will go order 2 just in case the other side is gone or about to go.
I took my wiper motor off last week. I put a new one on today, along with a new hood to cowl seal. I was struggling to get the wiper linkage back on the wiper drive shaft. I found a YouTube video that recommended boiling the rubber bushings. I heated them in a coffee mug full of water and it worked. I didn't realize I had intermittent wipers until last week, this being a project truck. Nice to have everything working. I also put seam sealer around the bolts in the cowl area that hold my firewall reinforcement plate.
Forgot to mention, I also replaced the liquids reservoir today. The tab on the old one was broken and the truck came with the reservoir secured by a string. Finally decided to replace today.
Replaced serpentine belt. Not sure why my 2 yr old belt decided it didnt want to be a 6 rib belt anymore and became a 5 rib belt. Glad I caught it before it let go
I have the 1991 ribbed sealing surface on my E4OD transmission pan and Mark K. mentioned these type of pans need a cork gasket. I found a Mahle cork gasket and installed it after using a composite gasket that dripped some. The Mahle finally sealed the deal and no leaking or drips. Thanks Mark.
Radius arm bushings, sway bar links, and coil springs
Hello.
Today I decided to tackle the radius arm bushings, coil springs and sway bar links on my F250 2wd.
Thought about removing the huge radius arm bolt, but that didn't happen and wasn't necessary. With sway bar out of the way, the axle beam and radius arm move just fine...
The passenger side took 3 hours with a couple of smoke breaks in between... Just had lunch and decided to post. Now will go do the other side.
1-1/8" wrench did all the work here Rear half of the radius arm bushing out. Sway bar link out.1 Same 1-1/8" wrench undid the nut Realized that the sway bar had to be disconnected from the frame to give clearance. Thought about removing the raius arm bolt but it didn't budge. Pushed both the jack supporting the knuckle and the knuckle toward the front with my foot and then swung the arm to the side when it cleared the bracket. Front half of the bushing is out. New coil spring installed. Moog severe duty (recommended for my truck). But it has one more coil than the spring i took out. It is supposed to be a variable rate spring, but i am a little worried about coil lock due to that one extra coil. New radius arm bushing is in. Moog, rubber. New sway bar link is in. Motorcraft.
Driver side motor mount. Tried to get the drinkers side but one bolt came out with the block threads in it, and the bolt through the frame wouldn't let go of the nut on it. So not wanting to completely bone myself i left well enough alone. Even with one changed it is sooooo much better.

 11-09-2022 | 08:48 PM