When you click on links to various merchants on this site and make a purchase, this can result in this site earning a commission. Affiliate programs and affiliations include, but are not limited to, the eBay Partner Network.
Not a full remodel, just the ceiling. Due to a leak in the roof (probably more than one) the sidewalls delaminated and the water also damaged the white finish (no idea what it is) that was laminated on the Luan. The Luan was bad in a few spots so I'm taking it all off and starting over. An interesting discovery with the ceiling off is how there isn't any insulation over about half the room.
This is how it looked before I got busy
The tub did a nice job of catching most of the debris. Rather that use the tub drain plug, I put tape over the drain.
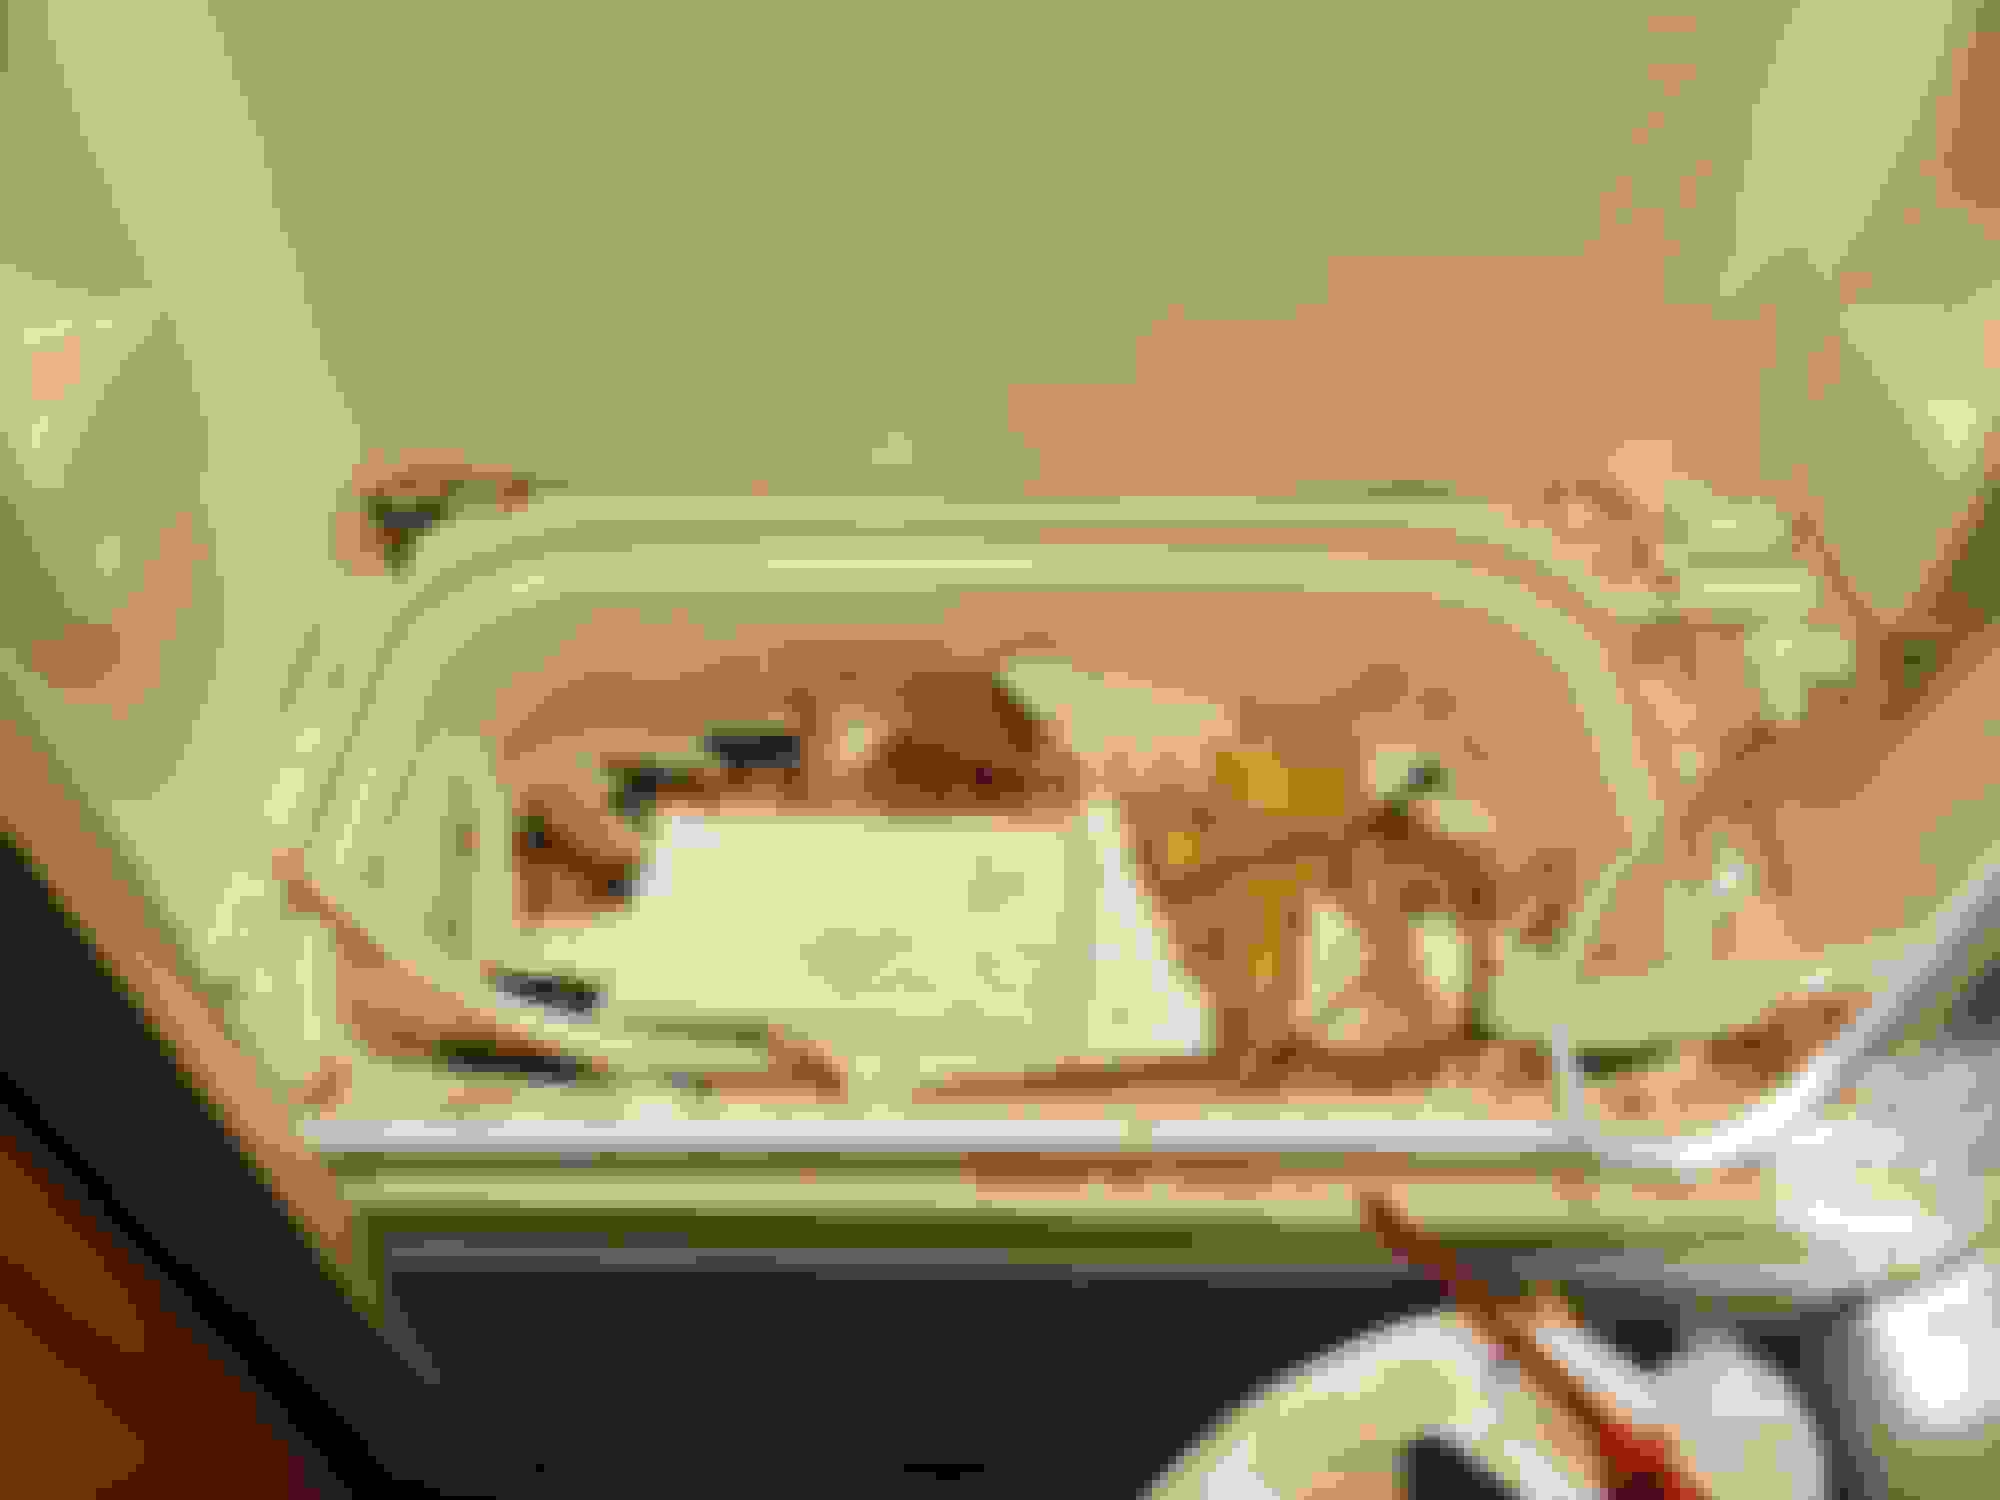
This is the corner where it started. The bigger "joists" are in good shape but definitely show that they've been wet. I need to replace some of the smaller pieces of wood used to frame the skylight. I have yet to find a nail or screw used in the framing above the ceiling. It's all staples. That's a slapdash assembly technique in my opinion. The ceiling was installed BEFORE the roof was put on. They fastened the ceiling material to the top of the wall studs. That's making it challenging to remove all the old material (Luan and the white laminate). The Luan was glued to the wood frame without any staples being used. The glue is still in very good shape. The Luan, not so much.
See the silver screw poking out to the right of the first joist on the left? That screw and the entire line of screws holds down the flat lip trim on the roof where the front fiberglass siding and roof EPDM come together. They missed the joist by 2". None of those screws are in anything thicker than the chipboard that is used as the underlayment for the EPDM. What a joke.
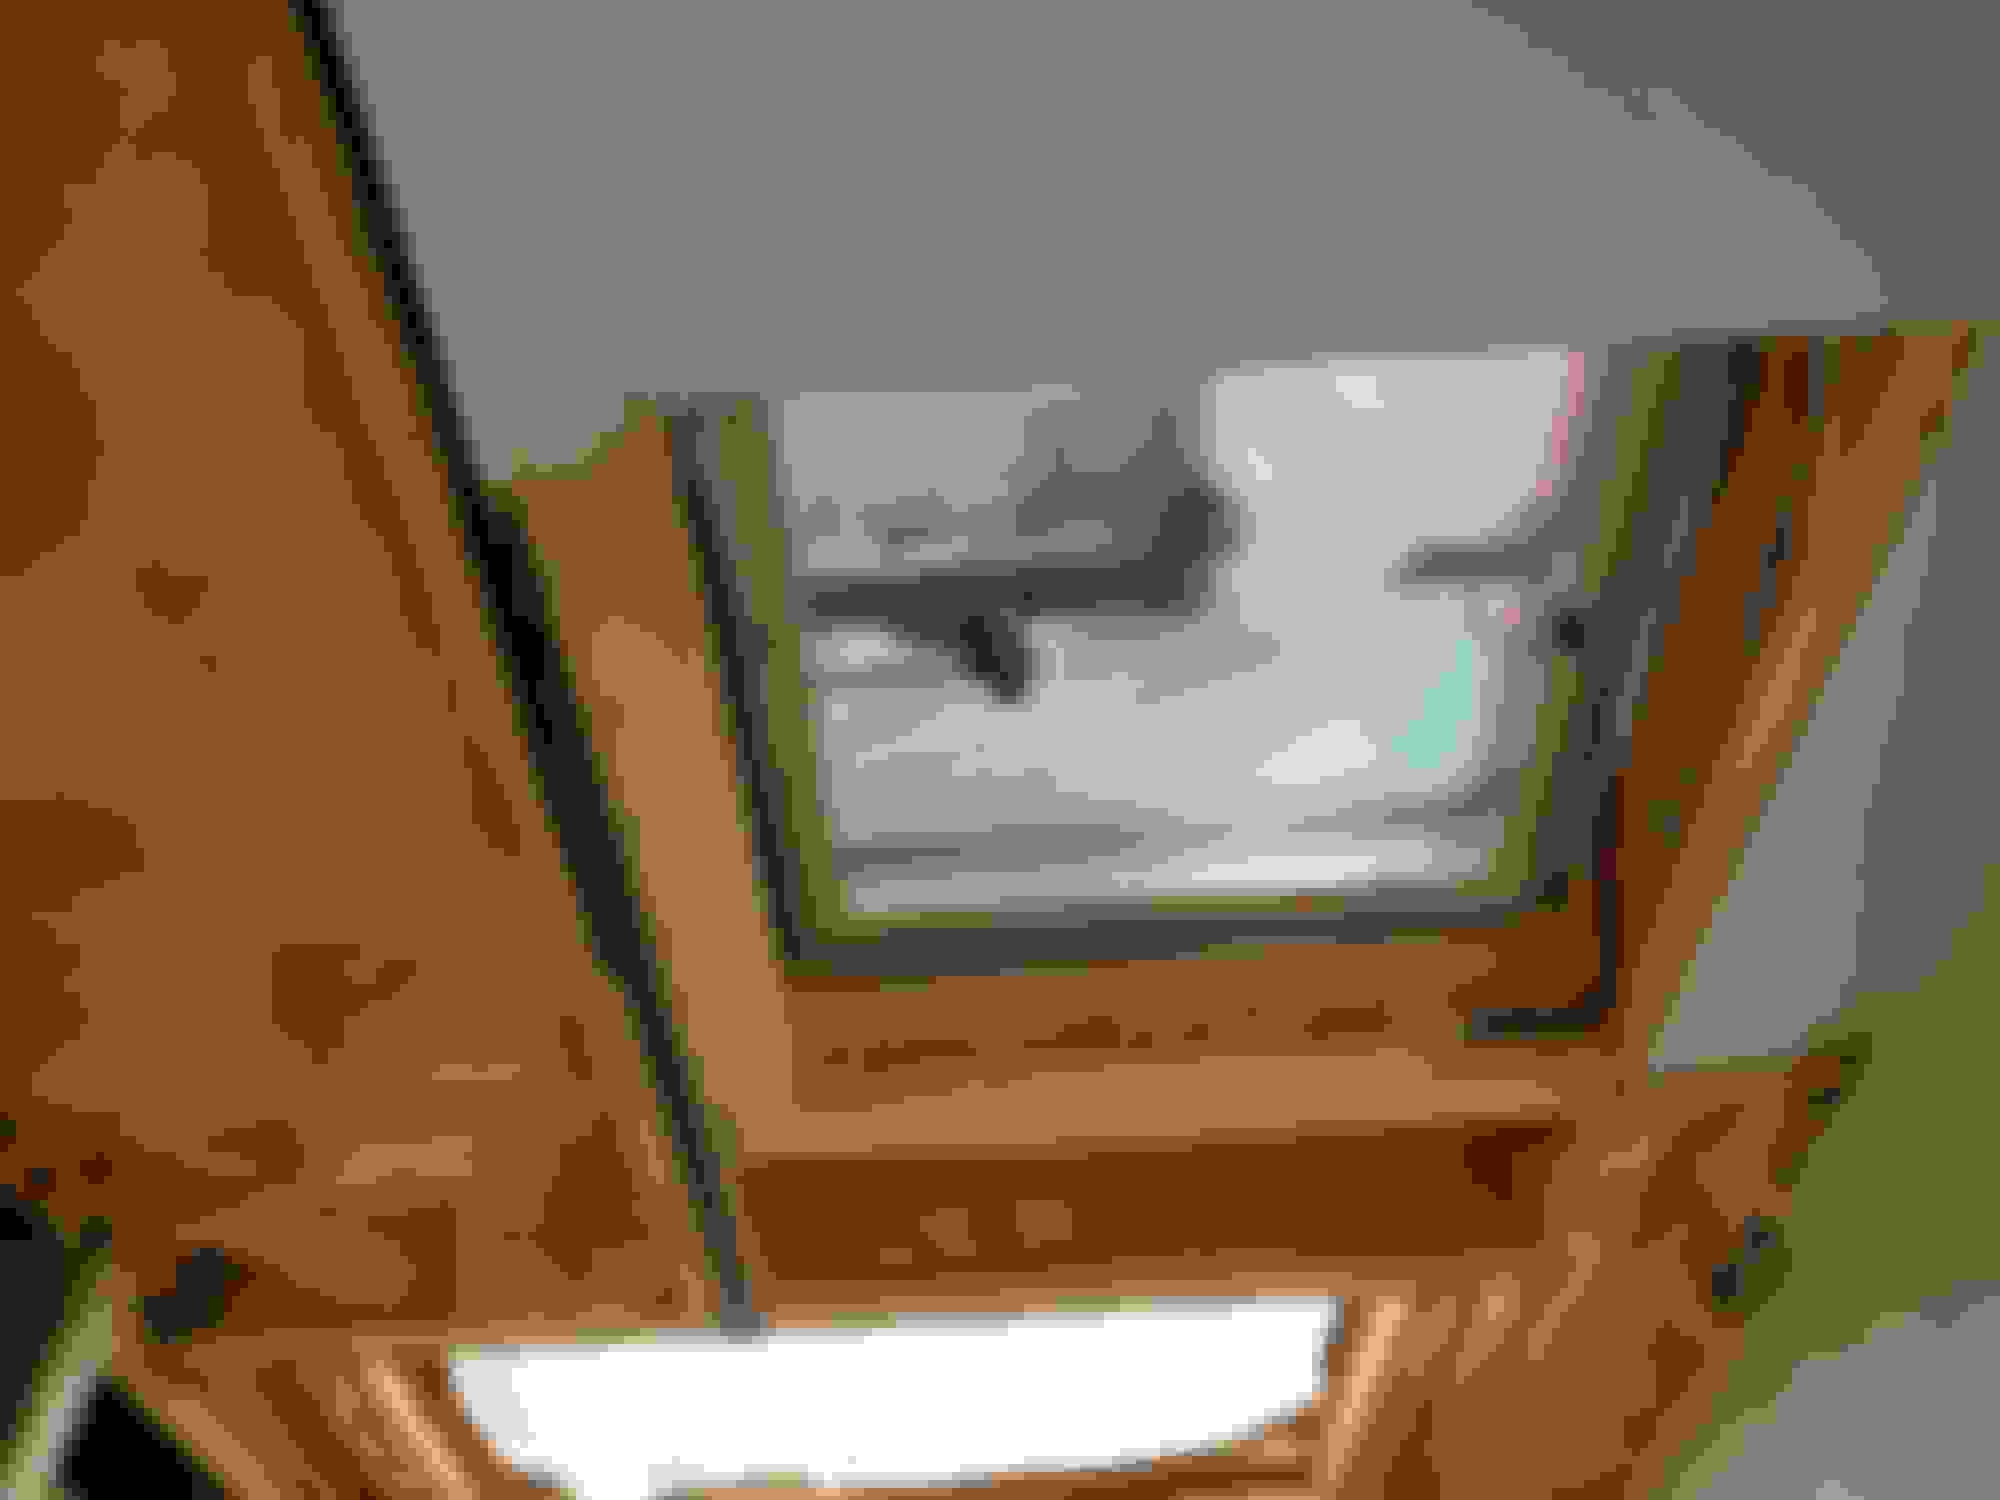
I still have about 40% of the ceiling to remove. The lower left corner of this picture is about the middle of the roof. I was poking around up there and it felt wet. Sure enough, when I got on the roof I found a bad spot in the Dicor. That will get resealed tomorrow.
I'm going to use FRP on the ceiling with Luan as a backer board. I'm also going to bring the FRP down from the ceiling along the walls around the shower. The wallpaper above the shower enclosure isn't in very good shape so the FRP will be used to cover up that problem.
Great project... Actually it is terribly disappointing the quality in RV mfg. Yes, I would focus on sealing the leaks on the roof, top priority, lol. . Dicor is good stuff, I also like this stuff called Geocel Proflex, it's for RVs and flexible. I'd also mix up some bleach and water to kill that mold on the studs. Keep us posted.
This will keep you out of trouble for a while....... 2 months..
Geez, I hope it doesn't take that long.
Originally Posted by Paul Spencer
Great project... Actually it is terribly disappointing the quality in RV mfg. Yes, I would focus on sealing the leaks on the roof, top priority, lol. . Dicor is good stuff, I also like this stuff called Geocel Proflex, it's for RVs and flexible. I'd also mix up some bleach and water to kill that mold on the studs. Keep us posted.
Dicor is what I'll use on the roof. I always keep a couple tubes handy. Geocel Proflex RV is not rated for use on an EPDM roof, so I use it everywhere else. Good stuff.
Go to Home Depot and get a tub protector liner. You really don’t wanna damage the tub. If you d9 it’s just gonna add to the cost, labor and turn around to completion
Another thing I’ve done was cut a piece of plywood to set on top with a moving blanket between the plywood and the tub top edge. But people tend to start using it as a step stool
Dicor is good stuff and I keep a tube handy but if you really want to seal your roof properly and not worry about it for a long time [15 years] get a roll of Eternabond tape and a quality roller. After cleaning the old caulk with acetone you can apply the tape right over the caulk then apply a thin bead of Dicor around the edges. No more worries.
I made some progress on the ceiling. I made more than the pictures represent. The battery on my phone was so low that the phone shut down.
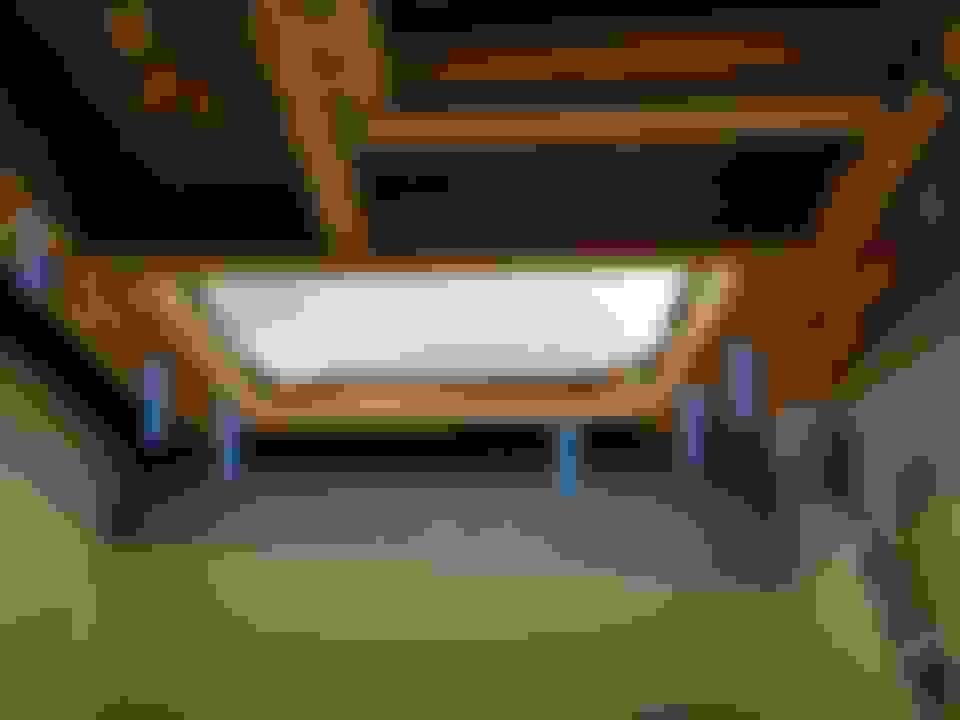
The new structure below the skylight. Arrows added to highlight the new wood. Before any of this could be added, I had to remove the screws from the molding on the roof so the new boards (leftmost arrows) could go in.
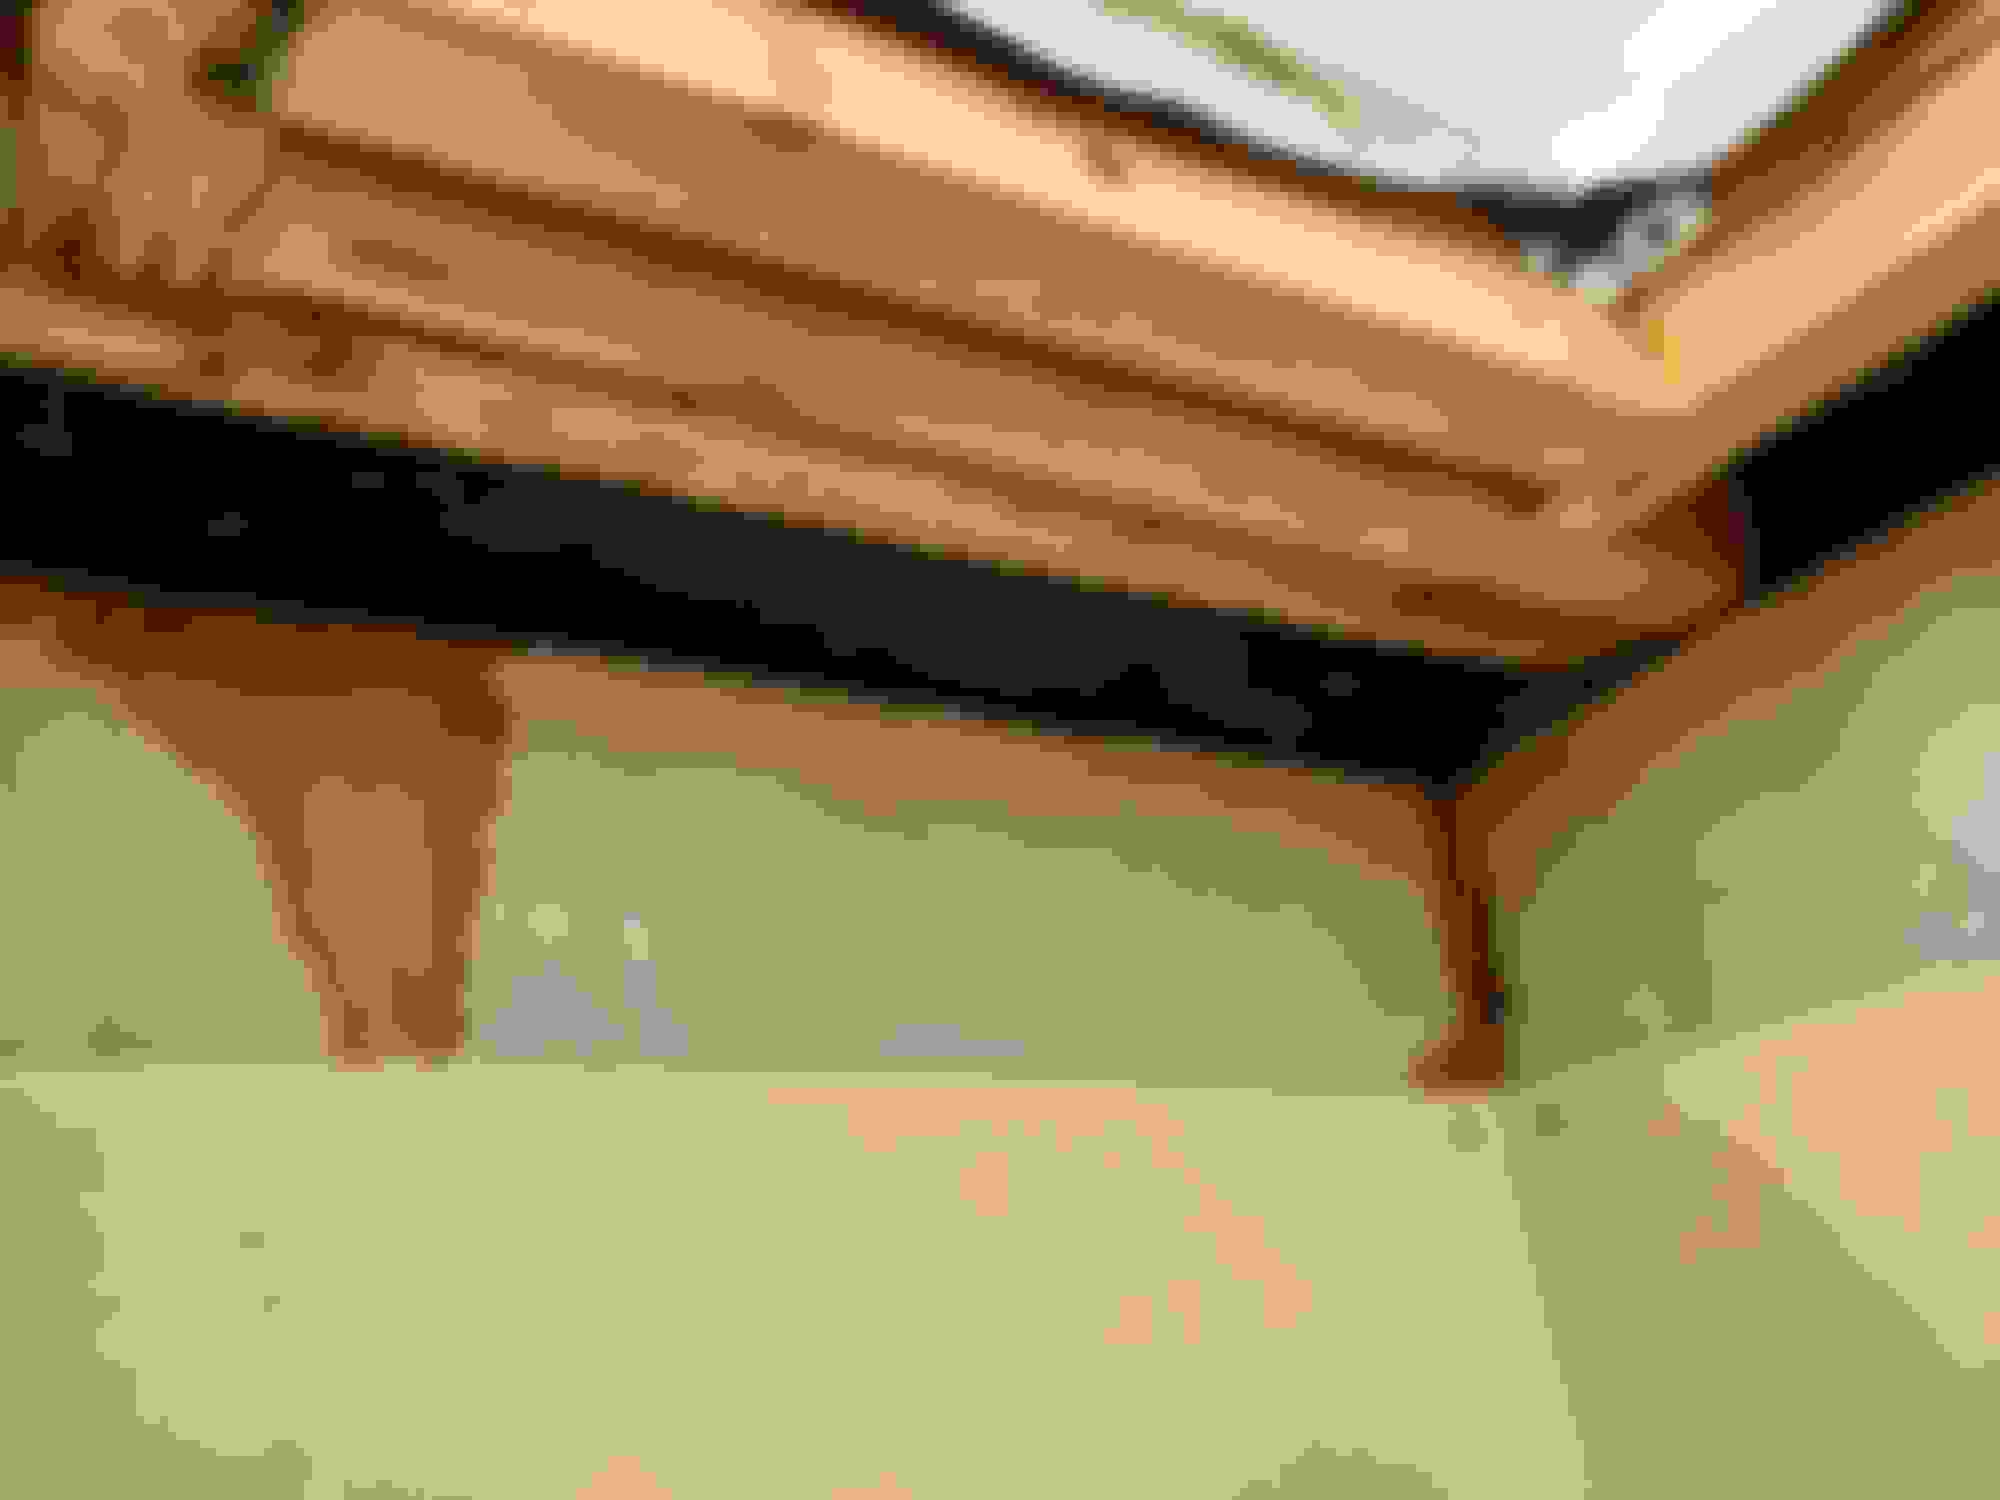
Closeup of the same area. I used pocket hole screws to secure the blind end of the boards. I also made brackets out of angle aluminum to firm up the joints of the existing wood that I didn't take down. The wallpaper was in such bad shape that just touching it caused it to flake off. I'm going to run the FRP panel down the wall to cover that up.
Another new board. Yes, I put glue on the wrong side. The glue did end up being useful as it held the new foam board in place.
Since I have the ceiling apart, I decided to upgrade the switches. Instead of a single switch, I'm going to install a 4 gang switch panel. One switch for the lights on the vanity mirror, another for the regular light on the ceiling, a new one for a red night light (so I can find my way to the bathroom without running into everything) and one for the exhaust fan. The current switch for the exhaust fan is on the exhaust fan and my wife can't reach it that easily. The new switches will look exactly like the old switch. I thought about upgrading to something nicer, but then I would want to change ALL the switches.
Rain threatened yesterday and there were some sprinkles. I wasn't willing to pull all the screws out of the roof molding with the possibility of rain. The arched roof is complicating things. A 2"x3" (not a 2"x4") that fits in the center, doesn't fit at the edge, so I have to design in a decrease in height to anything I add. Removal of the existing ceiling (the 1/4" Luan and the plastic covering on it) was a lot more difficult than I expected. As near as I can tell, the ceiling was laid on top, after the wall studs and cabinetry were up, but before the roof was installed. So the ceiling goes over a wall as one complete piece of Luan/plastic. I have to cut the Luan/plastic about half way across the top of the wall. My Dremel got a workout this weekend doing that.
Rain threatened yesterday and there were some sprinkles. I wasn't willing to pull all the screws out of the roof molding with the possibility of rain. The arched roof is complicating things. A 2"x3" (not a 2"x4") that fits in the center, doesn't fit at the edge, so I have to design in a decrease in height to anything I add. Removal of the existing ceiling (the 1/4" Luan and the plastic covering on it) was a lot more difficult than I expected. As near as I can tell, the ceiling was laid on top, after the wall studs and cabinetry were up, but before the roof was installed. So the ceiling goes over a wall as one complete piece of Luan/plastic. I have to cut the Luan/plastic about half way across the top of the wall. My Dremel got a workout this weekend doing that.
Remodel work is 3 times harder than build new.......
 04-04-2020, 09:02 PM