When you click on links to various merchants on this site and make a purchase, this can result in this site earning a commission. Affiliate programs and affiliations include, but are not limited to, the eBay Partner Network.
Remodel work is 3 times harder than build new.......
No doubt. As I go through this I have to figure out how/why they did things. There is a duct from the A/C into the bathroom. There was a bunch of silver tape on it and I thought that looked strange. There was a joint that was just two sections of ductwork that didn't go together well so they just put a bunch of tape on it. I took it apart and found that one side of the duct was crushed. A good amount of the air was likely going into the ceiling and never making it into the bathroom. I'm going to have to come up with a plan for that. I'm thinking of making a sleeve out of aluminum flashing (because I have plenty of that) that will fit inside the ends of both sections. That should keep it from getting crushed. And then I'll put lots of tape on it.
No doubt. As I go through this I have to figure out how/why they did things. There is a duct from the A/C into the bathroom. There was a bunch of silver tape on it and I thought that looked strange. There was a joint that was just two sections of ductwork that didn't go together well so they just put a bunch of tape on it. I took it apart and found that one side of the duct was crushed. A good amount of the air was likely going into the ceiling and never making it into the bathroom. I'm going to have to come up with a plan for that. I'm thinking of making a sleeve out of aluminum flashing (because I have plenty of that) that will fit inside the ends of both sections. That should keep it from getting crushed. And then I'll put lots of tape on it.
Remember.... If a little tape works, more is better.
It's a good thing my words don't get painted on the wall. There would be many instances of "WTF?".
All the new wood gets glued, screwed and tattooed. The tattoo being a sharpie marker with instructions on which way to install it, that I somehow manage to ignore.
I'm done installing the rigid foam insulation. I'm going to go back and fill in the gaps with expanding foam. I tried to hide as many wires behind, or in, the foam insulation.
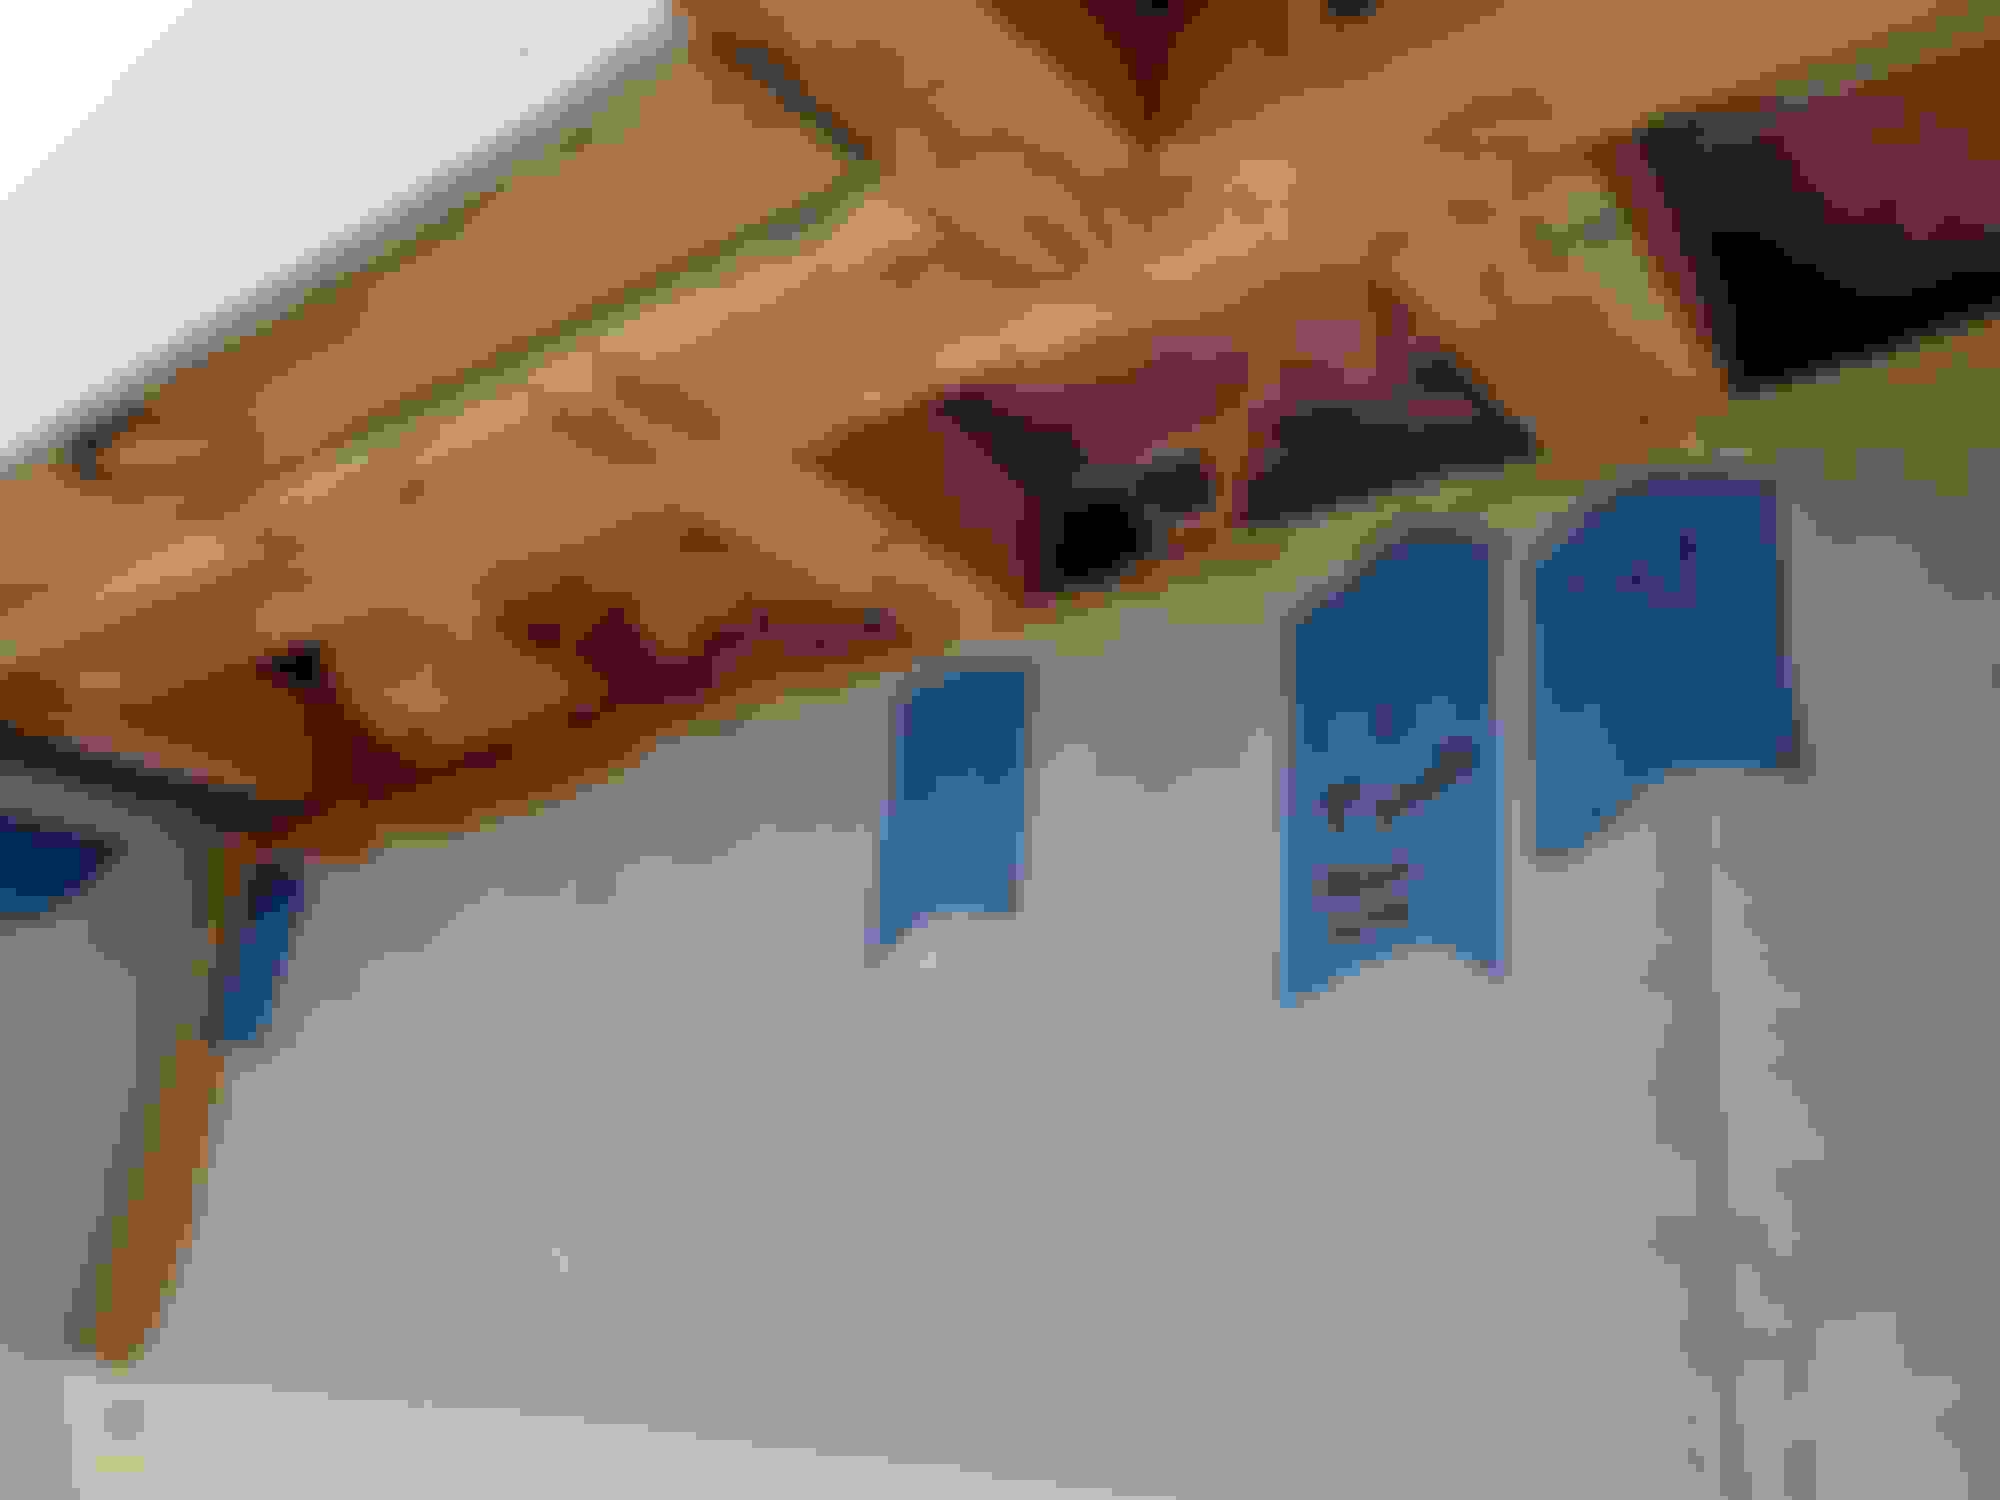
This is the ductwork that has a problem. The next section goes to a round duct. I'm looking for a rectangular one that I can go to right after the section pictured below. I think part of the problem is that the knuckleheads at the factory ran all those wires OVER the duct instead of under it. The wires you can see in the picture is maybe 15% of the bundle.
The bundle of wires I ran through the wall. Six wires total. I started making the connections for the wires today and testing them. Normally I wait until everything has been buttoned up to do any testing.
On mine..... I have the same problem with A/C ducing in the ceiling...... I used 1 1/4" or 1 1/2" Sch 20 PVC pipe pushed into the ducking. Since the PVC pipe is Sch 20 it is light weight. Doesn't offer any real resistance to air flow because the air just blows through it.... The performance of the A/C in the trailer improved a whole bunch due to double the air flow.
I ordered a 4"x8" rectangle register. That's the right shape and size, the 8" part at least. The ductwork was going over the truss that is in the blurry foreground of the picture. What I'm going to do is make a 90� corner BEFORE the truss and the register will come out there.
Here is the rest of the ductwork that wasn't in any of the other pictures. It's almost 18" long. I'm going to reuse the materials from that to create the link to the new register.
More progress today. The A/C duct slowed me down. I'm not very good at sheet metal fabrication. I did learn that sheet metal is very sharp. I bought a new register that is rectangular. The old one was circular. I was thinking the new register would fit to the left of the roof truss, but there wasn't enough room. I created an extended duct to get the register to the right of the truss.
With the insulation around the new duct and the duct secured to the truss.
I had some Coroplast laying around from another project so I lined the skylight with the Coroplast. This will keep the crud from the attic coming out and getting on the bottom panel of the skylight. When I removed the bottom panel for this project it had a lot of sawdust and stray insulation fibers. The white Coroplast will also prevent any shadows from the wood frame from showing through the lower skylight panel. Yeah, I could see shadows before this project, but never knew what they were.
I cut out the opening for the new four gang switch. The wall panel material is so flimsy. The clamps are holding 1"x2" that I glued in above and below the opening. This should give the switch panel something solid to hold onto.
Looking good. I like the work you are do to the trailer. I can say it's not easy to work in such small spaces. The only thing I can offer for advice is keep an eye on the Coroplast in the bathroom skylight. coro will start breaking down after awhile. It might be worth looking into getting some 1/4 inch PVC for the remodel. It is not generally found in home improvement stores. However, check with the local sign shop/ graphics shop. They will work with the media. I know since i worked in the business for awhile. Shops that work with it, will generally have scraps around and would probably let them go for next to nothing.
Thanks for you kind words. Hopefully, the trailer is long gone by the time the Coroplast breaks down. It's pretty easy to get to it even after all this is done. Four screws and it's exposed.
We bought a Forest river product in 08 new then a 11 and then a 12. I worked at a RV dealer in the 70's and we sold Foresters made in Forest city Ia across the road from Winnebago. The Foresters quality was amazing at the time. I guess I had that thought stuck in my mind when we bought Forest river. Don't think I'll make that mistake again a 4th time. The 12 is disintegrating, things falling apart just from moving the slide outs out etc. Everyone wants to get top dollar for a product and have minimum wage workers that are untrained that don't want to work building crap. Sorry for rant just cannot come to grips with shoddy. All of your repairs look good and wish you luck at trade in time on getting a better assembled unit.
Whew! What a day. After "attending" church I boogied down to the storage lot.
First up was adding support "brackets" along the wall. These are 6" long, 2"x2" blocks that are glued to the truss and the top of the wall. They each have at least one screw to pull them into the truss. I wanted to minimize the amount of flex in the backer piece of plywood.
While I was there, I added foam insulation in the void in the truss. This is the only truss in the bathroom. The rest of the cross pieces supporting the roof are 2"x4".
Final view of the insulation before the rest of the plywood is installed. The two largest sections of insulation add up to R-18 (assuming that they additive).
This is the biggest expanse of plywood to go up. I added a second layer of plywood to give the two lights and the register to have something more to bite into than just one layer of plywood.
All plywood is glued and stapled into place. The boards pressing on the ceiling are there to push the plywood onto the foam insulation. The on-board air compressor was stout enough to power my Bostitch stapler, which was a HUGE help. Unfortunately, the compressor/tank must have a leak as it kept cycling.
I tried to apply glue to the boards/truss on the ceiling. That sure didn't work very well. What a mess. It was raining glue. I'm sure there's a technique for that, but I sure didn't have it.
 04-20-2020, 08:37 AM