When you click on links to various merchants on this site and make a purchase, this can result in this site earning a commission. Affiliate programs and affiliations include, but are not limited to, the eBay Partner Network.
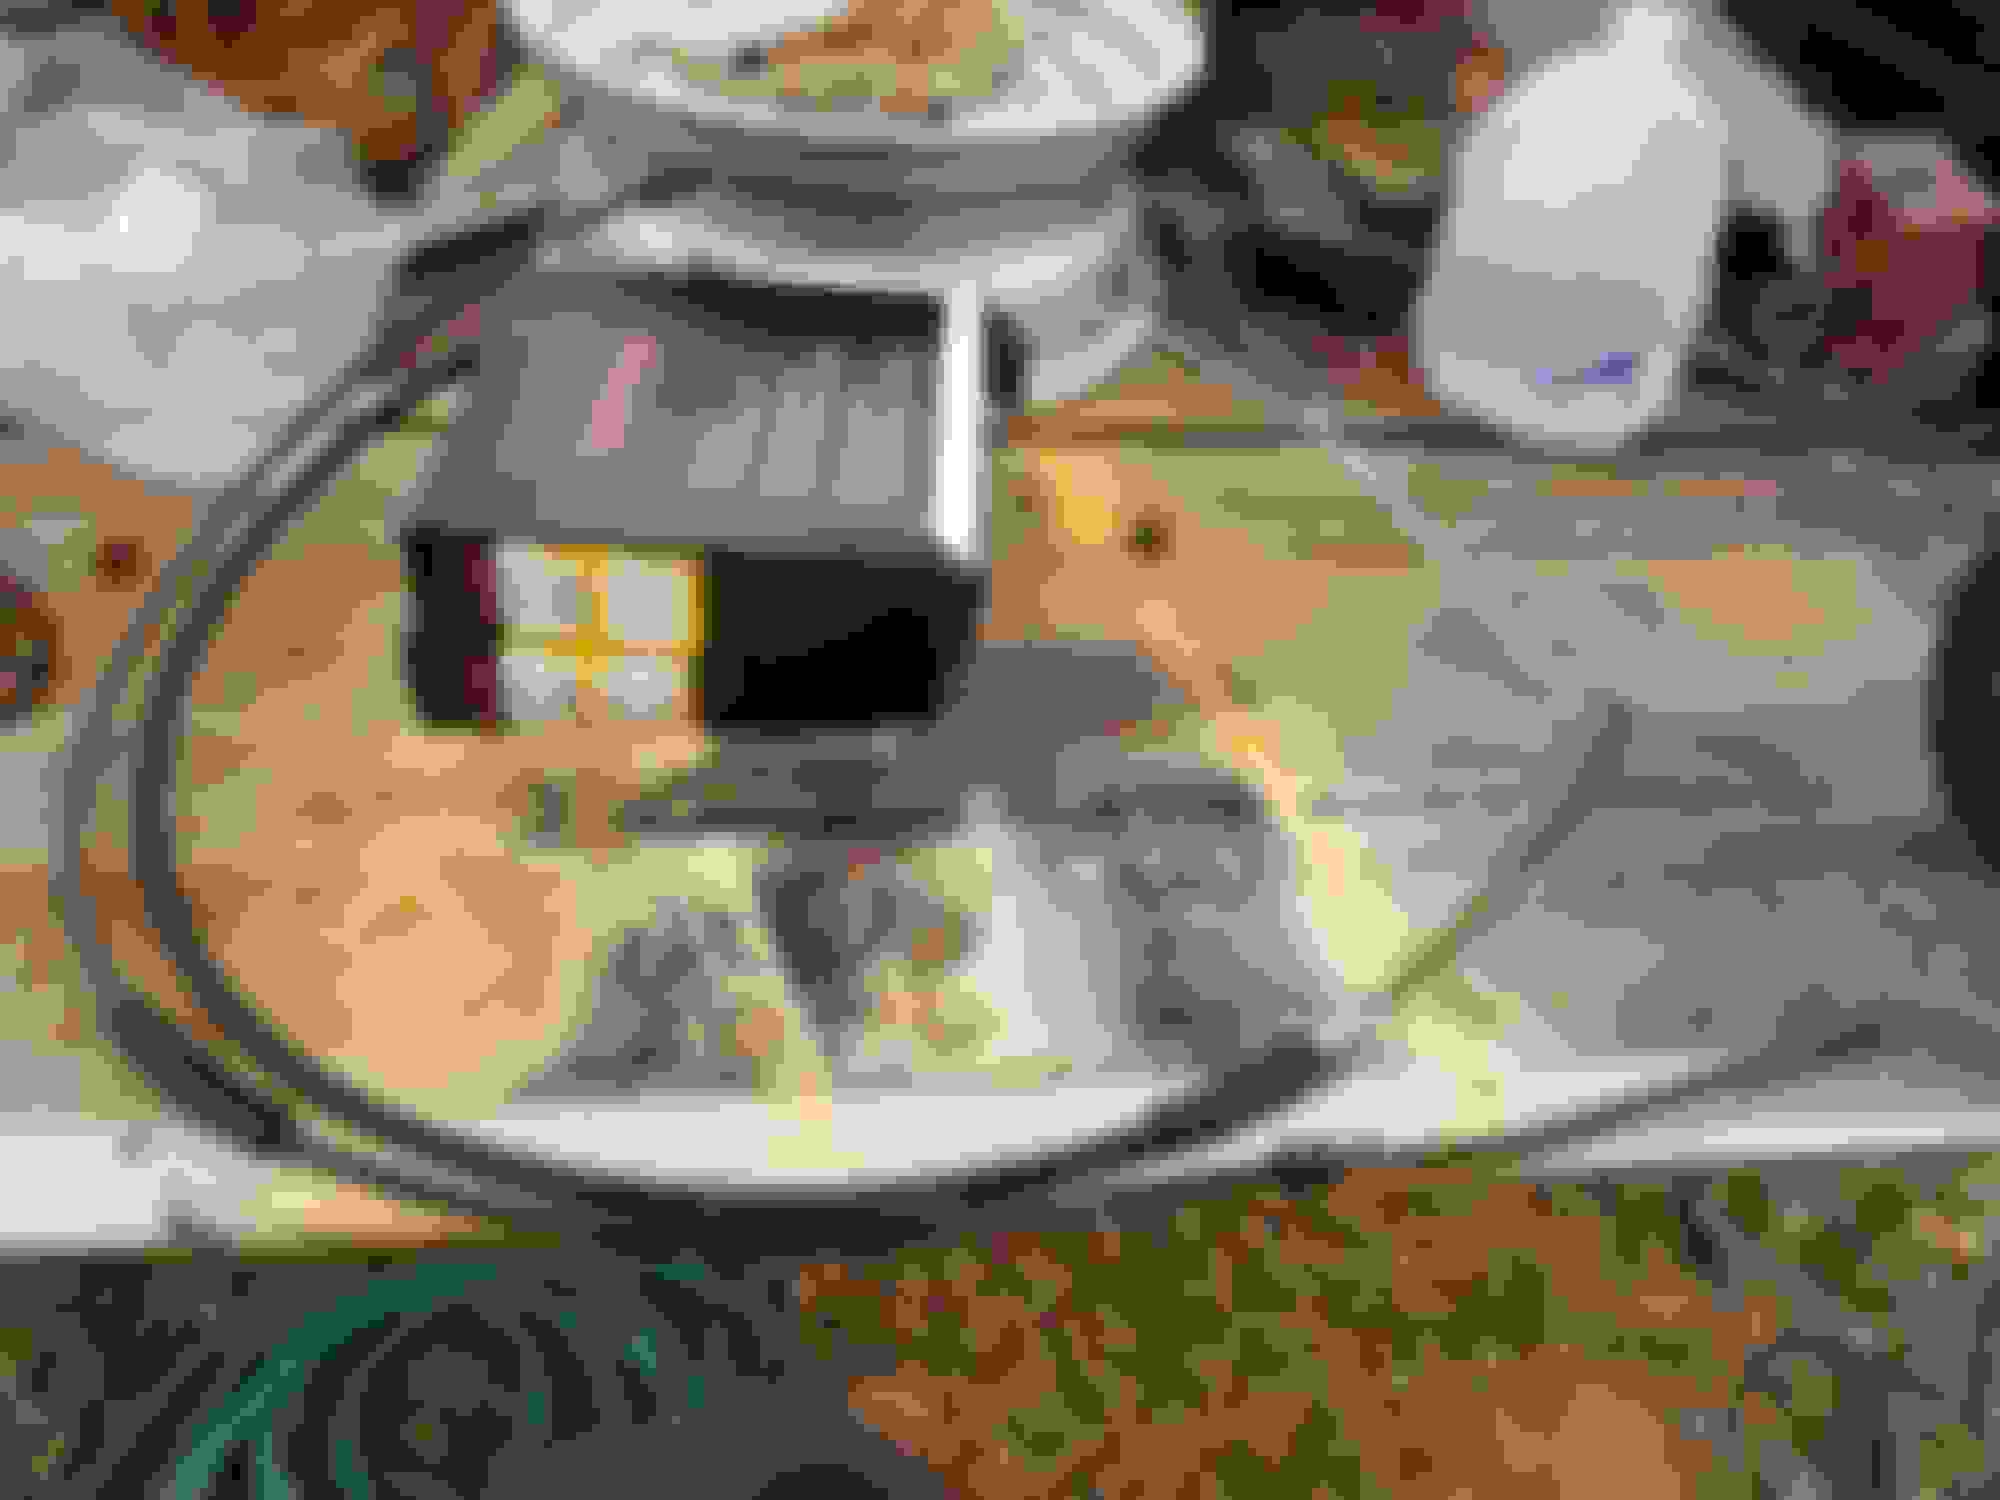
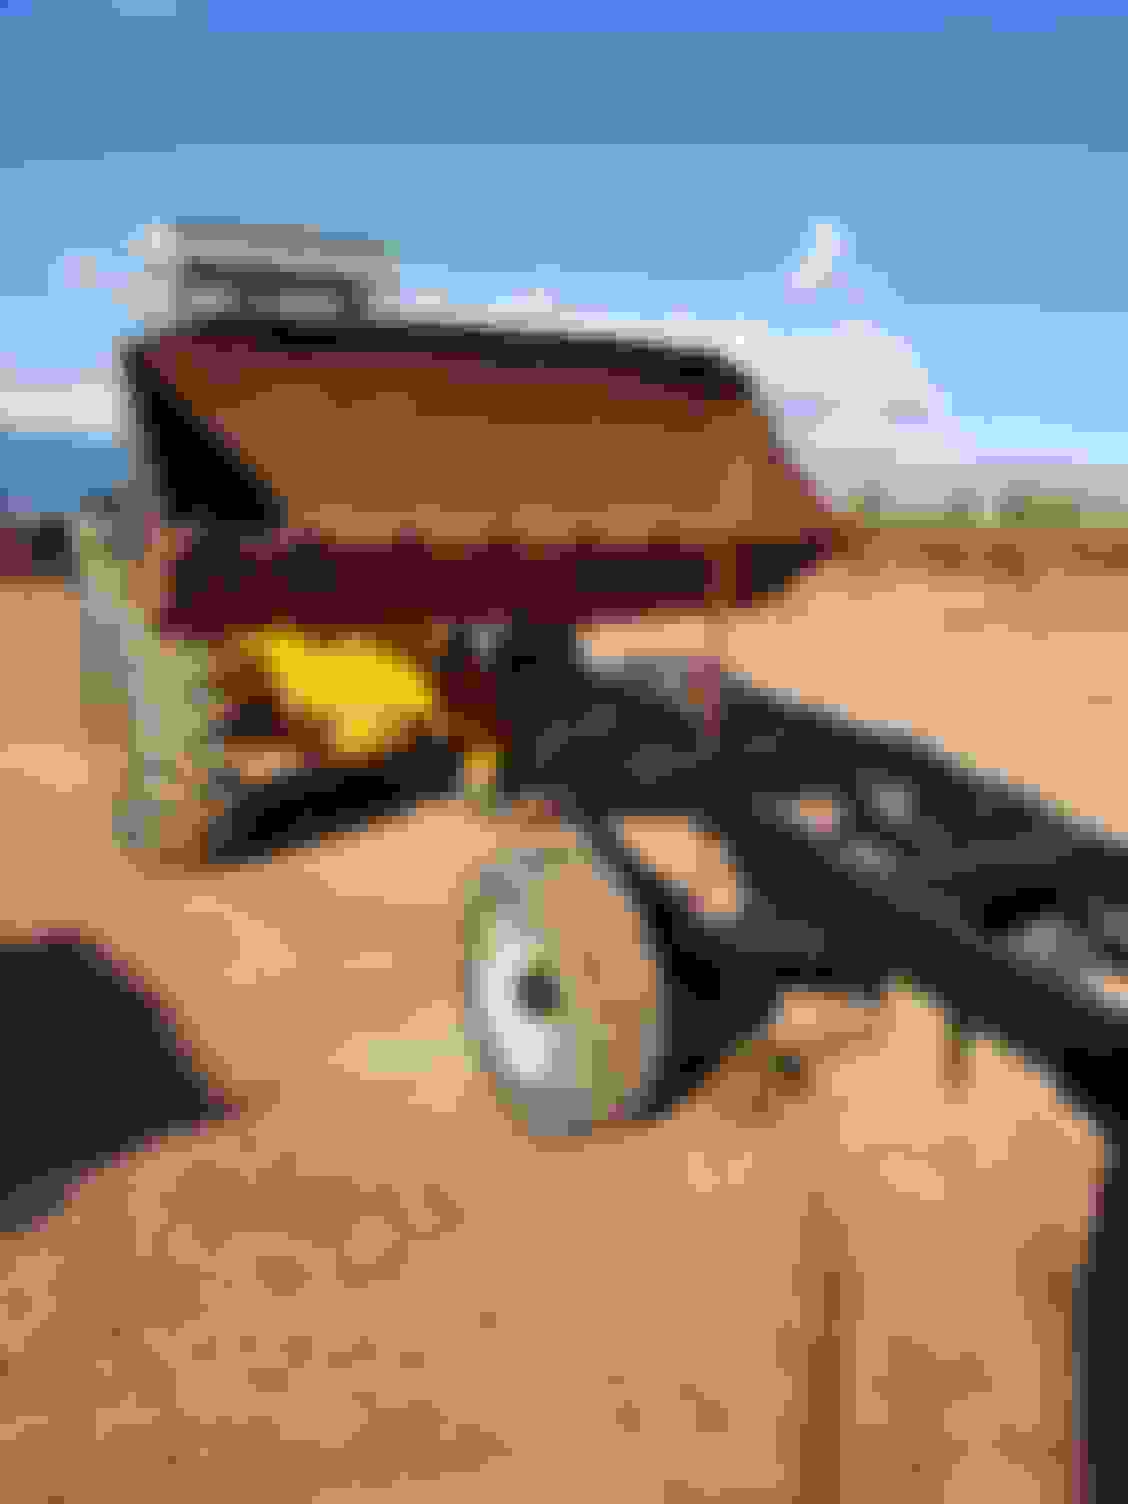
Since I had some time before the storm rolled in over the mountains I decided to try and install the spring bushings that went into the chassis.
I bought a piece of the harder all-thread and some grade 8 nuts and washers.
I had someone suggest coating the outside of the new bushings in cooking oil or something not very slippery to help the bushings draw in easier. I used a impact socket as a spacer and lubricated the all-thread with anti-sieze.
I used original rubber bushings. MOOG K200951 fits rear upper and lower shackle positions on the front leaf springs.
I wouldn't call the process easy or fun but it was successful and all washers, nuts and the all-thread was pretty much ruined afterwards.
I plan to use a press for the spring eyes.
Last edited by BinderDan; 02-25-2020 at 10:51 PM.
Reason: Inaccuracy
put the next set in the deep freeze for 24 hrs and with the slightest bit of oil, you can tap them in with light hammer taps. (or draw/press them in much easier)
put the next set in the deep freeze for 24 hrs and with the slightest bit of oil, you can tap them in with light hammer taps. (or draw/press them in much easier)
Today I pulled some parts from the original body that needed to go to the sandblaster. Mostly mounting brackets for brake lines and proportioning valve.
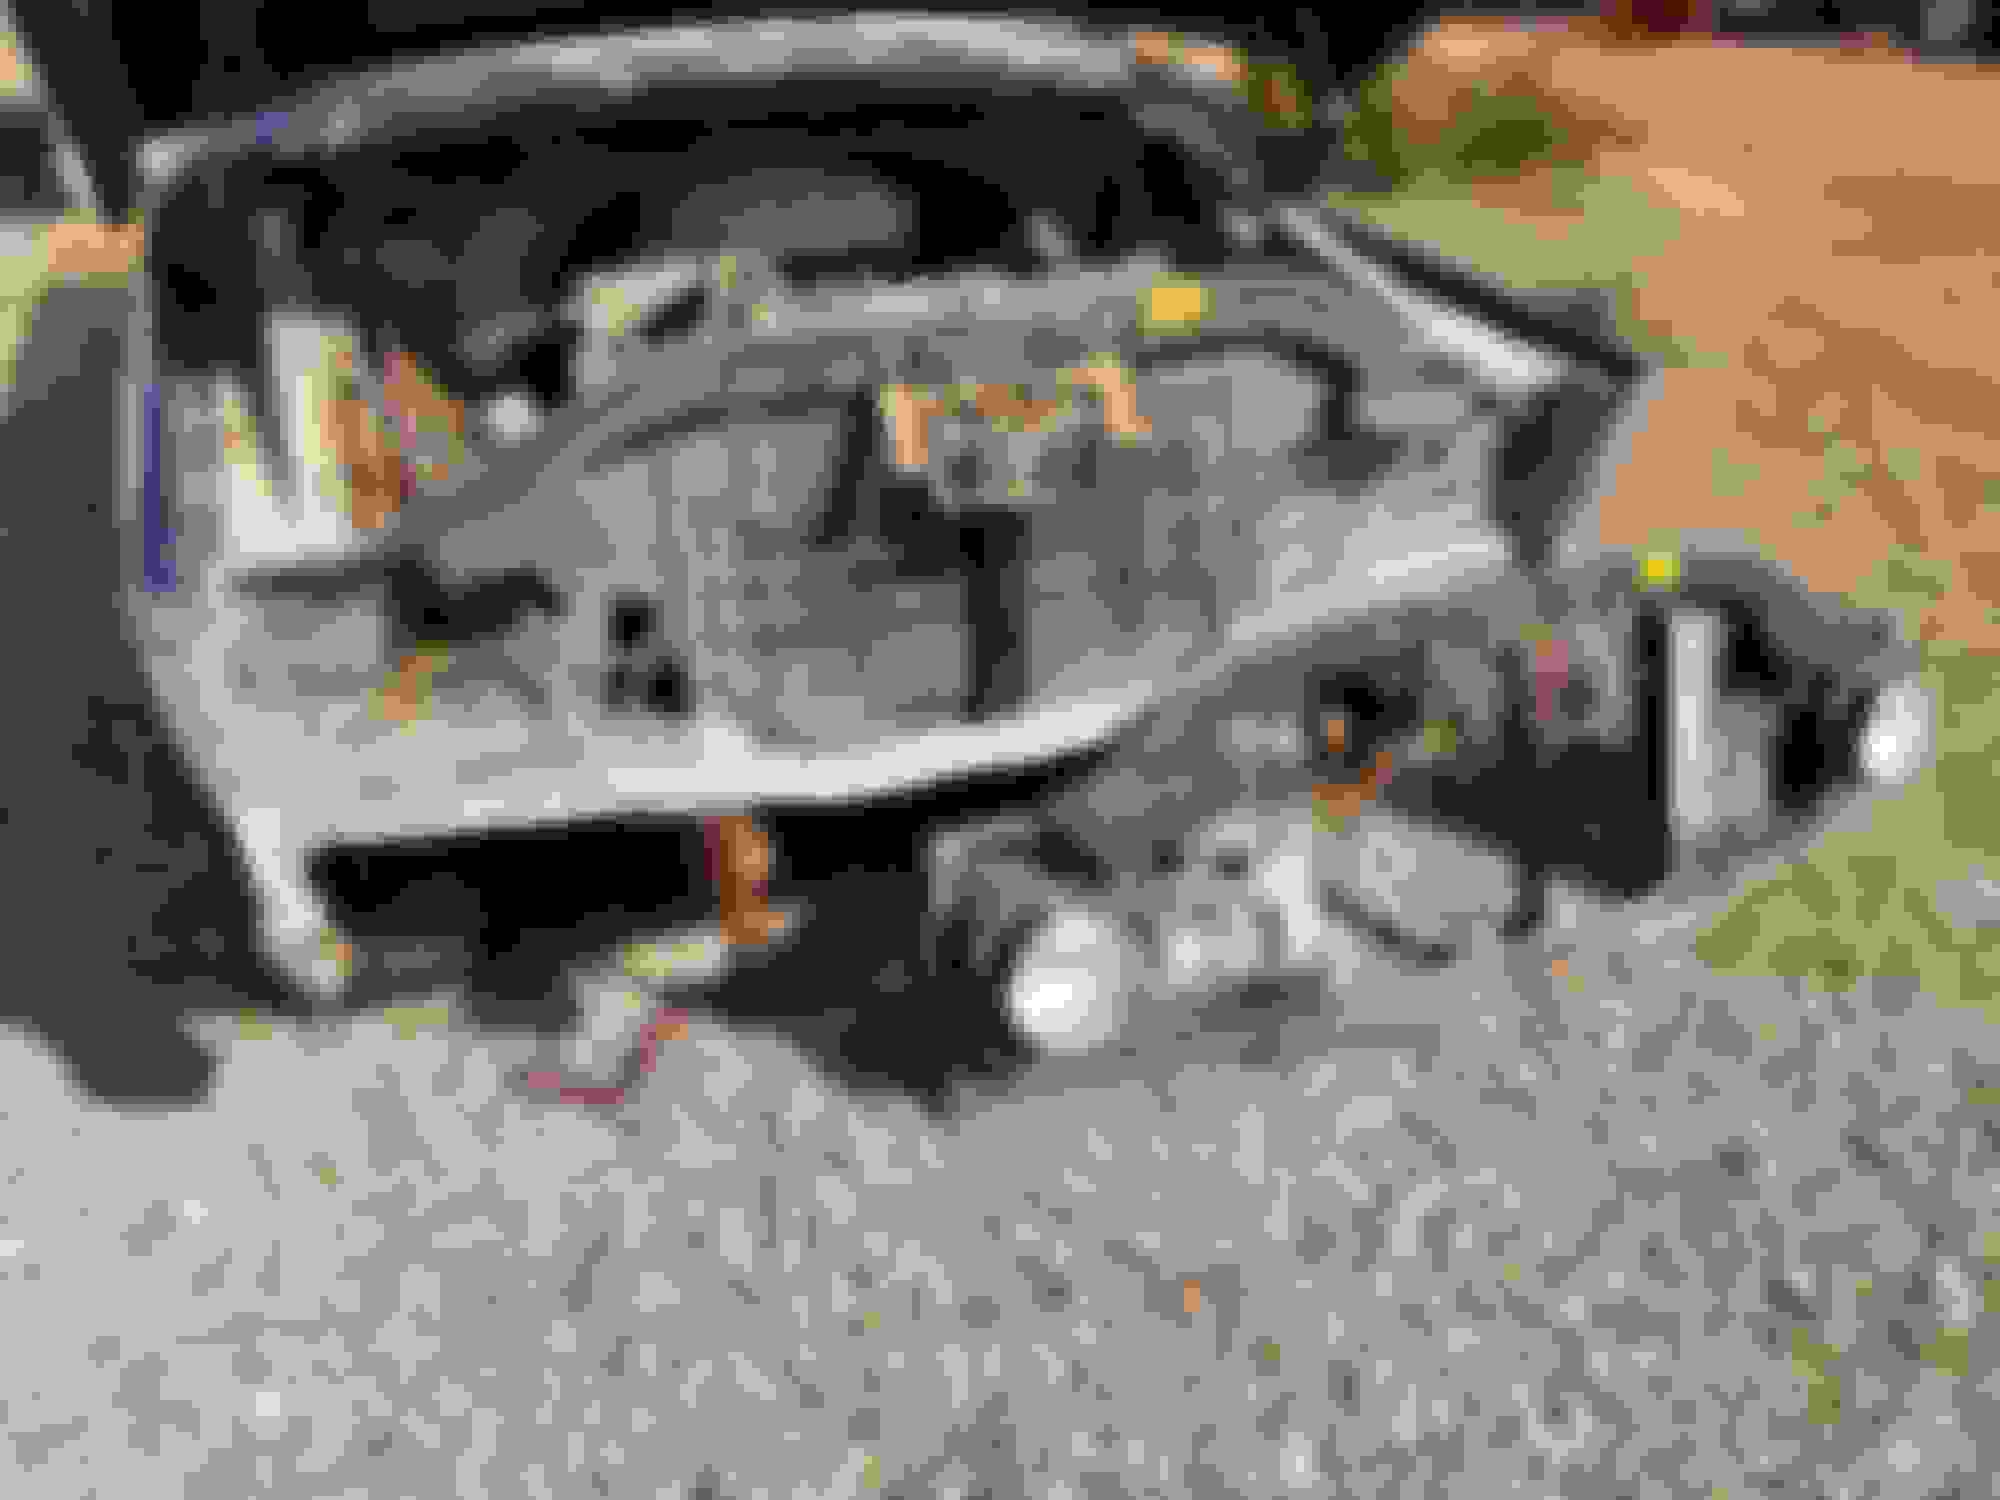
I remembered there was something specific about how the radiator mounting was in a highboy vs all others. A highboy radiator mounts on the engine side of the radiator vs the rest bolt directly to the core support on the front side of the radiator.
So I decided since my original core support wasn't in too bad of shape I would get it blasted and painted to be reused.
Looks identical from front except headlight mounting holes.
Notice the brackets for mounting the radiator.
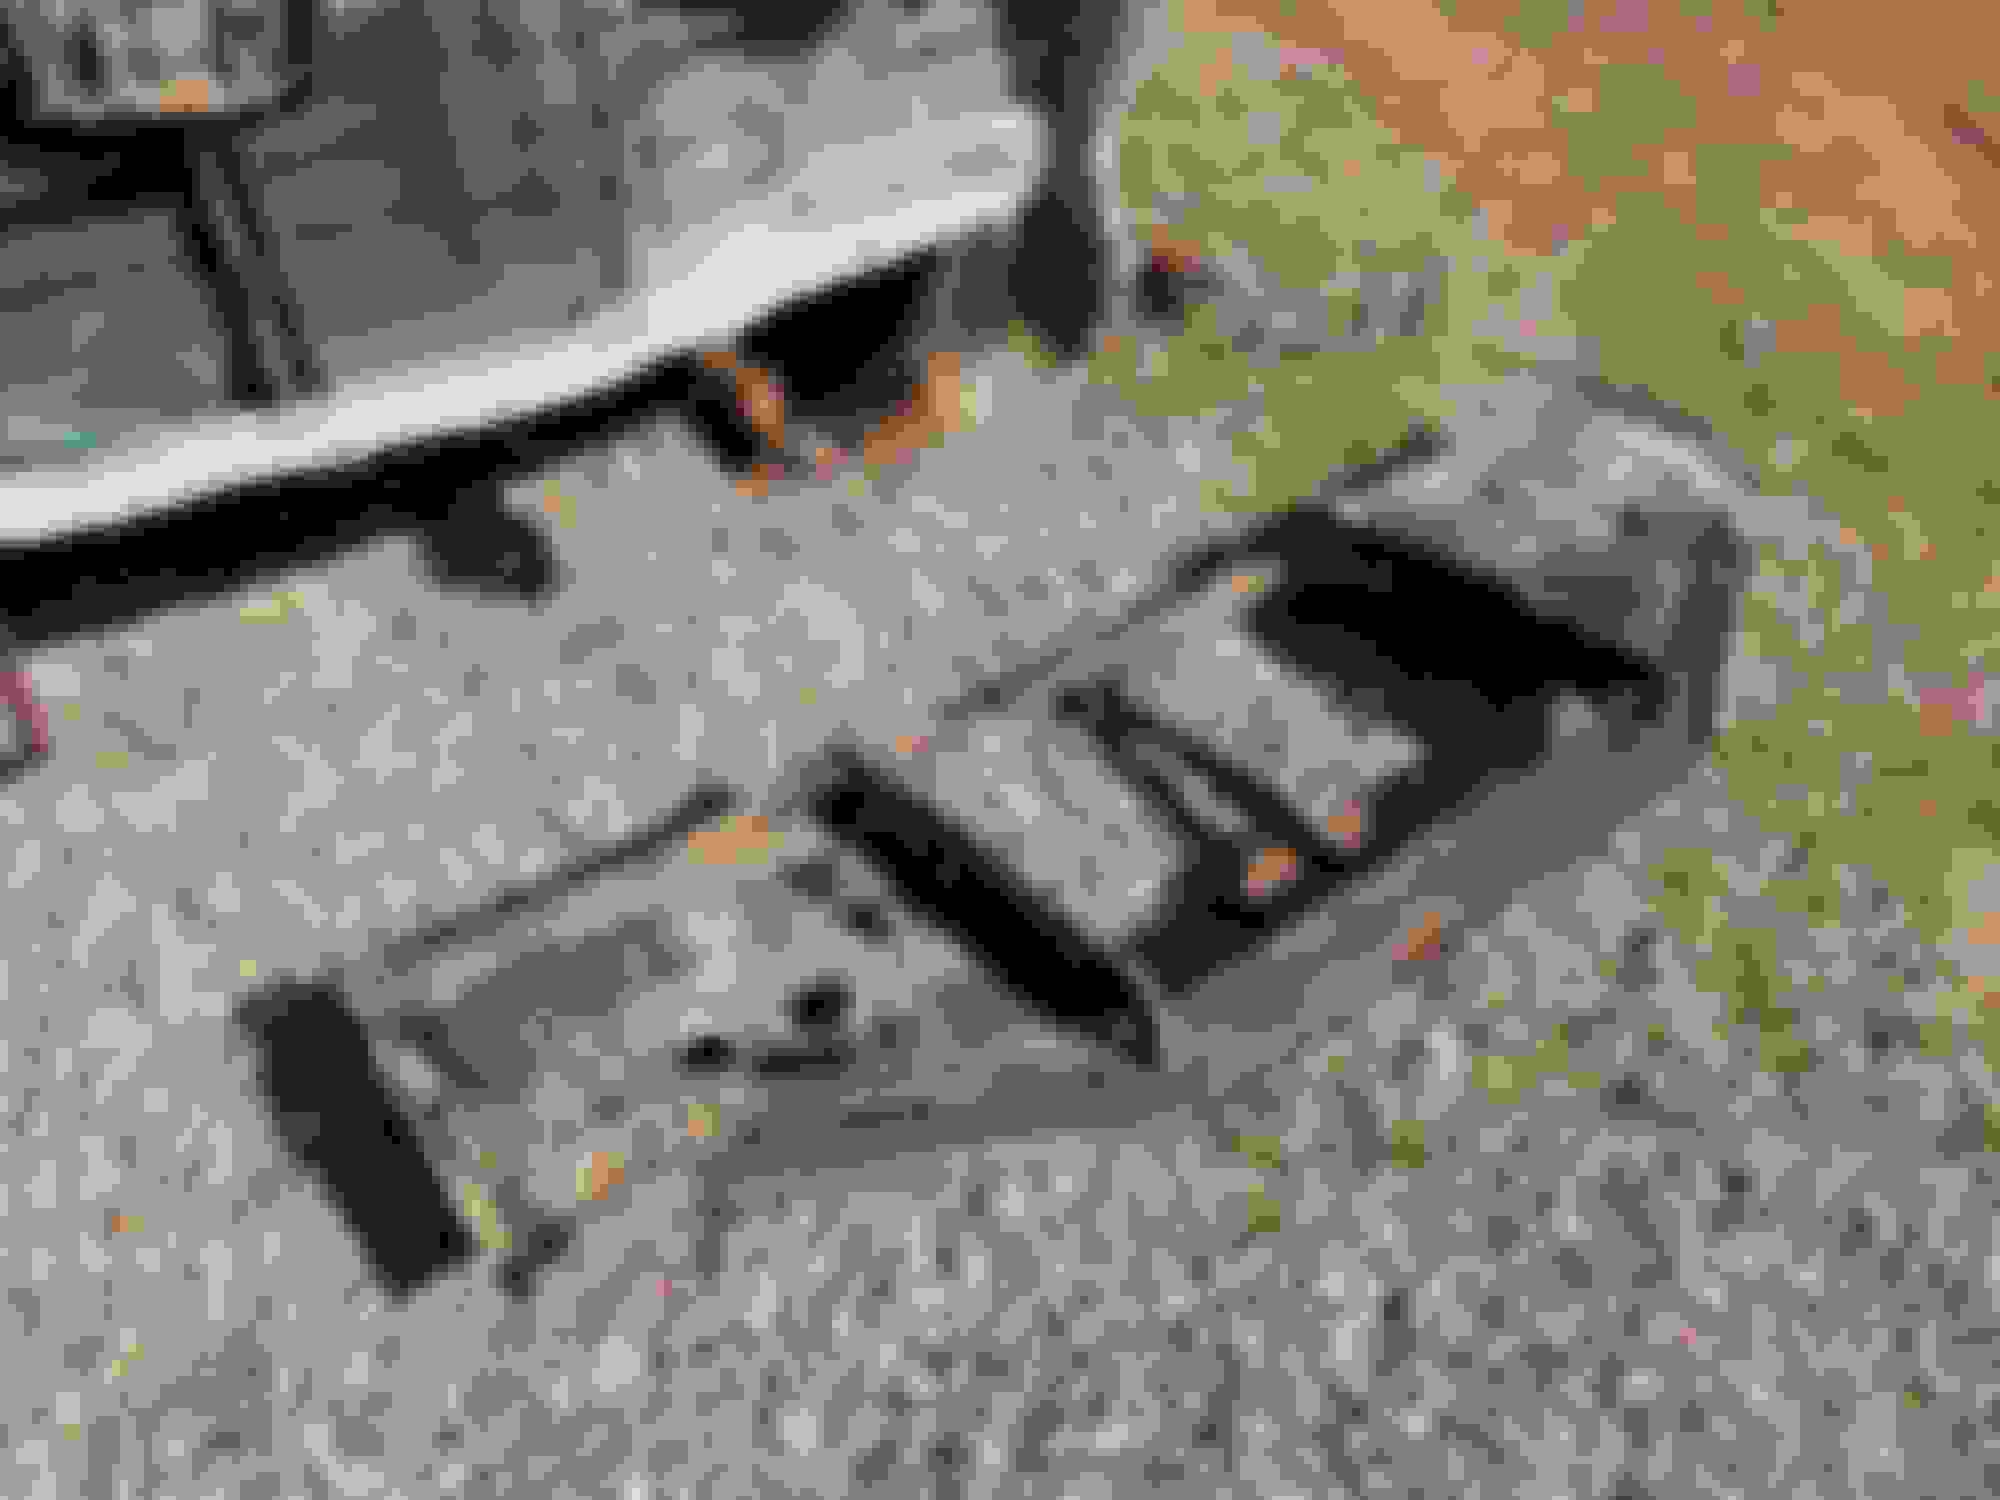
While the 79 F-150 parts truck's core support doesn't have the brackets, and the radiator bolts directly to core support.
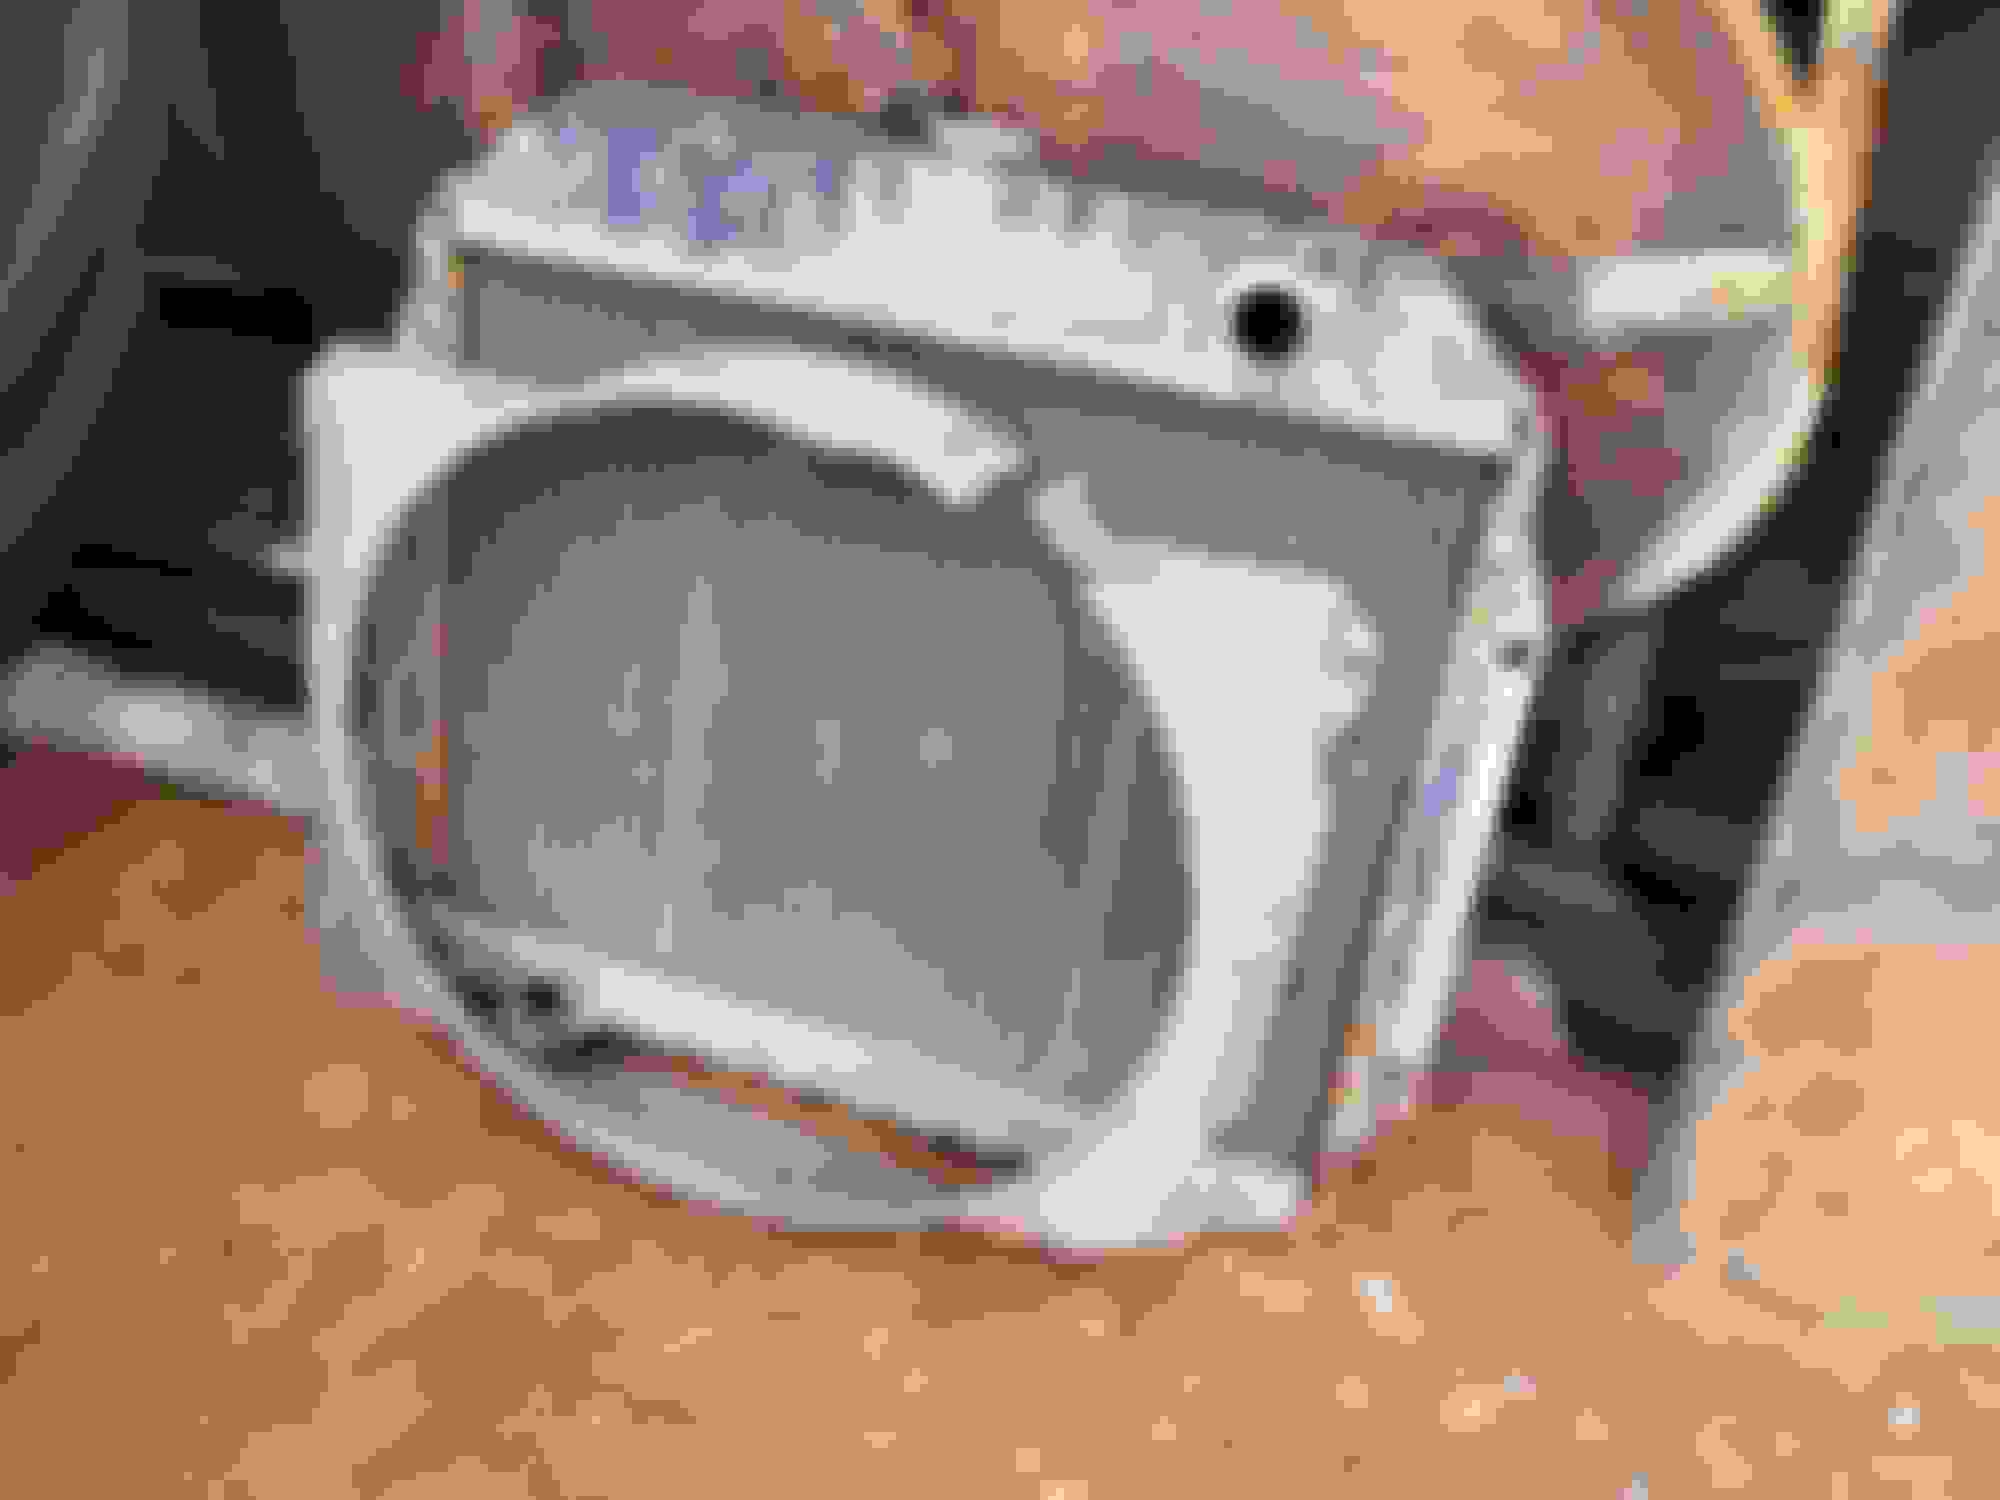
Original highboy radiator, with mounting holes on engine side.
New Champion aluminum radiator with mounting holes on engine side.
This wasn't listed online and I had to call Champion Radiator directly to order this one.
Champion part number CC444
Sandblaster called and had more parts done! Not really enough to get going yet, but hopefully in a couple days he will be done.
Got the rear axle, engine mounts, cab mounts, and some miscellaneous pieces now.
Tomorrow I'll probably take the rear axle apart and replace the drums and brake parts, as well as pinion seal.
I'm really happy with the looks of the KBS coatings so far. Hopefully durability is good too.
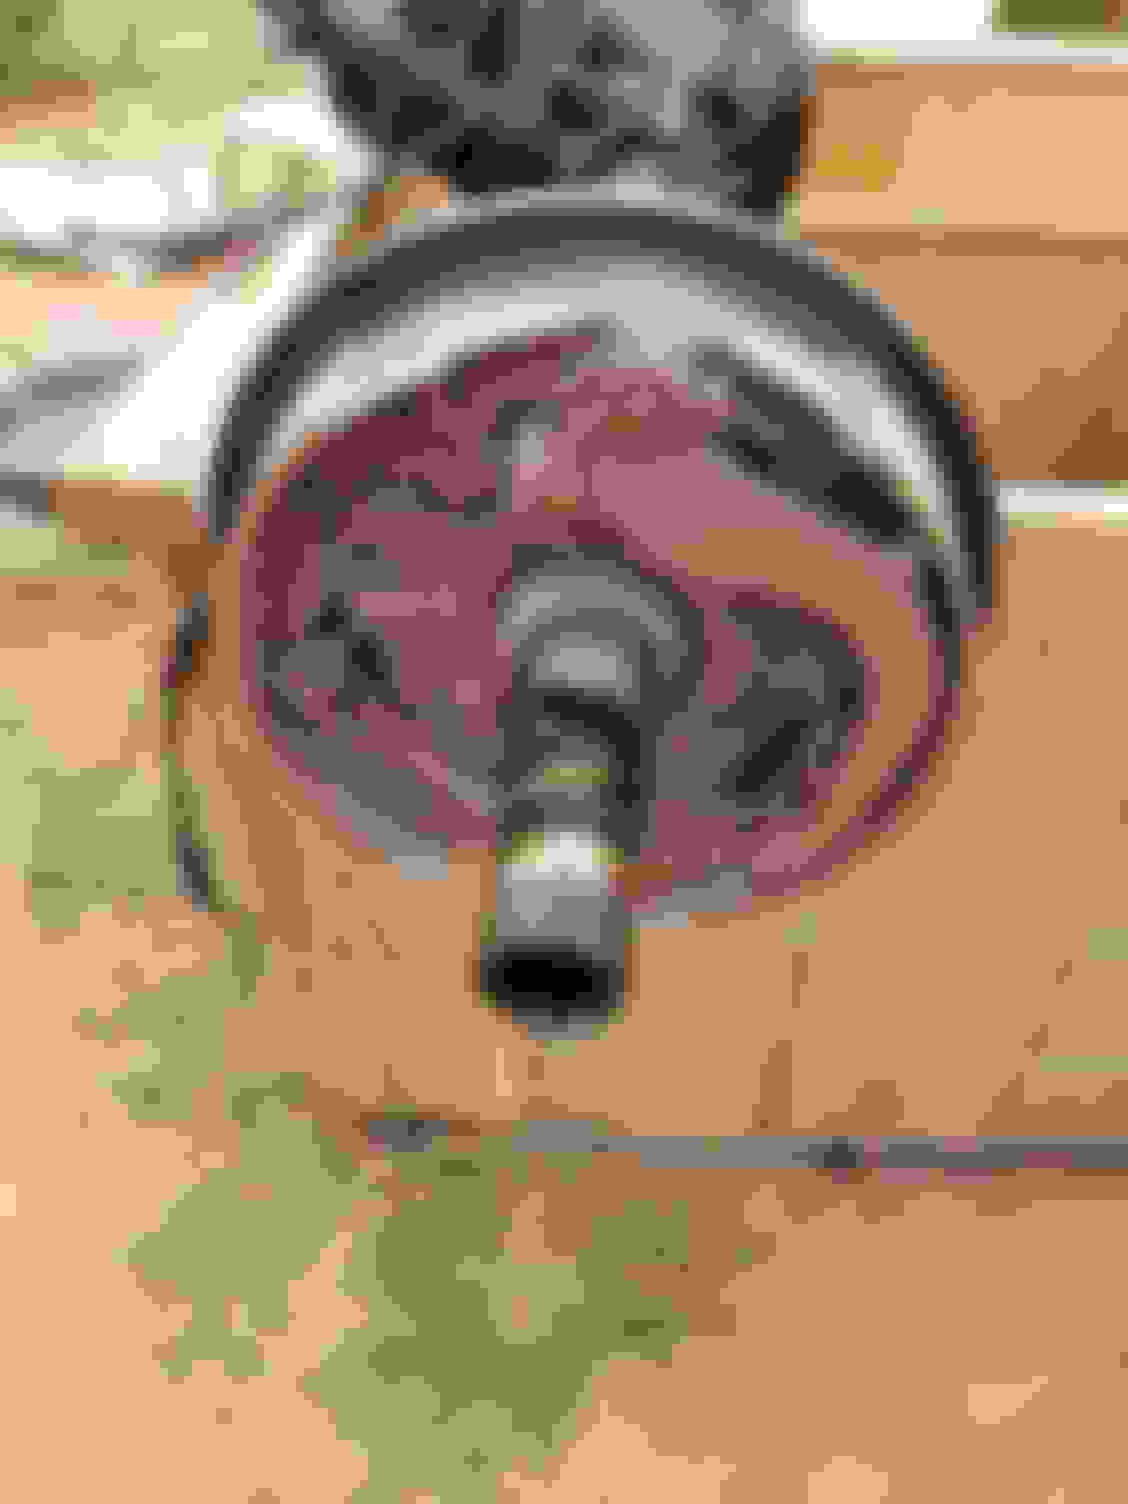
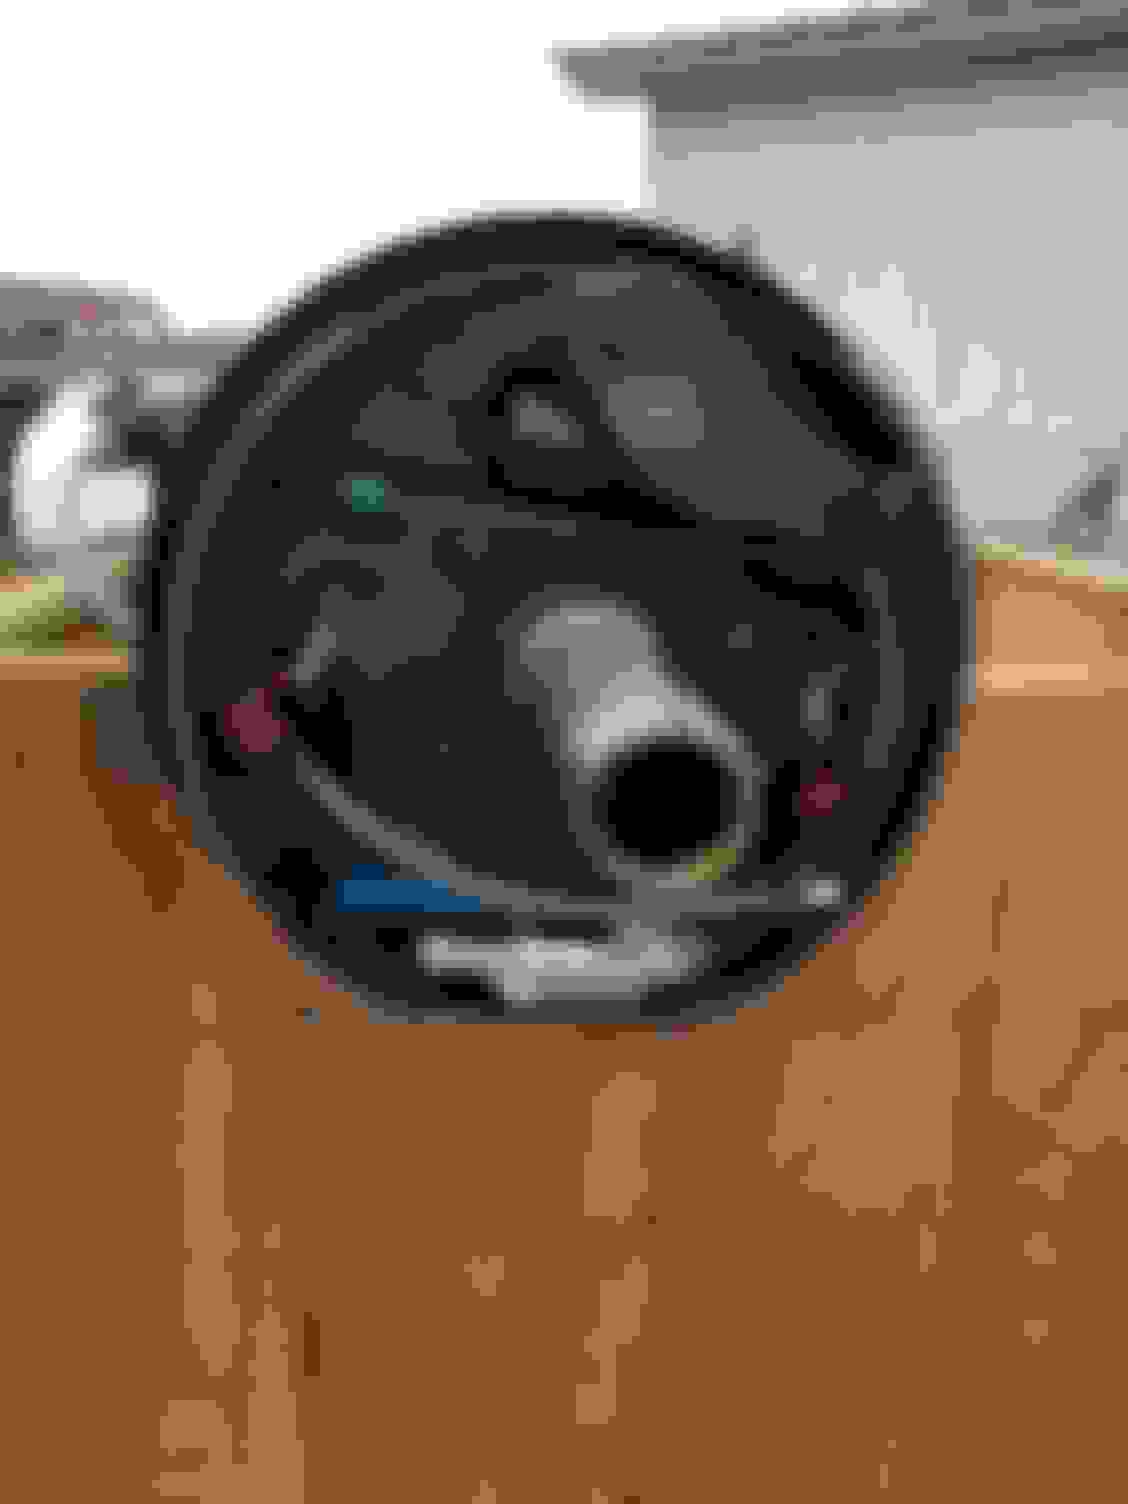
Started redoing the brakes on the rear axle. This truck always had poor brakes, my dad said since new it was never quite right. So I'm ensuring everything is new and functional.
The drums had sand in them from blasting and lots of rust and spiderwebs.
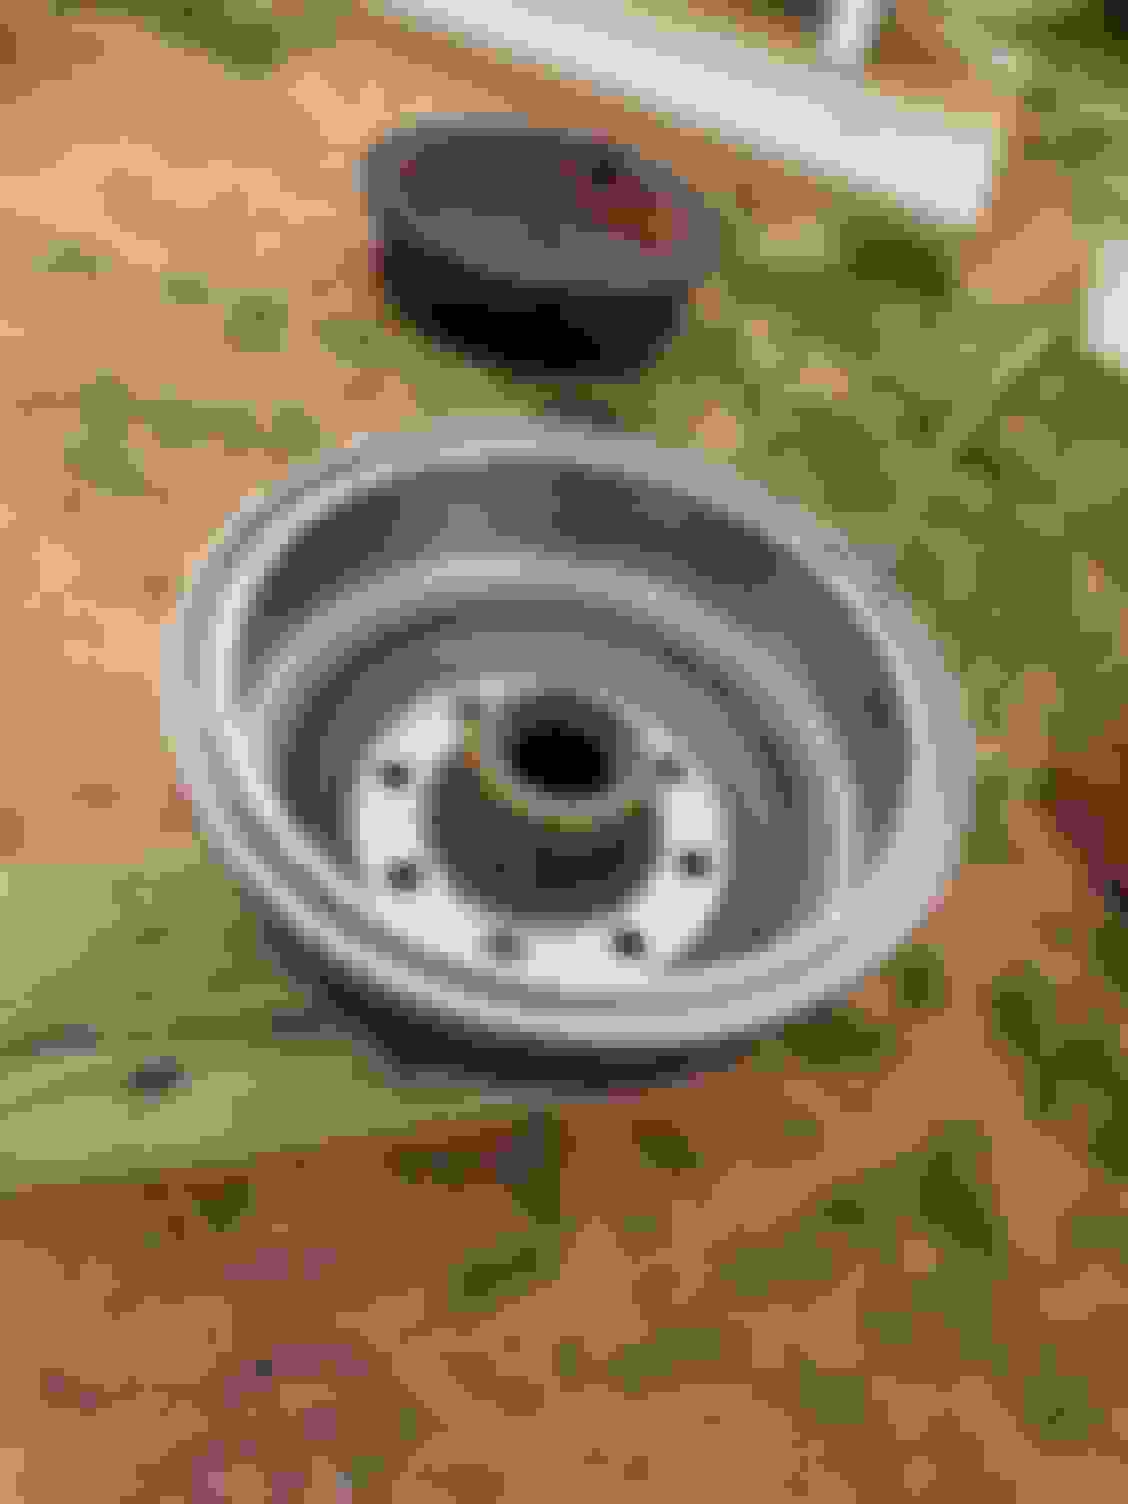
Got new brake drums and wheel seals installed. Timken wheel seal #4250
Raybestos brake drums 1643R
Wheel cylinders Raybestos WC37133/WC37132
Brake shoes Raybestos 316PG
Brake spring kit Raybestos H7146
Self adjusting kit Raybestos H2588/H2589
Also replaced the parking brake cables.
Dorman C95143 for left and right side.
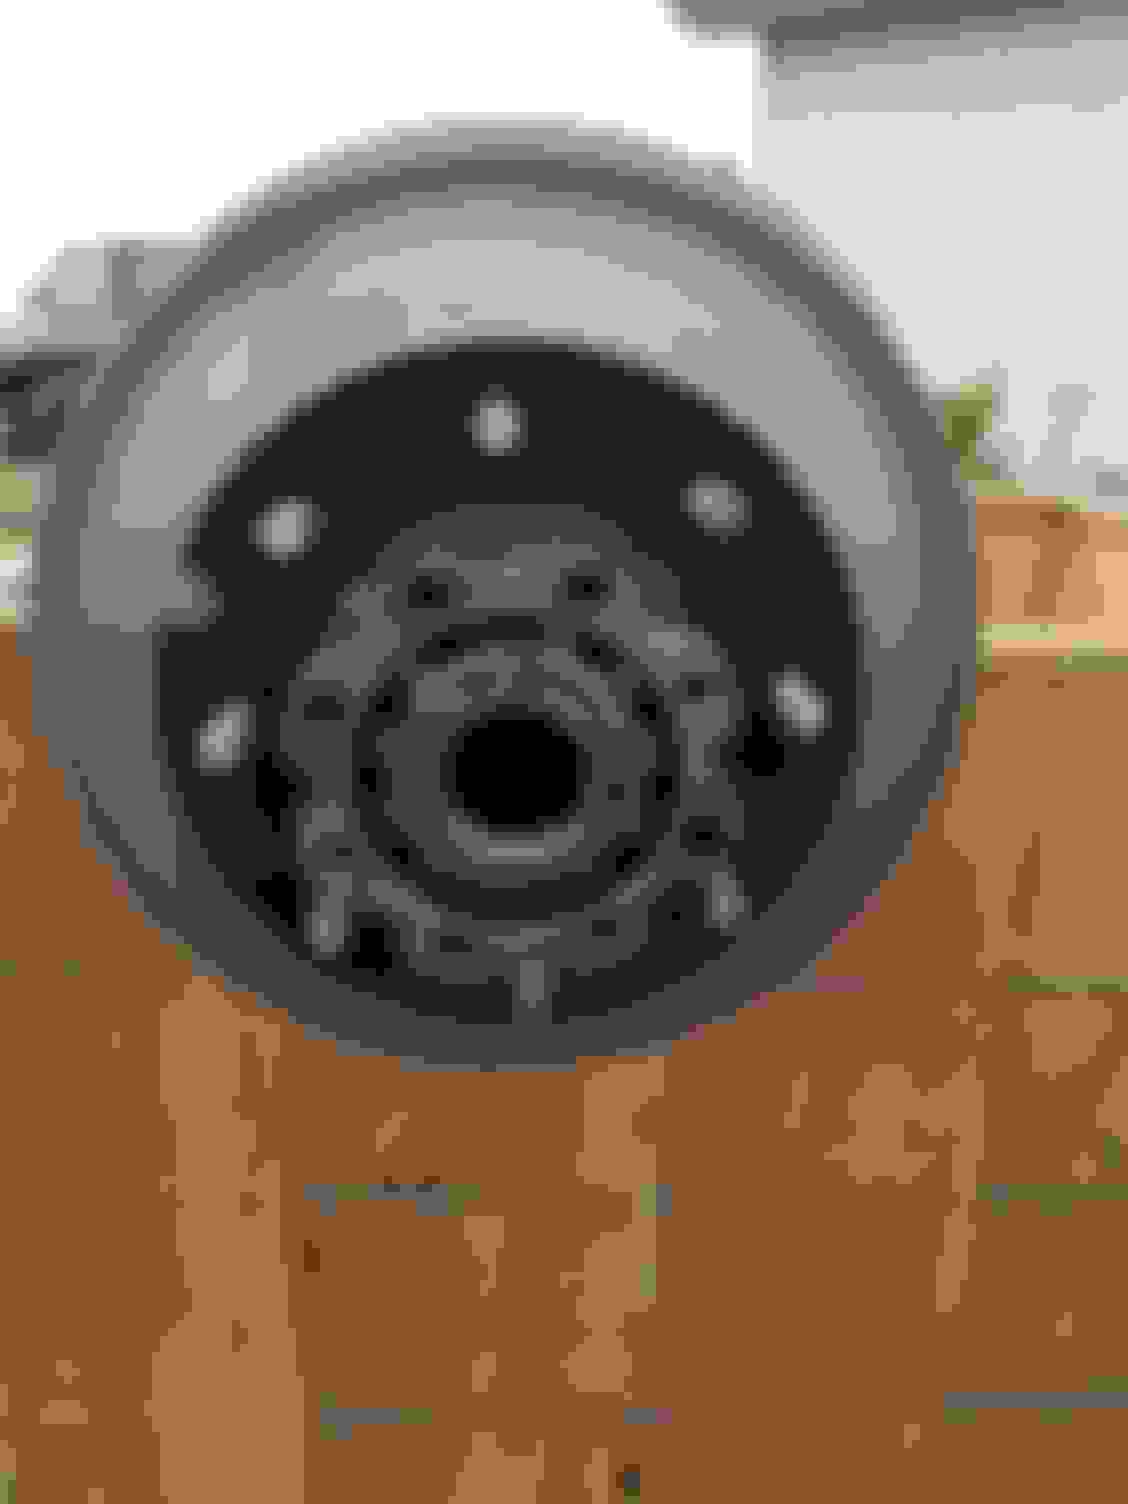
Looks a whole lot better!
When installing the drum/hub assembly I installed new fold over washers. The tabs tend to break off the old ones. I managed to find new ones that seem identical to the originals.
Dorman 81031
I painted the drum just before it started raining. Hopefully tomorrow I'll do the other side and the pinion seal.
Sorry if I'm getting carried away with pictures and part numbers. I just want the information available to anyone else who may be in need.
Finished the brakes on the other side of the rear axle.
Unfortunately I kept hearing a scraping sound inside the drum. I disassembled it to investigate the noise. All looked normal. But I think the new parking brake cable spring was rubbing the drum because the cable isn't pulled tight yet since the rest of the cable system isnt installed yet. I'll reassess that after it's all installed.
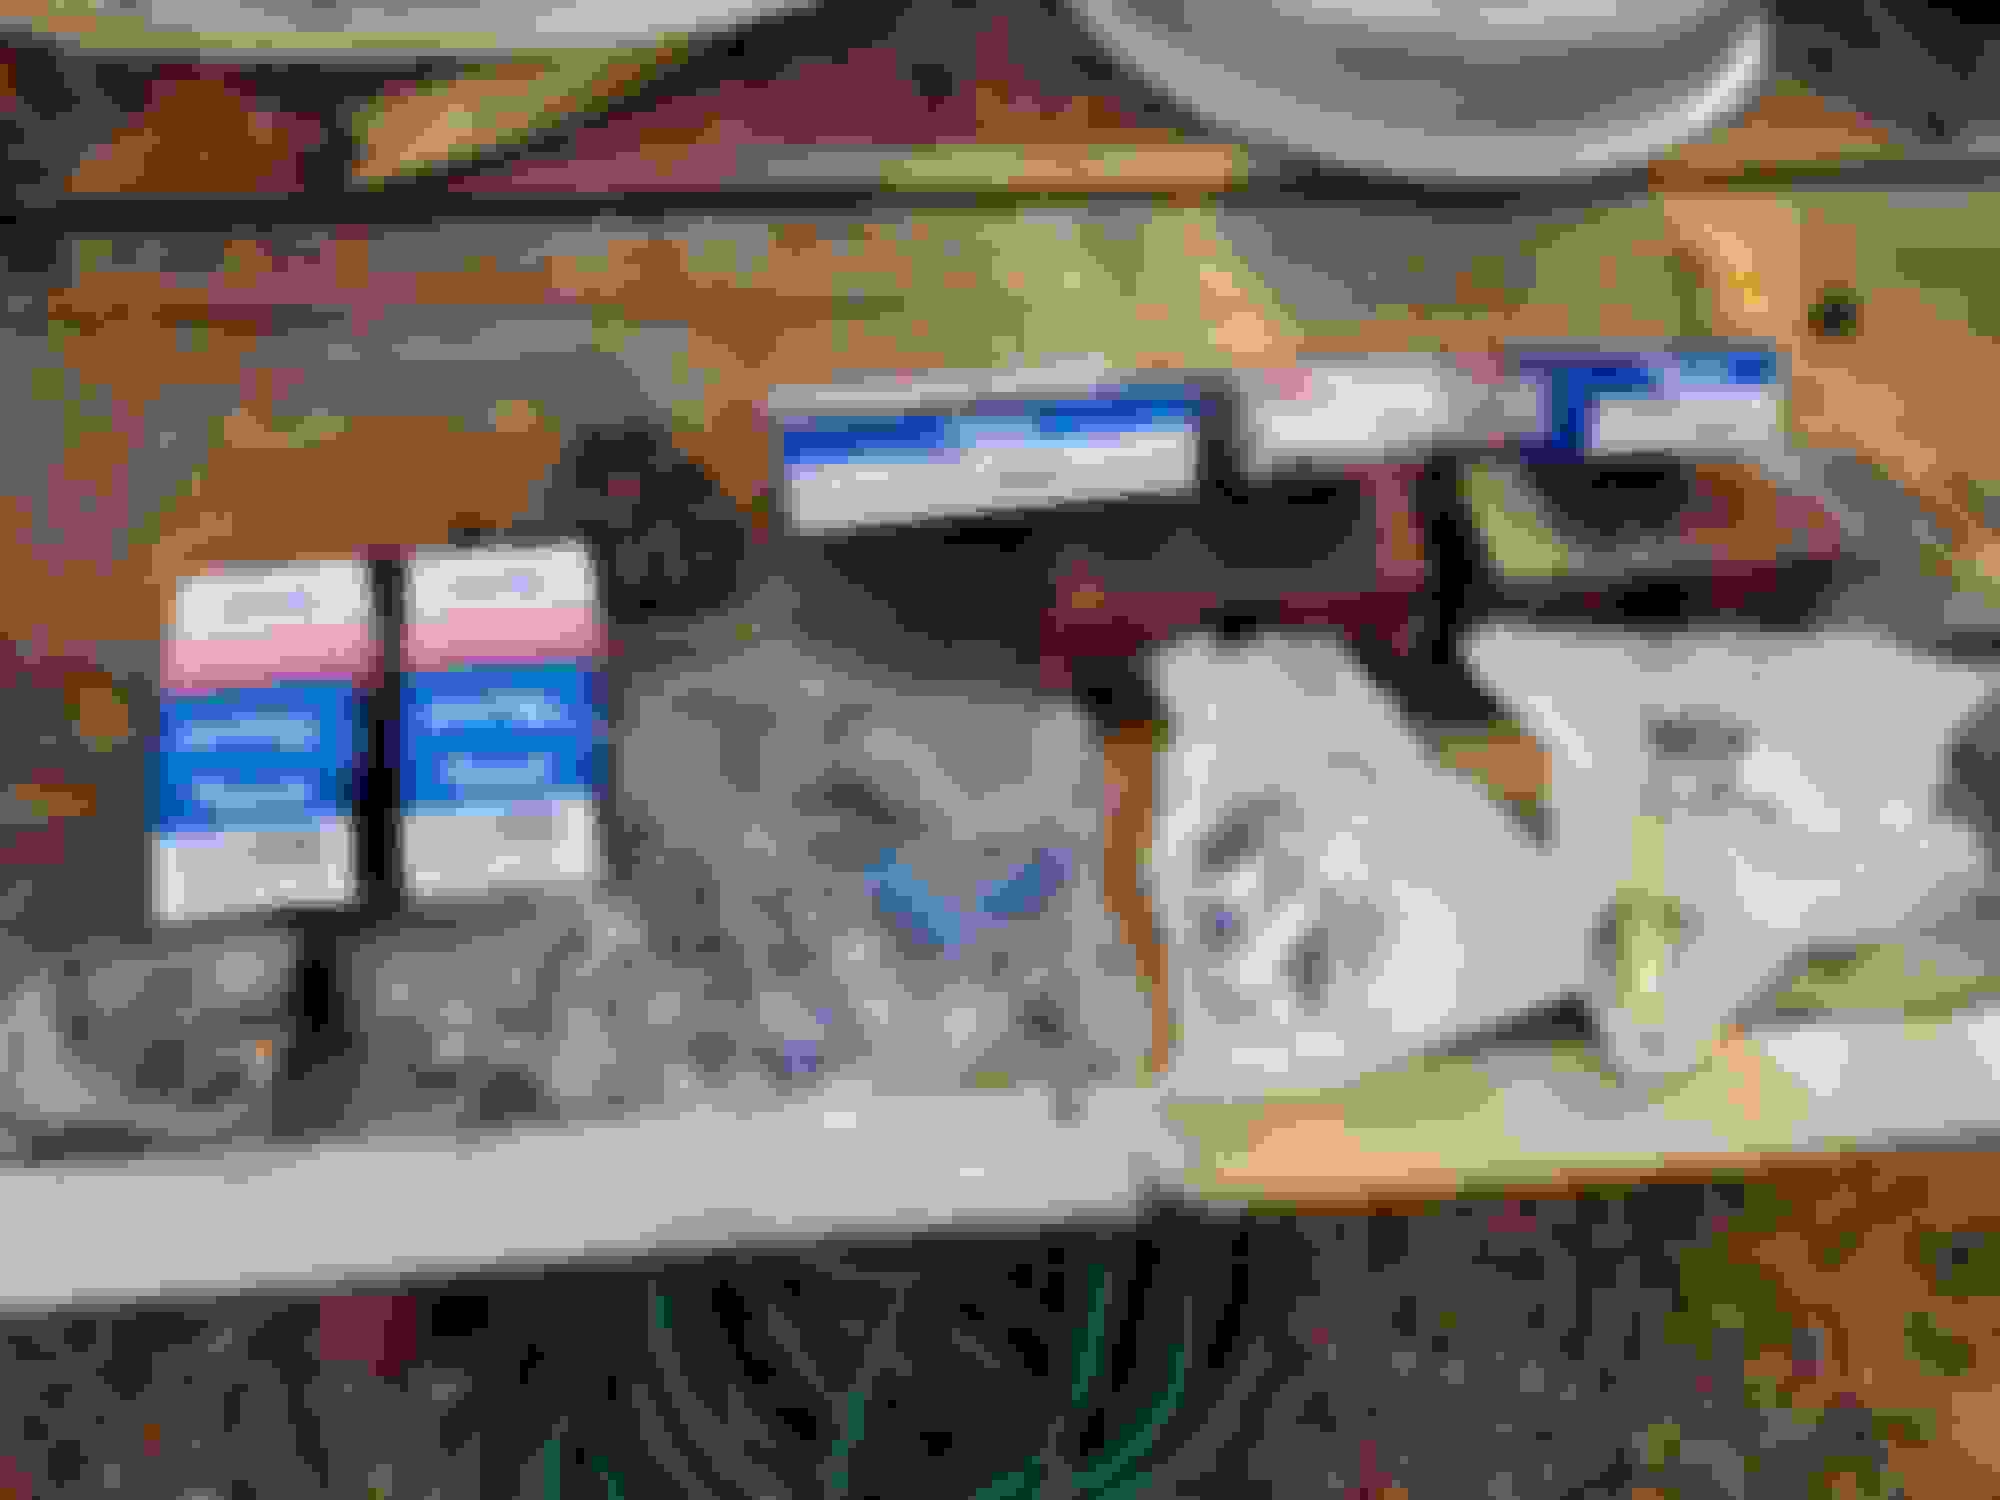
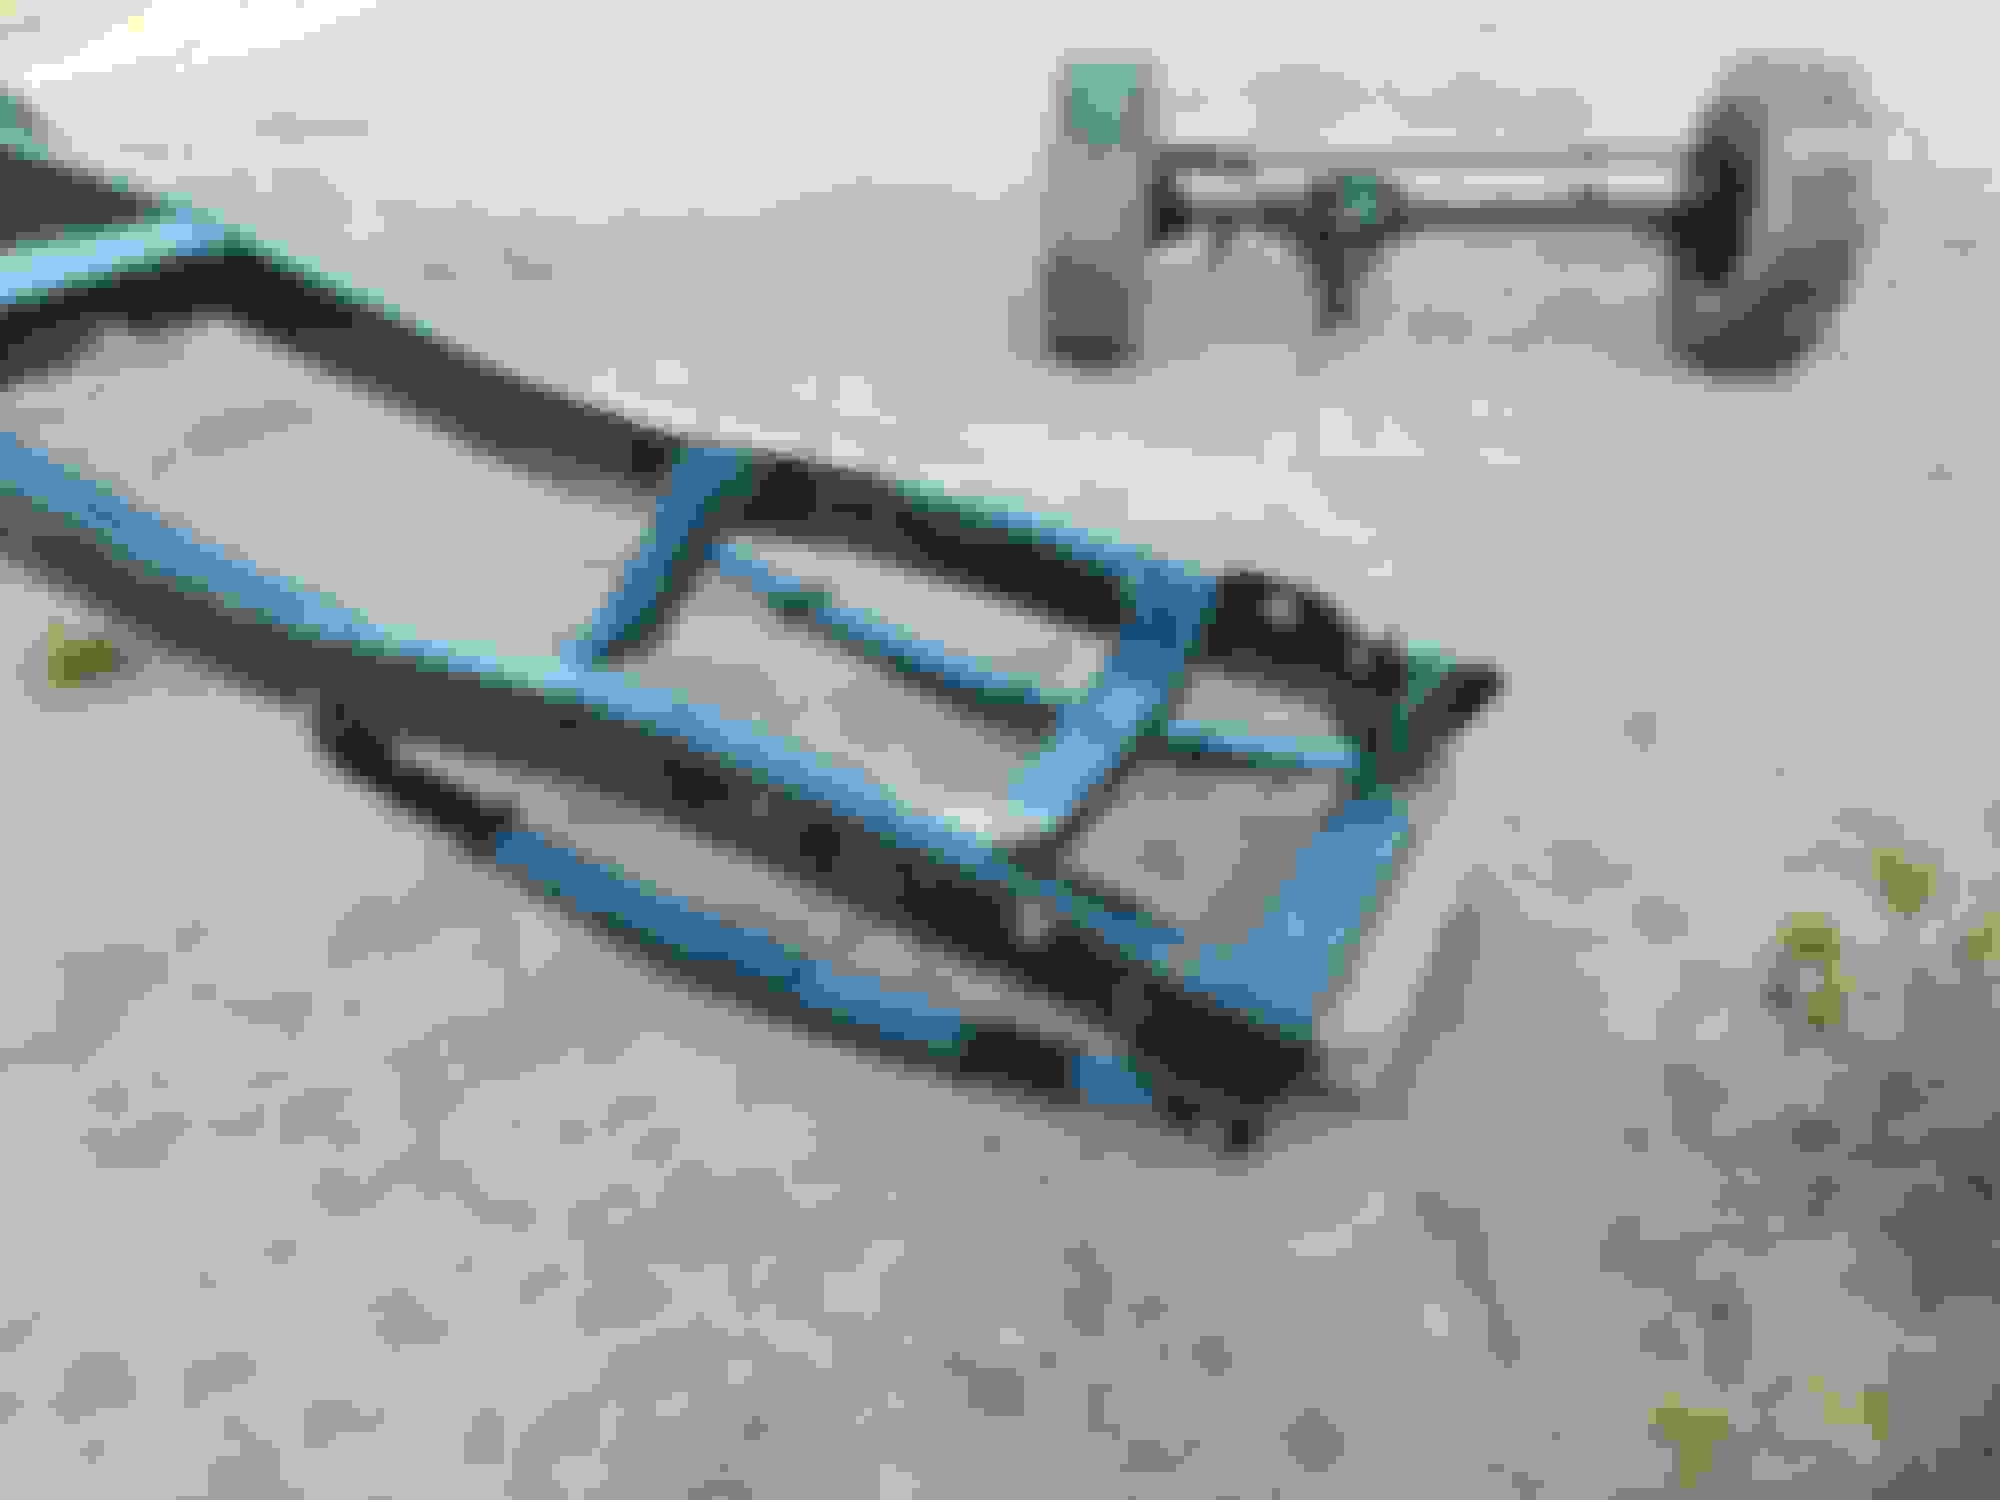
Got a call from the sandblaster! Everything is done! Picked it up and started installing leaf spring bushings. Unfortunately I ran into a problem. I had thought all 6 front spring and shackle bushings were the same. I was wrong, the front front leaf spring bushings are a MOOG K201111, and the rear upper and lower spring bushings are MOOG K200951.
Of course as I was afraid of, K201111 bushings were all factory order. So I'm waiting on them still.
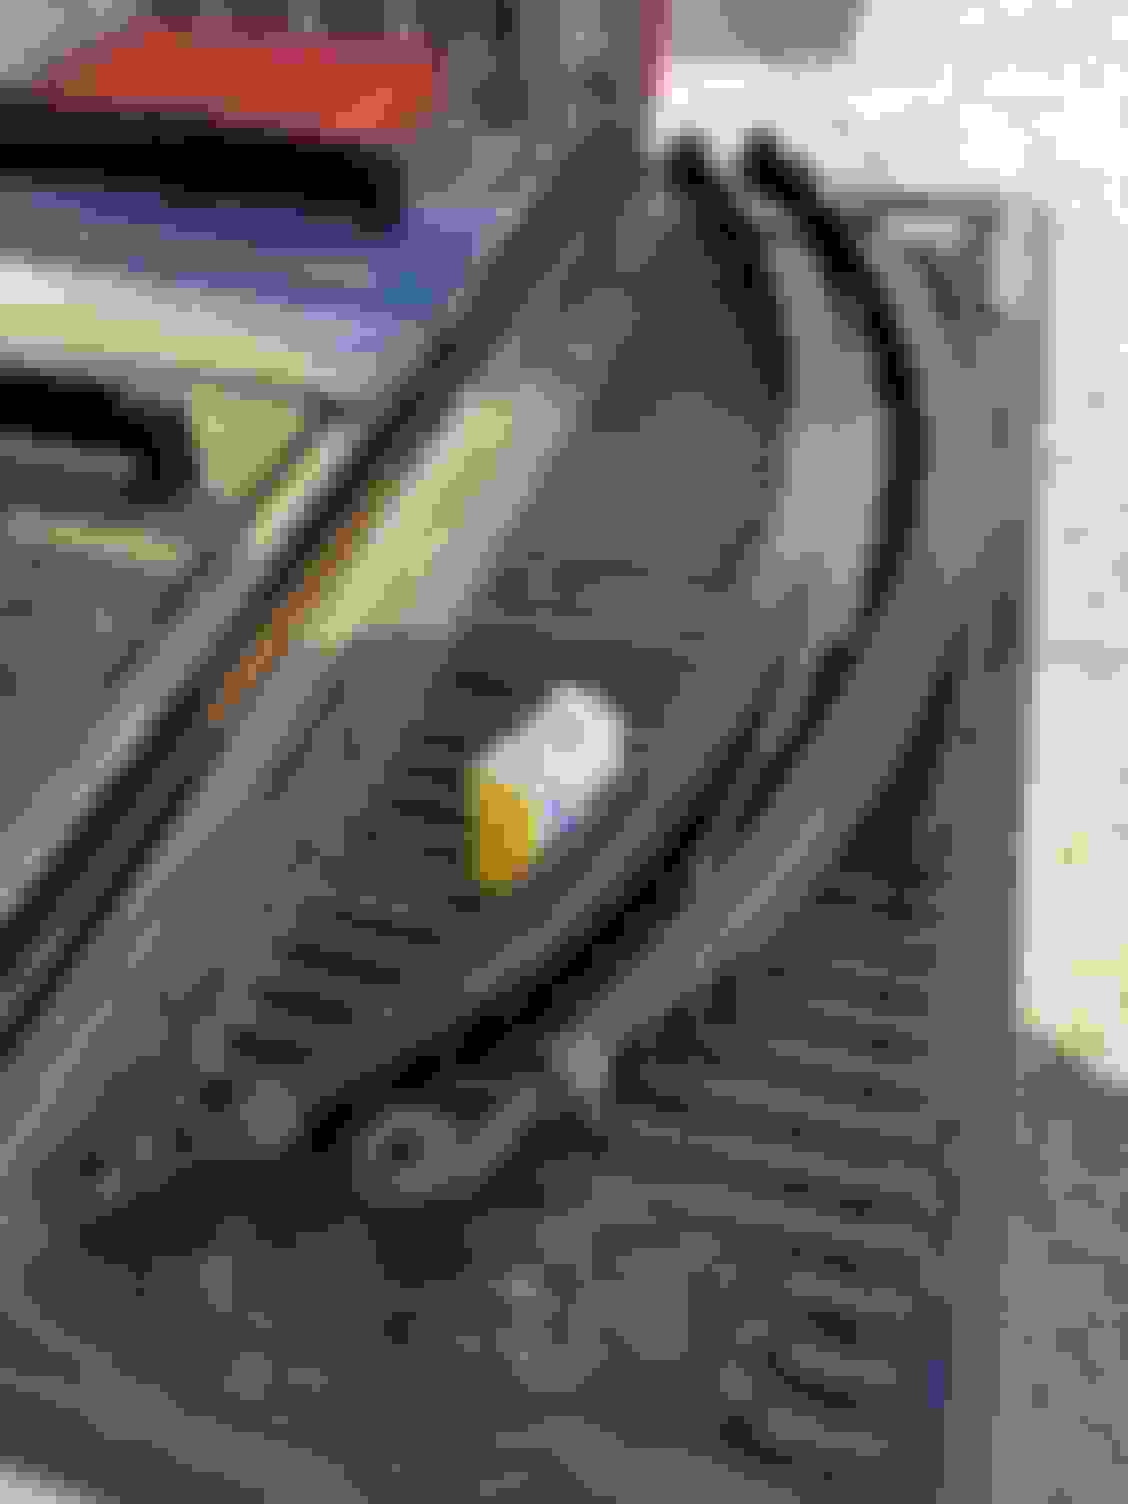
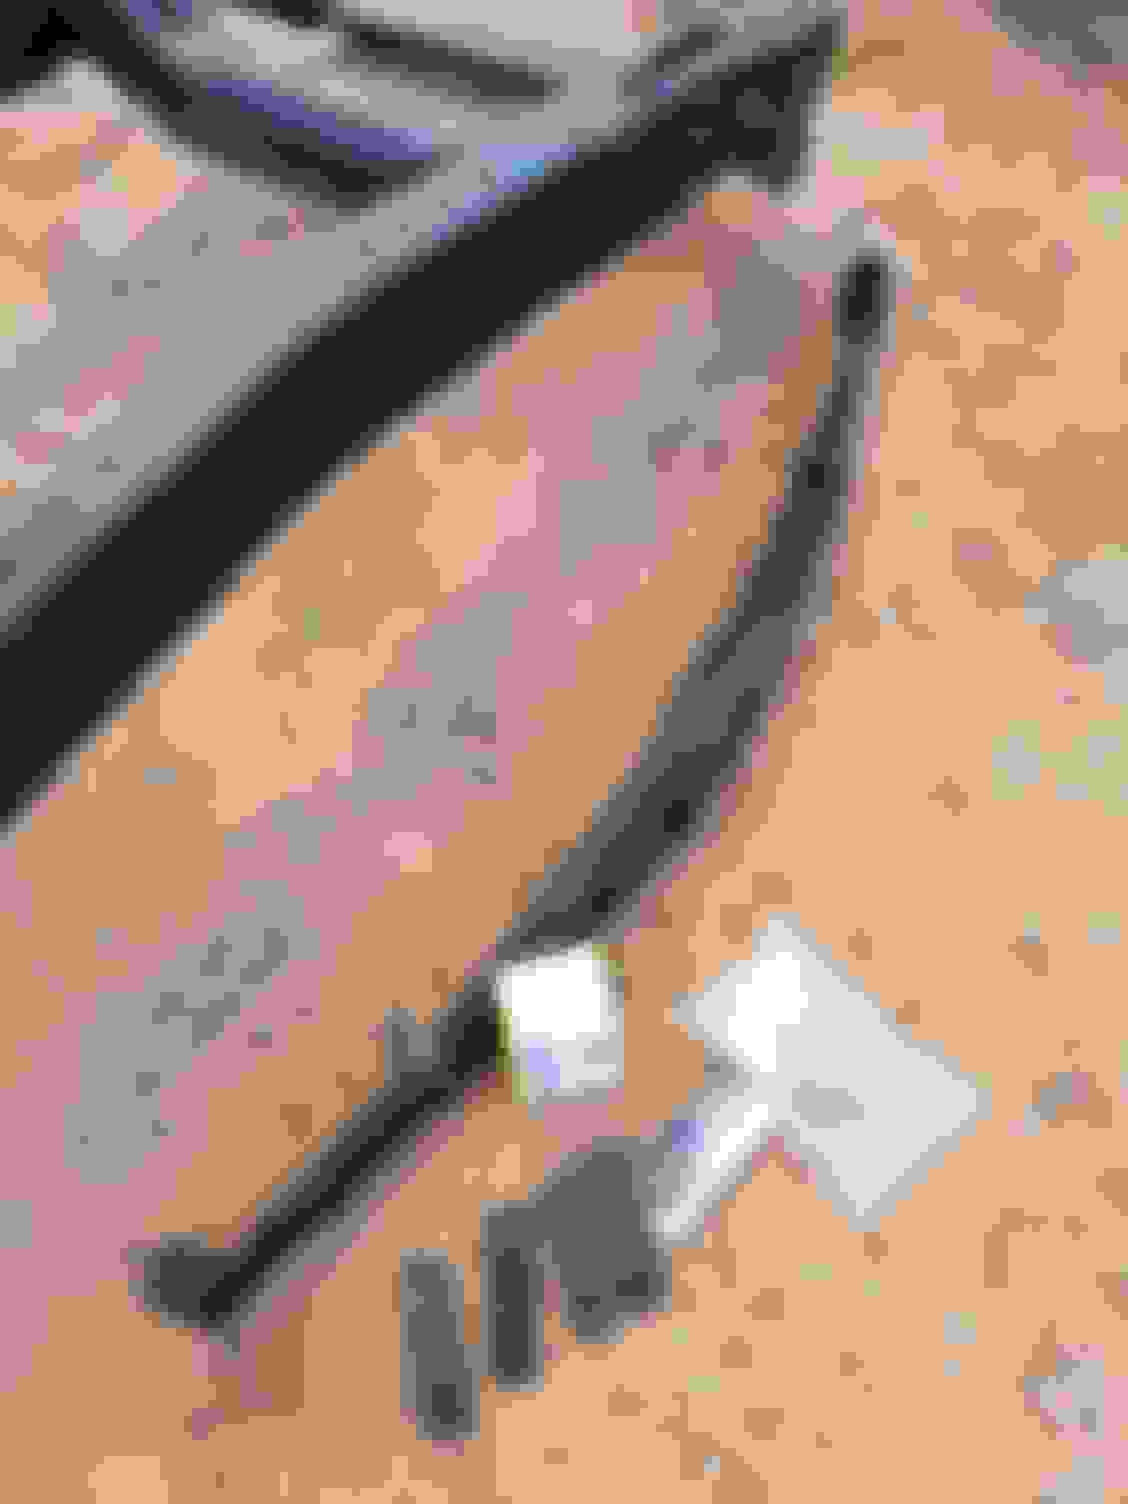
I went ahead and put the rear together. Installed the rear spring bushings are MOOG SB308 for the front and rear eyelets. I ordered new shackles since the originals were pretty thin. They came with bushings installed. Automann M1726 was the new shackles. I also got new spring bolt kits from Jack-Kit part number 1016.
The bolt kit fit great! The shackles took a bit of fighting to get lined up but went on ok.
The bolt kits says to torque the spring bolts to 40 ft lbs, but I wanted to put weight on the springs before torquing.
New custom U-bolts installed and torqued, and spring bolts torqued to 40 ft lbs.
Parking brake cables installed into the frame so they aren't dragging the ground anymore.
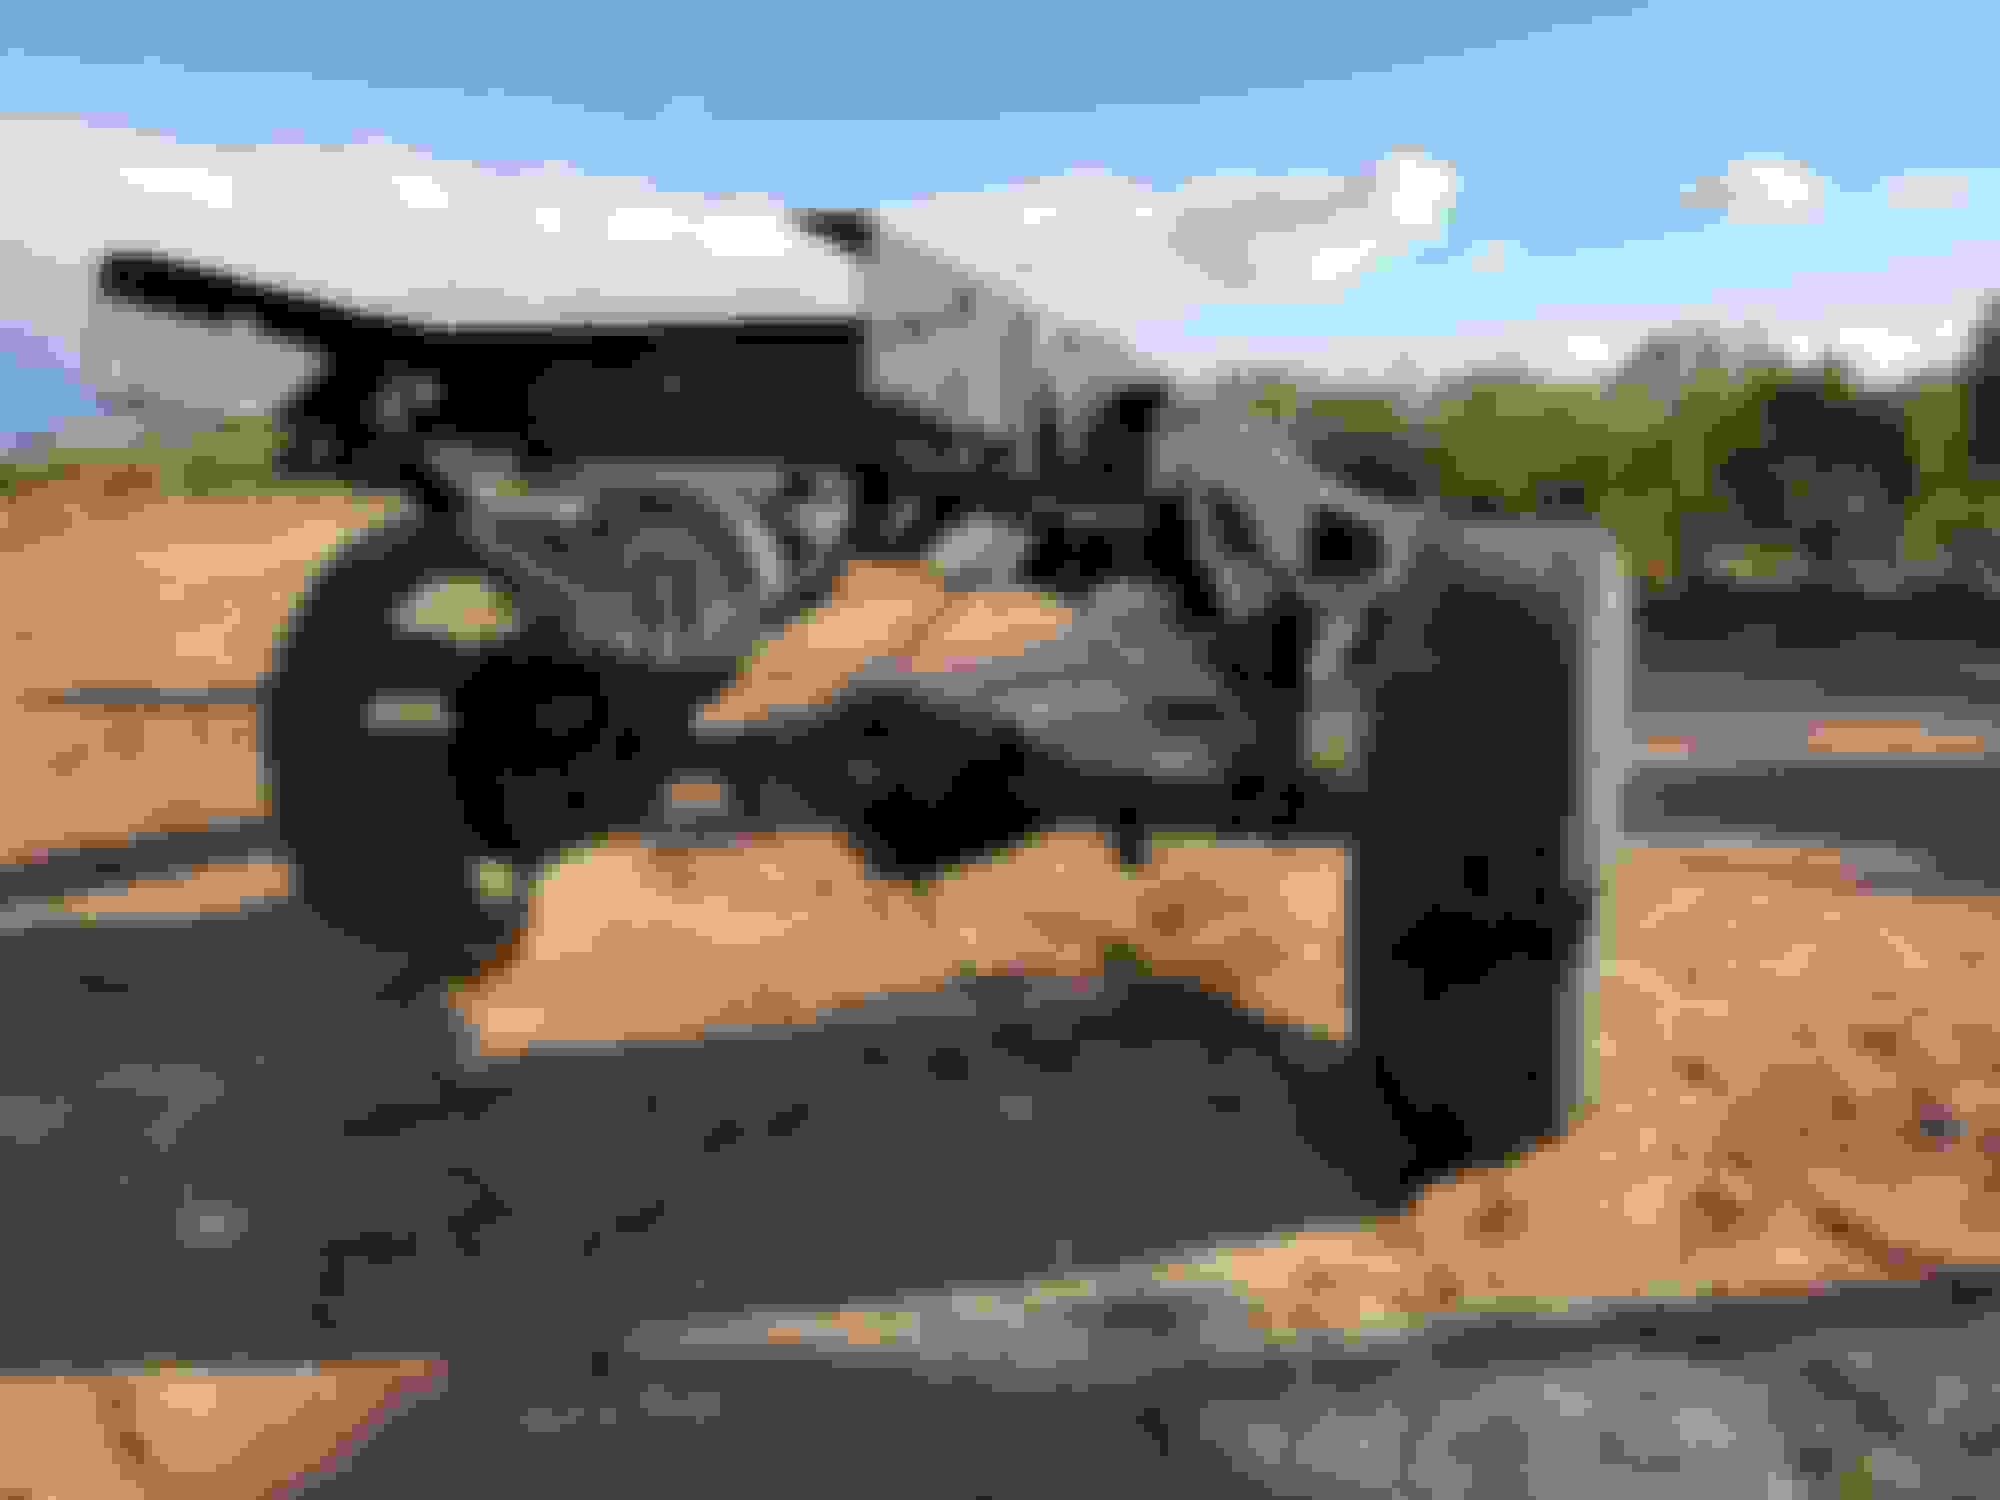
Even though I'm still waiting on the front leaf spring bushings I went ahead and installed the rear front spring bushings and I installed the front axle but left everything loose for when bushings come in.
Front shackles were sandblasted and painted. New Jack-Kit 1039 bolt kit for the front installed but left loose. Bolt in front is just temporary installed through spring eye.
Rolled the front axle under and loosely installed the custom front U-bolts.
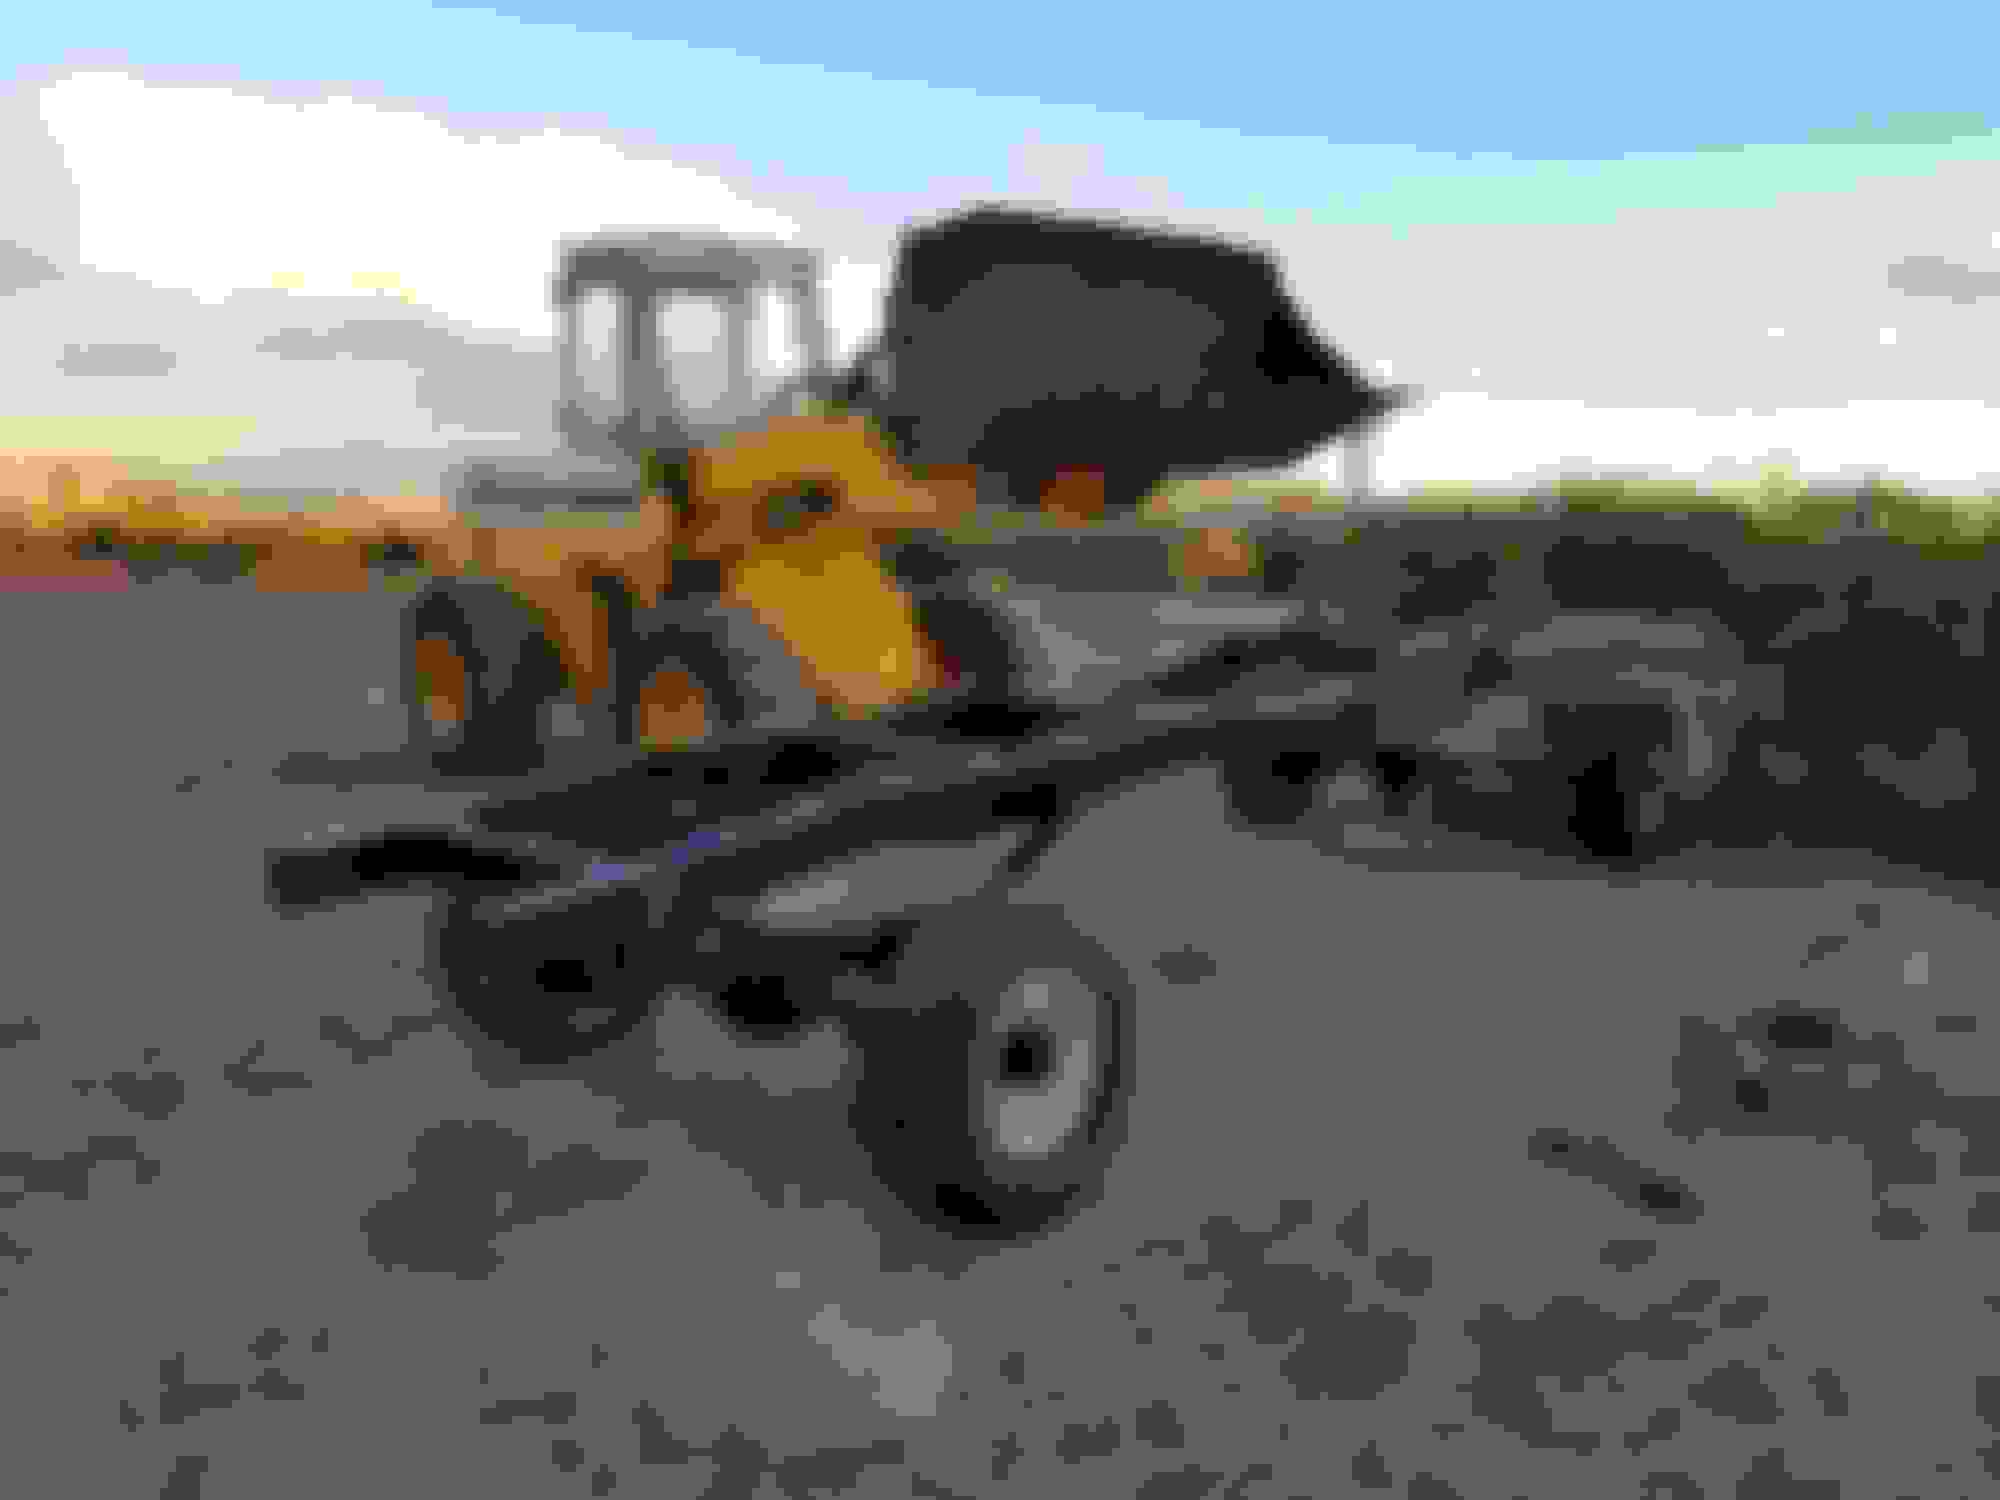
I finally have a rolling chassis!
While I wait on the last 2 spring bushings I'll try to get the front axle gone through. Ball joints, tie rod, bearings, seals, brake rotors, calipers, and pads. But that's for another day.
Reading through, didn�t see much about the spring packs, maybe I missed it. Since you did bushings, I assume that they are original springs, right? Just asking, I like the frame height and am pondering about putting my set of HB front springs in my 79sc.


 02-11-2020 | 08:25 AM