When you click on links to various merchants on this site and make a purchase, this can result in this site earning a commission. Affiliate programs and affiliations include, but are not limited to, the eBay Partner Network.
You�re making good progress for a one man show. Keep it coming, lots of great ideas and the attention to detail is appreciated
Thanks! With being able to "Work from Home" I hope to be able to get in the garage a bit more the next couple of weeks to get the frame done. My engine block arrives Thursday so I need the engine hoist to get the engine assembled. So I better hurry up on the frame to get that done...
After looking at my welder before putting it up the last time I noticed I was low on gas. No, not flatulence... I have plenty of that. At least I get told that by my wife. Welding gas... 75% Argon 25% CO2. I went and picked up some more and because they didn't have that bottle in stock they gave me the next size up for free. This is the second time they've done that, so if they keep doing it, I'll end up with the largest cylinder at some point in time. Sounds good to me!!! After getting back home and working from home (yeah, I get to do that a bit) I was able to get in the garage for about an hour today and draw up some boxing plates for the middle of the frame. Here is what I came up with.
Templates for the mid section boxing plates. This should stiffin it up a bit.
The larger holes are the same as on the front boxing plates, 2 1/2" diameter, and spaced out the same, too. The smaller holes are 1" diameter and should help lighten the mass a bit. Using 3/16" plate for this sure does make it weigh a ton. I'm going to try and at least get the rough cut on the first side done tomorrow and then grinding to fit later this weekend. Then I'll use those and a guide for the plasma cutter to cut out the other side. Then cutting the holes. Using a bench drill press, makes for a ton of noise so I gotta do it during the day so I'm not keeping people up. I'm looking forward to the next step of getting the rear end put on this thing.
After getting the templates made for the boxing plates, I got on it and cut the steel out with a borrowed plasma cutter. I'm getting better at cutting with it, but using a steel template to make sure my cuts are smooth are pretty important. I would cut the first side out and get it fit up making sure it fit well and there were no issues to the fit. Once the first plate was made and the edges were cleaned up I used it as a template making sure to move it in order so the plasma cutter would correctly cut the edges. It's a matter of measure twice, cut once, and then clean the edges up. Here are the templates after cutting them out.
First side of the boxing plates cut out. These will have the edges cleaned up and then used as a template for the other side.
Once the templates were cut out I cleaned up the edges and used the first plate as a template for the other side. This made it a heck of a lot easier for cleaning up the edges. Can I say that plasma cutters are sweet? I really need to get my own so I don't have to borrow one any more. But here is the first plate being used as a template. Notice how it hangs over a bit. This is to make sure I was cutting along the actual edge of where I needed to cut as the plasma cutter tip has a diameter of about 1/4" so the template needs to be about 1/8" off of where I need to cut.
Using the first plate as a template to cut the other side out with the plasma cutter. Works great!
After cleaning up all the edges and making sure the boxing plates fit well, I got to drilling holes in the plates. I used a bendtop drill press and made a huge mess of things with all the shavings getting everywhere. I cleaned up a bit before this picture. I used the drill for the first small hole and said "Screw it, I'm using the drill press for this." So I put the bit in the drill press and made some more noise. and got all the holes drilled.
All four boxing plates cut out. This was after drilling the 2 1/2" holes in them to lighten em up a bit. I still had to drill the smaller holes on the upper portion of the longer plates.
All the holes are drilled. Time for dinner!
All the holes drilled in the boxing plates. I still need to cut out the edges and then clean up the sides to be ready for welding.
After dinner I came back out in the garage and got back to work. I needed to clean up the frame where I was going to weld the boxing plates on, so I cleaned the sides up. I had to take the front end off again so I could rotate the frame in the engine hoist rotisserie so that took some time, but I got it rotated and the other side cleaned up. I also broke out the plasma cutter again and cut out the ends of the boxing plates and cleaned those up. Can I say that I'm tired of grinding? My wife is tired of me grinding as well since she apparently can hear me inside the house (It's a detached garage). So after cleaning up the frame I realized I needed to touch up the bottom side of where I cut the frame. So I cleaned that up and welded it in. Ground some more and then my wife came in the garage and told me to stop as it was about 9 PM. I told her I would tack up some plates, clean up and then be done for the evening. So this is where it's at currently. A bit more grinding on the welds of the frame to get them flat and then tack the other boxing plates in and then it's time to weld these bad boys in. I should be done this this part of the frame by the end of this weekend. YAY!!!
Getting tacked in. First of four. I got the other side for the longer plates tacked in.
Yesterday evening I was able to get most of the welding done on the boxing plates. I was making sure to only do a little bit at a time in order to not over heat the frame and warp it. I think I did a decent job of it. Here are a few pics in the process of welding up the boxing plates.
Process of welding the frame up. You can see how I was stitch welding it up.
I can def. say I need a better welding helmet. This thing is a pretty cheap one and doesn't allow me to see much. Oh well, I guess it makes me a better welder??? I was able to finish up some the bottom, flip the frame back over and start on the top. Here the bottom is all done.
Bottom all welded up. Some more pics of the finished boxing plates.
After flipping the frame back over I got to stitch welding the top. I think this is the most my welder has ever worked. Every now and then I hit the breaker and have to go back in the house and reset it. It's on it's own breaker so not too bad. I only have 120V in the garage so 3/16" steel is about the thickest I can go with this welder. Anything else and it just overloads it. After each stitch weld I clean the nozzle just to give my little welder a brake to cool down. Otherwise it overheats and I need to let it cool with the fan on for about 15 min. I def. need to get a better welder that can do 240V once I get my RV garage with some power to it. I'm def. gonna be running 240V out there for a larger compressor (60 gal) and all the toys that need 240V; welders, plasma cutter, car lift, etc... Anyways, there is the top of the frame getting welded together.
Almost finished.
The above pic is how I left it over night. It was getting late and I figured I'd spend some time with the wife... she was getting cranky with me for spending too much time in the garage. Basically all weekend. It was great, well, at least for me. HA! The following day as took my lunch break to finish up the welds. I'm currently required to work from home; SHUCKS!!!! So I finished it up. Doesn't look too bad. I'll clean up the welds tonight with a grinder... UGH, more grinding.... and then start working on the Mustang IRS. The next three pics are how she sits until I can get to it again.
All welded in. Stitch welds were okay. Some better than others, but I think I'm getting the hang of this welder pretty good. I def. need a better helmet.
Another shot of the plates all welded in.
Better shot of the this side showing all the plates welded in. Now on to cleaning up the edges and then it's the rear suspension.
I was able to get out in the garage to clean up the welds. They cleaned up nicely. Shot of welds cleaned up for the front end. Some more cleaned up welds along the frame. Another shot of some cleaned up welds. These welds cleaned up pretty well. Looks almost professional.
After cleaning up the welds I started taking a few measurements for the Mustang IRS and figured out I needed to remove the forward most cross-member from the rear. I got the rivets ground out and then hammered out. Took a bit, but I got it done.
forward most rear cross member is now out. Had to drill out two of the rivets after grinding them down, but it's out now.
After getting the cross-member out I started to really take some measurement for the Mustang IRS. It looks like on the frame, the region of the frame where I cut out the 16" for the swb conversion and the area where the CV crossmember bolts to are at the same height. In order to make it so the truck if level, I need to re-install the front end and measure the center of the wheels at full drop. This way when I install the rear IRS I can have the same full drop when installing the rear coil-overs and the truck will be level. I'll get to this task a bit later.... now on to making a template for cut out on the rear part of the frame.
I ended up using some construction paper, a tape measure, and a grease pencil to figure out where on the the Mustang IRS the truck frame will be welded to. I measured the width of the truck frame and found center and then took those measurements to the rear IRS. There were a few holes in the IRS that I could use and I started making a few measurements from there. Once I figured out where the truck frame will be I started making a template in which the IRS will need cut so it can fit within the truck frame. This is what I came up with... Template that will be used for cutting the rear frame of the truck for the Mustang IRS.
On the template you'll notice I've used a 4" pipe for where the upper arm and axle will be. I also marked the axle centerline in the template. Prior to this, I marked the axle centerline on the frame so I could fit the template up to this so I know where I'd need to be cutting and to make sure I still had the same wheel base as a SWB truck. I'm hoping this works. We'll see.
This is where I'm at currently, but hopefully I can make it back into the garage this weekend as I've been pretty busy at home in the evenings this week with other things.
I started cutting up the rear of the frame to install the Mustang IRS. I wanted to make sure I had the same drop as the front when all four wheels were at max drop, but if I didn't want to just bolt the IRS into the frame, I needed to increase the height a bit into the frame. I'm glad I have adjustable coil-overs to compensate for the level of this thing.
The template I made worked pretty well, but I had to make some revisions here and there and then increase the depth of the cuts into the frame in the rear section behind the axle in order to make it fit better. And to be able to box it in the frame a bit better for strength. I didn't feel like bolting the IRS in as that isn't what I wanted. I want something that becomes a rigid body for strengthening the frame and reduce frame twist as I corner etc... So cutting up the frame a bit more. Here is the first test fit with the original template used.... you can see I need to modify the cuts in the frame.
First cuts done using the template I made. Needs a bit more cutting after the first test fit.
This is actually the second test fit after making several modifications to the original cuts. I still have increase the depth into the frame from this... I was hoping not to have to go too deep into the frame, but if I want to be able to box it in easier, I need to go a bit deeper. The adjustable coil-overs will take up any differences in height that may come up, which is good. Here is the second test fit. A few areas need some more adjustment.
Second Test fit. Not too bad, but there are areas that need to be re-cut for better rigidity and so I can box the frame in better after welding this thing in.
Rear section up in the frame. Needs to be up a bit higher in the frame for better rigidity.
Front section of the IRS up in the frame. Def. needs a bit modification done to it.
After a good two or three more test fits I got to where I wanted the IRS section. I started making a template for the inside region of the frame. This is what I came up with.
Making the boxing template. Several additions and modifications, but it's pretty good. There were a few more after this image.
After making some changes to the template I got it where it fit well and will slide right in so I can weld it up. Should be pretty good. I just need to make sure I have space for those bolts to be removed for the upper arm. Otherwise I'll be cutting some holes to get to it. Here's the template with the IRS up in the truck frame.
Boxing template up against the frame. Fit's pretty well and will allow me to box the frame in pretty well for better rigidity.
A few modifications to the template and it should be good to cut out of 3/16" sheet. I'm tired of cutting and grinding for today, time for something else. I decided to remove the rest of the driveline from the IRS frame so it's easier to manage and also so these parts wouldn't get all sorts of grinding dust in them. Probably for the better. Here is where I stopped for the day. Man I'm sore from all this cutting and grinding and all bent over. I'll be making a better template for my final cuts in the frame and posting it so people can make the template for themselves if they want to. Several people on BookFace said they would pay for my templates, but I figure I'd just make it available on here for people for free. I don't need the cash and figure this will help the community out. Here is how she currently sits.
I decided to remove the rest of the IRS from the IRS frame. This will help keep things from getting crap all over it as I'm cutting parts of this off.
After my day of working from home, I'll get to work grinding off paint and rust so I can weld the frame up into the truck frame. We'll see how it goes and if I'm not too sore from being halfway bent over for the last two days.
I was able to get the Mustang IRS sub-frame tacked in this evening. But as I was working on doing that I was asked by at least 4 people today about my templates I've made. So I decided to hunker down and make a decent template for the outside of the frame and then work on a good template for the boxing plates for the inside of the frame.
The initial template I made for mocking up the cuts into the frame of the truck was okay, but it had a lot of little nuances that I'm hoping this new template got rid of. To start mocking it up, I decided to use two bolt holes in order for a good alignment of the template.
Hanging the construction paper in some holes for proper alignment of the template.
After hanging it up, I added points where all my cuts ended and then just used a ruler to connect the dots so to speak. Then I measured everything out and hung it back up.
Template cut out and sub-frame lifted up to make sure there's no interference.
It fit pretty well. Only two areas that needed work that I figured out. The first was the forward most tab, but realizing I just needed to push it up under the IRS subframe, it came out good. The other was for the rise in the rear of the IRS sub-frame. I had to add about 3/4" to it (you can't see it in the above or below pic) to make it fit well. After that, it came out great.
Forward part of the template. You can see it'll need to wrap up onto the frame to allow clearance.
Once I got the template mocked up, it was time to tack the IRS sub-frame in. I did take measurements of the pinon angle between the sub-frame and the actual pinion flange and they are 4-5 deg. difference. (Anyone else have anything different?) I'll get a final measurement once I get this thing on the ground. Here the IRS sub-frame is with the rear mounts tacked in.
Rear end tacked up. Now for the front.
After tacking the rear in, I clamped up the front well and tacked it in. Looks pretty darn level to me.
All tacked in. You can see the two levels are pretty close to one another. I'm a happy with the result.
If you look at the line on the frame below, that is the axle centerline. On the IRS sub-frame, the rear of the upper arm mount is the axle centerline. I ended up having the axle centerline moved rearward 3/8". Oh well, I'm too tired of cutting and grinding right now that I can't be bothered with 3/8" for an axle centerline. It's not like this is an original SWB anyways.
The axle center-line is off by 3/8". I'm not that fussed to change it. Will have to change it on the template though. I still gotta cut out the radius on the frame for the upper arms and axle though. I'll get to those later... I'm tired of cutting and grinding.
After tacking in the IRS sub-frame I worked on the inside boxing template some more. As I was thinking of how to get to the bolt on the upper arm, I also remembered I need to get to the bolts for the bed. Hmm... did I forget to allow for that on my other boxing plates... YUP!!! Oh well, I have an idea of how to make a small incision to get access to them. TBD!!! I'll make sure to allow space in these templates for those. I guess you live and learn. Here is the inside boxing plate that I came up with.
Test fitting the inside boxing plate.
Getting the inside template went a lot smoother than I thought. As for the bolts on the upper arm, I'll most likely leave that area open and just box in a small portion of it if at all. The IRS sub-frame should allow enough rigidity for the frame that it shouldn't be an issue leaving it open.
Final Template with access to the bed bolts. May need to open them up a tiny bit more, but we'll see. A dremel is always fun to use in these instances.
After getting the inside template done I started taking some measurements for my fuel tank. It looks like I will have just under 20" between the boxing plate I put in behind the IRS sub-frame and the end of the truck frame. Although I'll be adding the crossmember I removed from the frame and putting it there. I want a good brace between the fuel tank and the back of the truck if I ever get rear-ended.
Here is the measurement from the rear of the frame up to the rear of the IRS sub-frame. Now I know the size of fuel tank to be looking for.
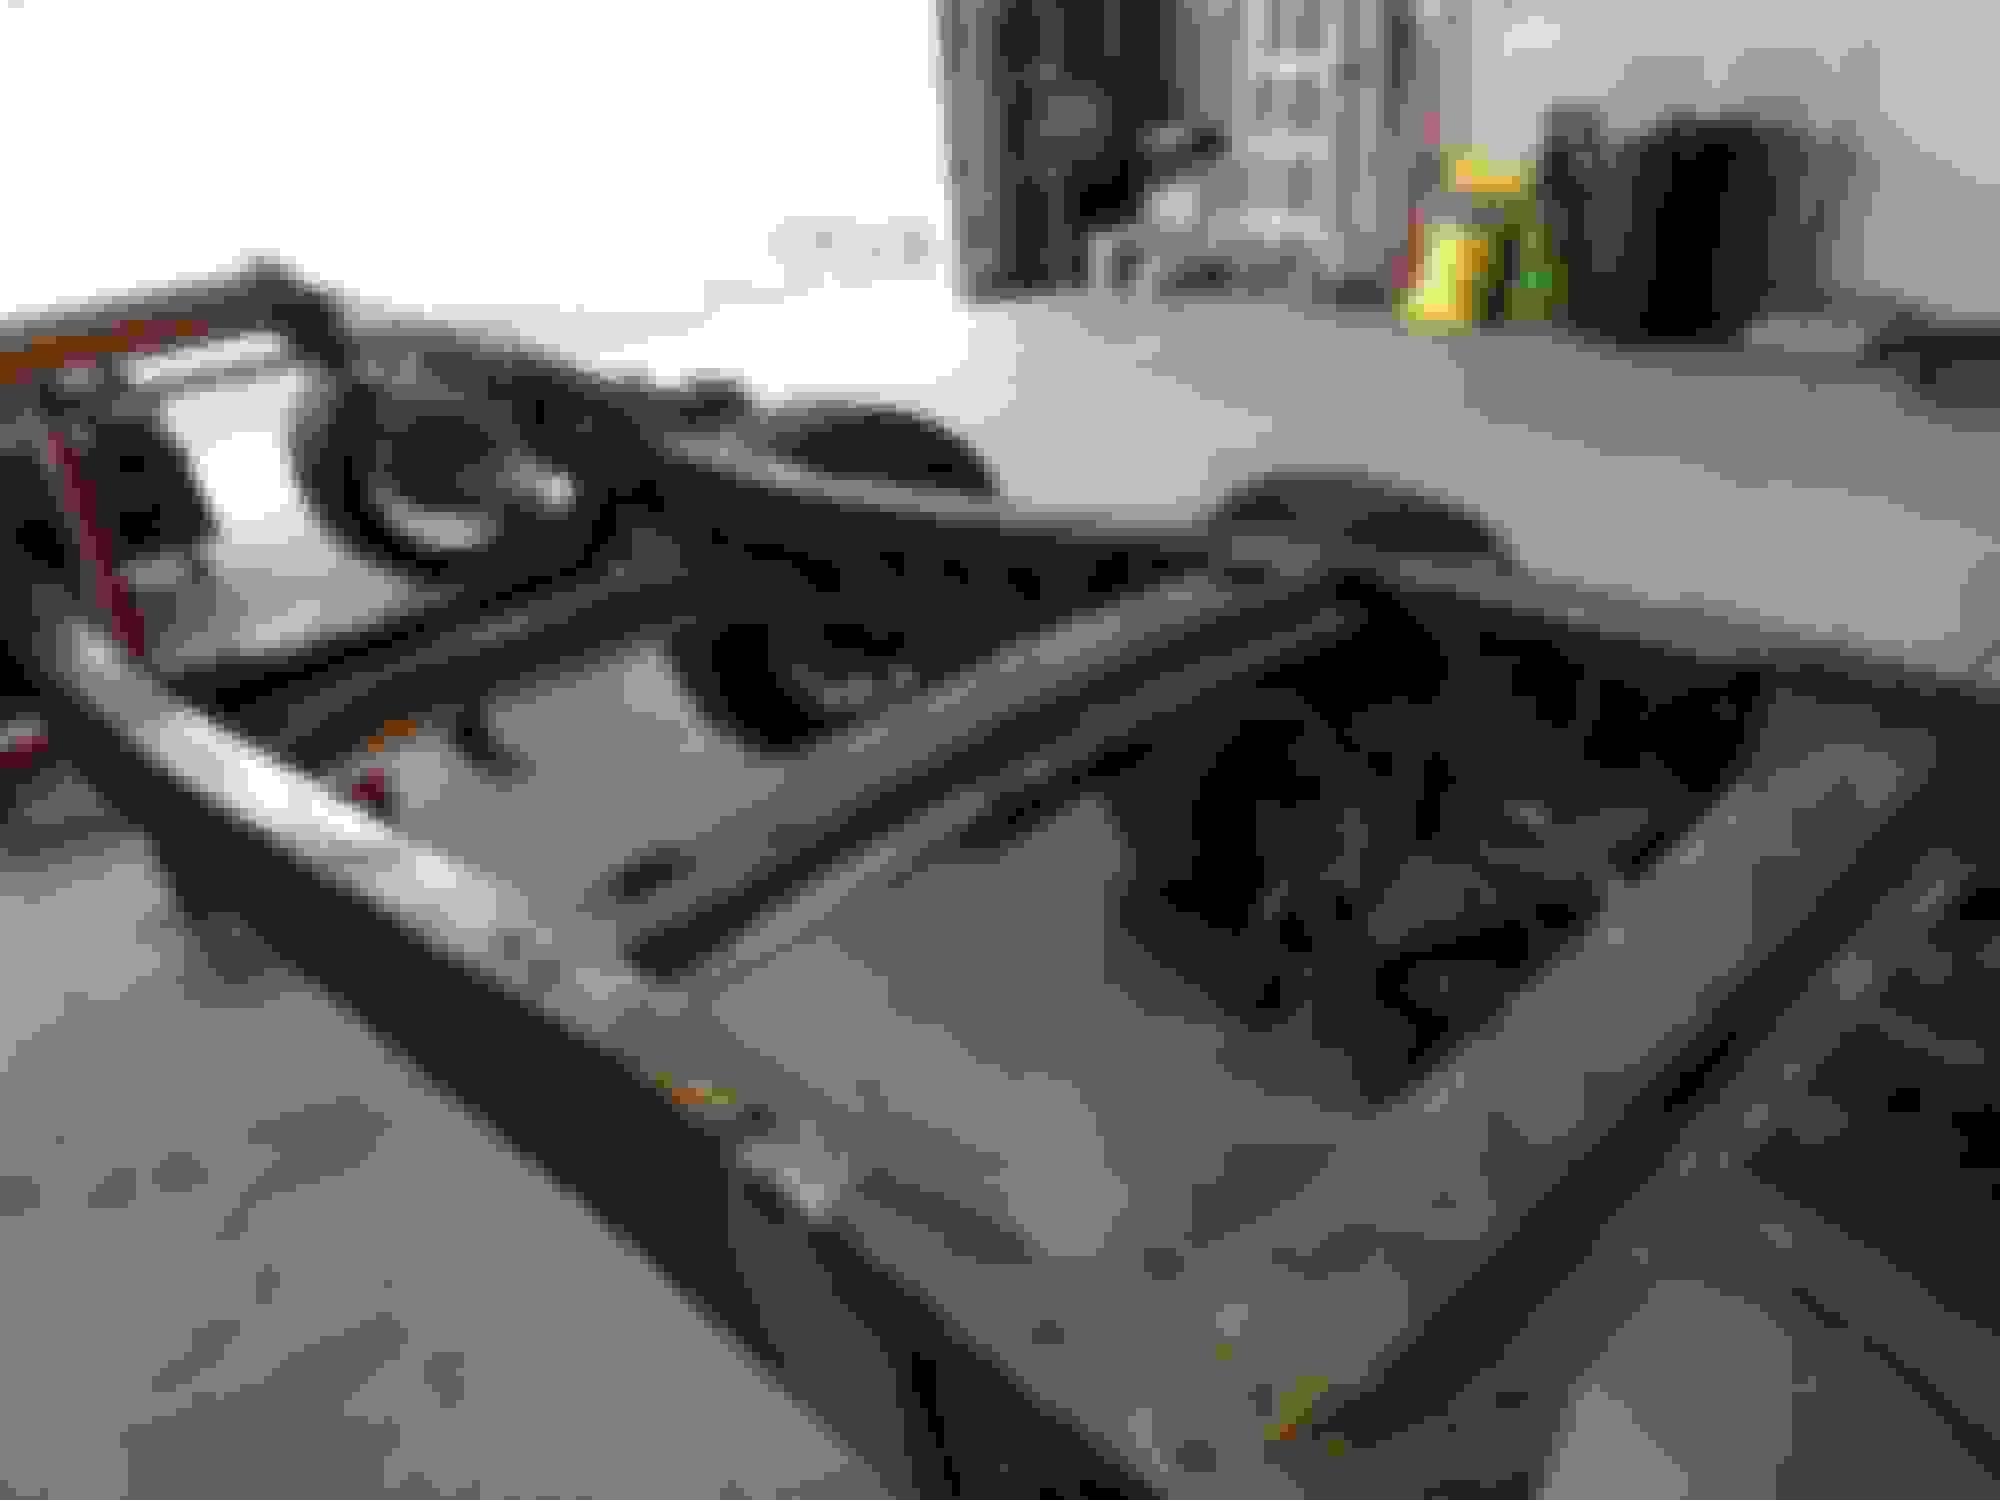
So this is how I left it for now. I'll be sanding down some areas by hand that are difficult to get to so I can weld them up. Then I'll cut the tabs and sides off the IRS sub-frame and weld in some plates on the outside to make sure the frame is solid and then I'll flip it over and box in the underside. Gotta make this thing rigid, I don't want much flex. We'll see how she goes...


 03-15-2020, 09:36 PM