When you click on links to various merchants on this site and make a purchase, this can result in this site earning a commission. Affiliate programs and affiliations include, but are not limited to, the eBay Partner Network.
The tool box box cut is too cool, thanks for all the detail and pics!
Ive got a similar suspension setup going in mine (‘18 GT IRS, 6k miles)
Thanks! It's the first time I'm doing anything like this; bodywork, building an engine, swaping suspension, etc. so it's a good learning experience. I'm enjoying it so far and figured I'd try and give good detail into things some people may want to copy.
As far as the Mustang IRS, just note that there is a difference on the pinion flange between the manual and autos. I can't remember which one is larger, but I do know Factory Five Racing makes an adapter for the manual and not the auto pinon flange. Just something to keep in mind when you go for a driveshaft. When I order mine, I'll have to let the company know which one I have. I only found this info out recently. Hope it helps when you come to that point.
Last edited by gump1376; 09-20-2019 at 01:16 PM.
Reason: grammer and spelling...
I forgot to say, be careful boxing in the frame. I have a buddy that boxed his in with 3/16� and it was super, super heavy. He ended up getting a new one and a dimple die kit and he�s only doing select �box in� and with the dimples it wont be as heavy, but stronger
I forgot to say, be careful boxing in the frame. I have a buddy that boxed his in with 3/16� and it was super, super heavy. He ended up getting a new one and a dimple die kit and he�s only doing select �box in� and with the dimples it wont be as heavy, but stronger
Thanks, I plan on using dimple dies to reduce weight and make it look better. After looking at the frame, I may not box the entire thing in. Mainly the front and possibly parts of the back.
So I did some more work. I had a friend come over and we tore into removing the engine and transmission. Getting the transmission out we ended up removing cover on the T-18 transmission in order get it out. We also removed the tranny crossmember. It took about 6-7 hours total, but it's now out. Time to start taking the front suspension out. I'm out this coming week for work, so nothing is getting done for the next two weeks or so. Just glad the drive train is pretty much out.
Engin on the stand. It's all out now. Look much better like this.
Wow nice truck luv the trucks from out west so clean. I'm looking forward to your mustang IRS swap plan on maybe doing that this winter if I get my sister's
65 gt done.
Wow nice truck luv the trucks from out west so clean. I'm looking forward to your mustang IRS swap plan on maybe doing that this winter if I get my sister's
65 gt done.
Thanks! I'll make sure to document a lot of what I do for people on the Mustang IRS swap. I'm still trying to decide if I want to do the front or the rear first... I'm still undecided. I have a lot of things to do before I get to the frame though; remove interior of the cab, get the floor pans and cab mounts done, and then move the cab off and store it somewhere on my property without the misses getting too upset about it. Then it's on to the frame. I'm hoping around December to be done about when I get to the suspension.
Those bucket seats look great! And oddly familiar, just put a set in my 71
i got all my upholstery and foam from NPD and the quality is great.
Nice. Thanks for the info; however, I plan on updating my upholstery using the TMI bucket foam and leather. It's going to hold me in place a bit better than the original seats will and have the colored accents that I like. Your truck is looking good!
Its getting there thanks. Tmi is the supplier for NPD, theyre great quality, mine are just the factory look without bolsters. Don't t forget the upper rear foam for the back of the seat though, you have to order it separate from the rest, other than that the foam and upholstery went together beautifully. Does yours have factory brakets or reproductions?
Well, I haven't done a lot of work lately . I've been busy with travel for work and then I picked up this cute "little" girl up last Sunday. Here is Grace, a 4 MO old Great Dane.
I have been able to do some work. I heard back from my machinist that the block I brought him was cracked, so I tore into the engine that was in the truck to see how it was. looked great! So I have the lunati hyd roller cams here and the scat stroker kit on its way. checking bores...all look great. Pistons are .040 over. Engine apart...
I was also able to get most of the cab emptied. all that is left is the wiring harness and several switches. seats and fuel tank removed. Working on gauges and wiring harness.
So thats where I currently stand. hope to get wiring harness and cab empty this weekend. we'll see how that works. Puppies take up a lot of time.
Well, It's been a while since I posted last. I've been pretty busy with the "Little" pup who's now 6 months old and 71 lbs. Unfortunately we let our oldest go over the rainbow bridge and he's currently in a box on my desk. He was one of the best friends I ever had and was there for me for all of it. But other than that, I have been plugging away at getting things stripped on the truck.
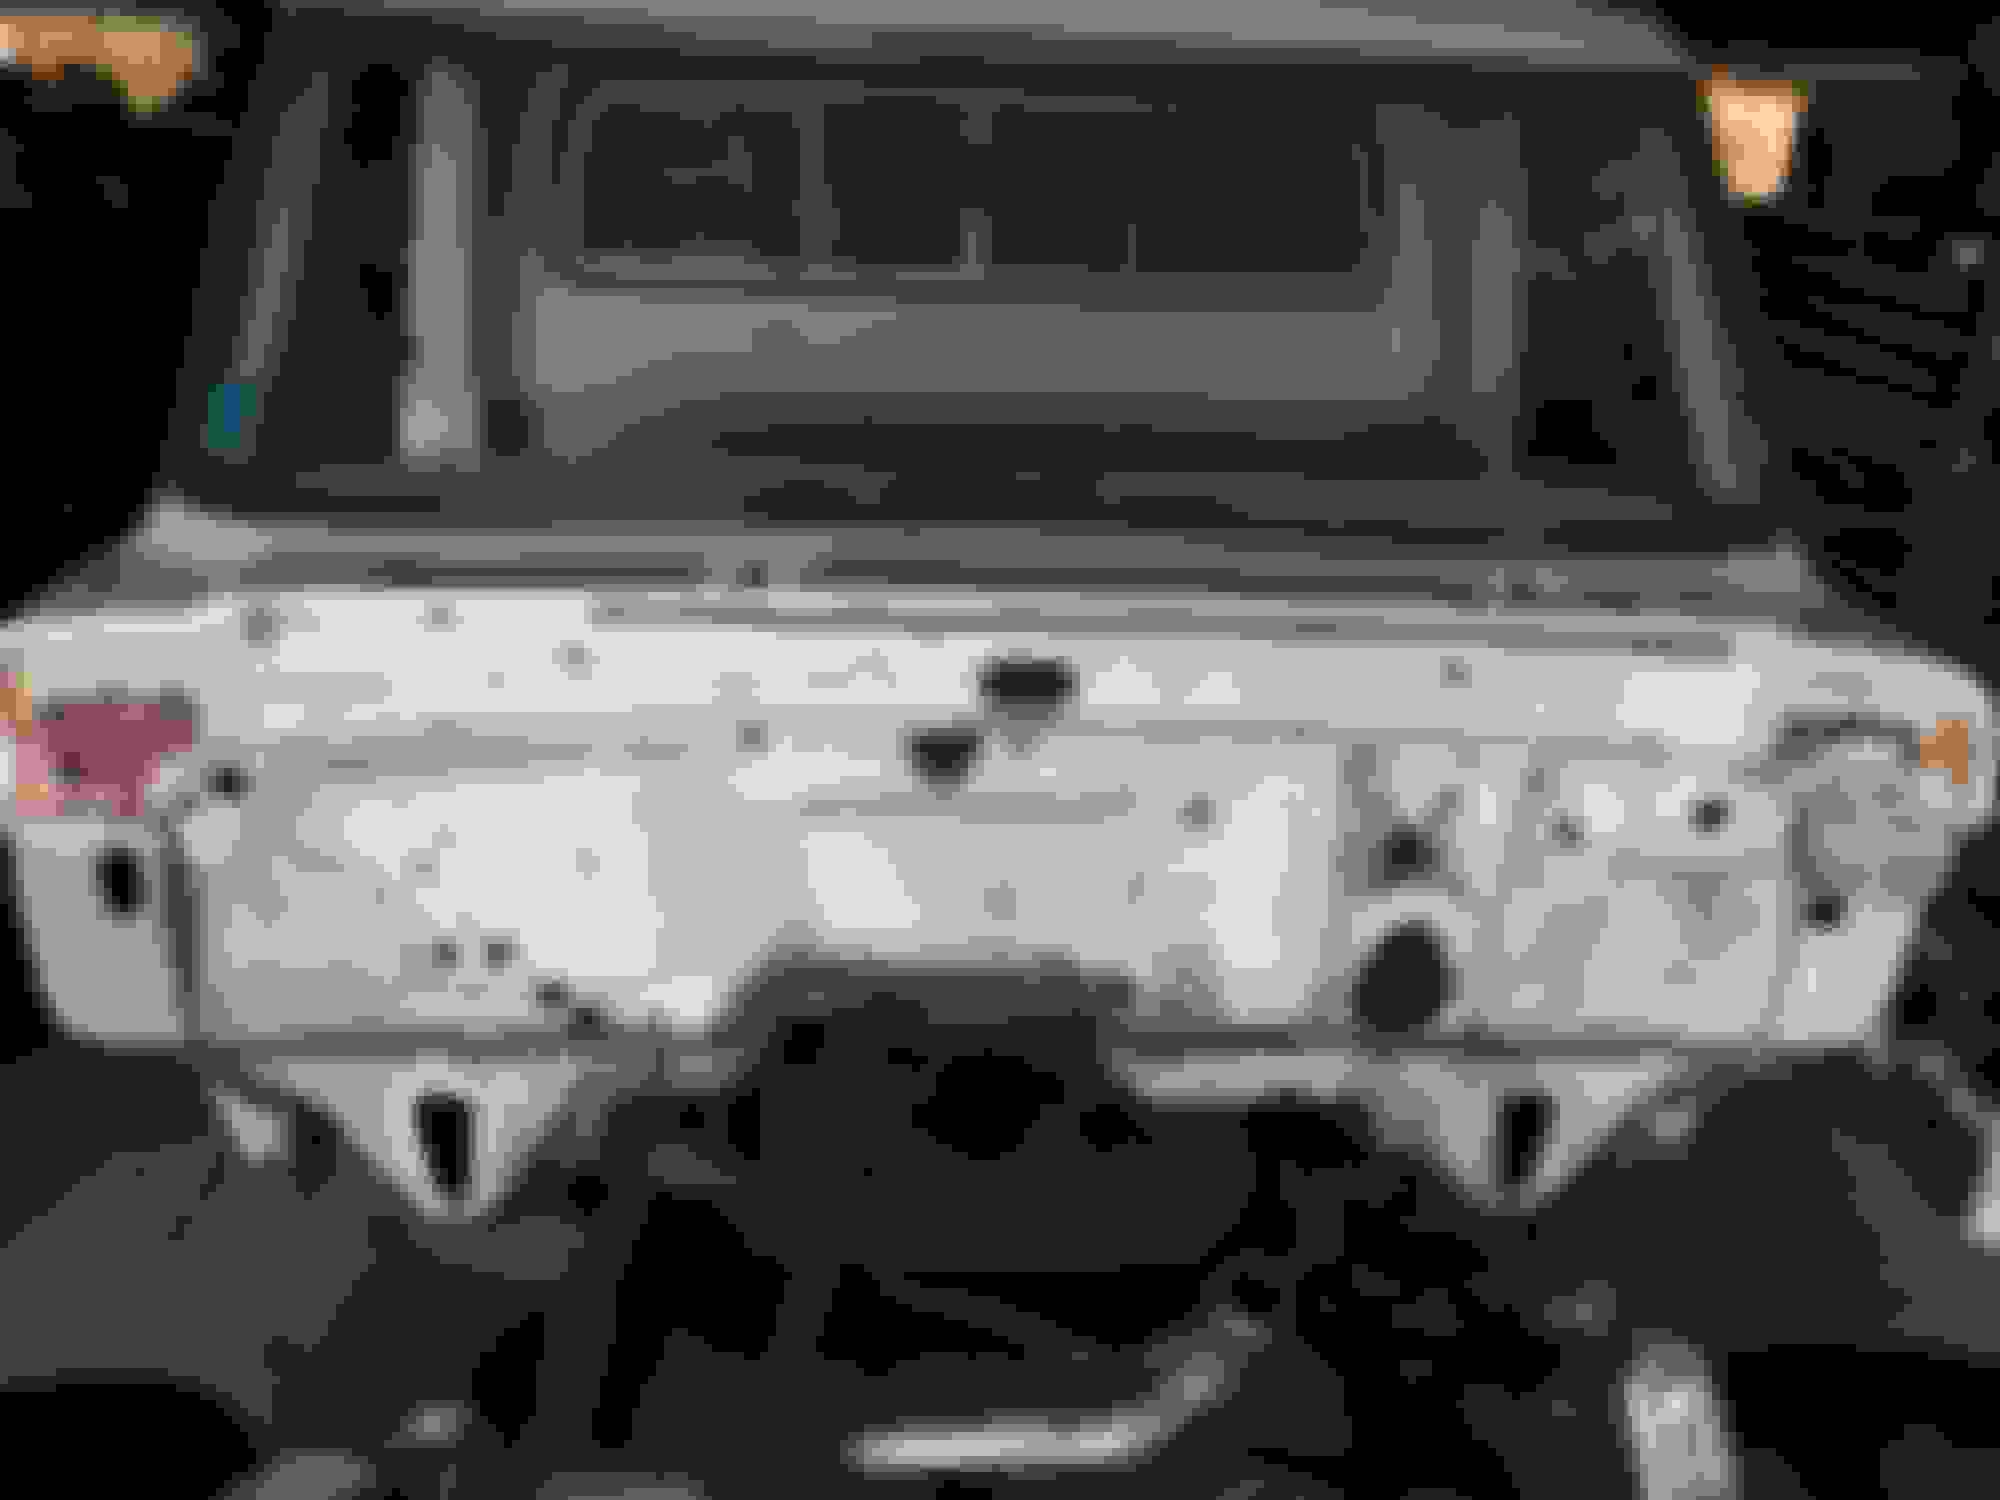
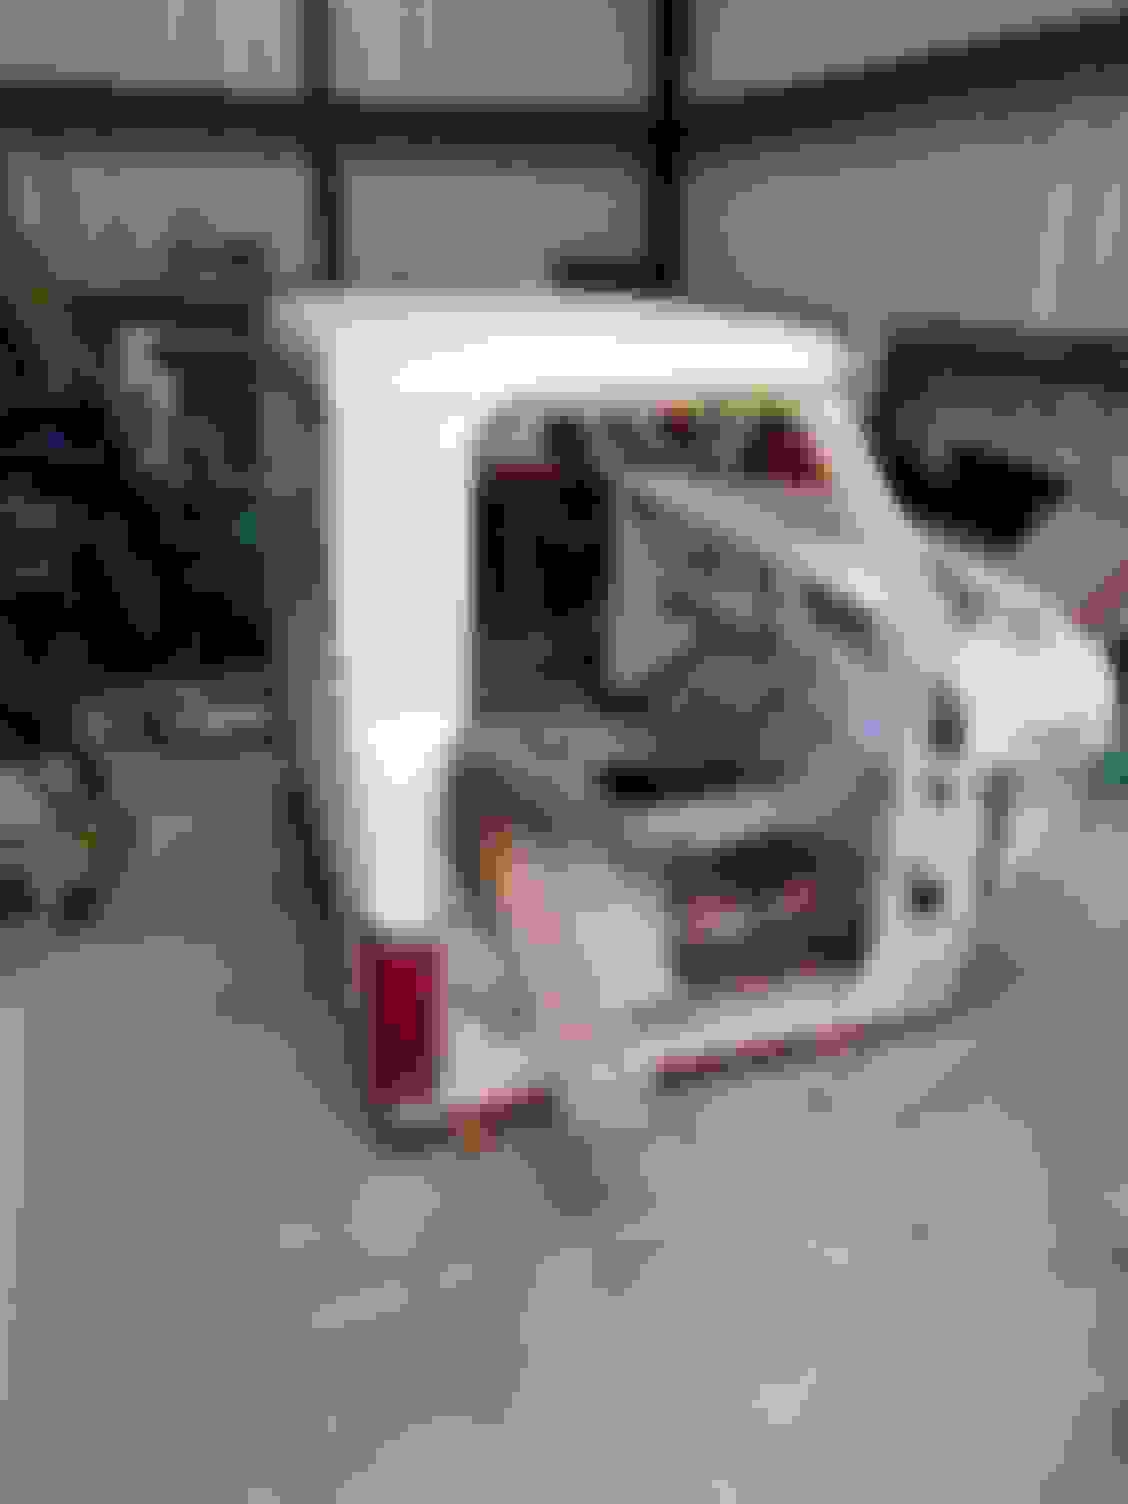
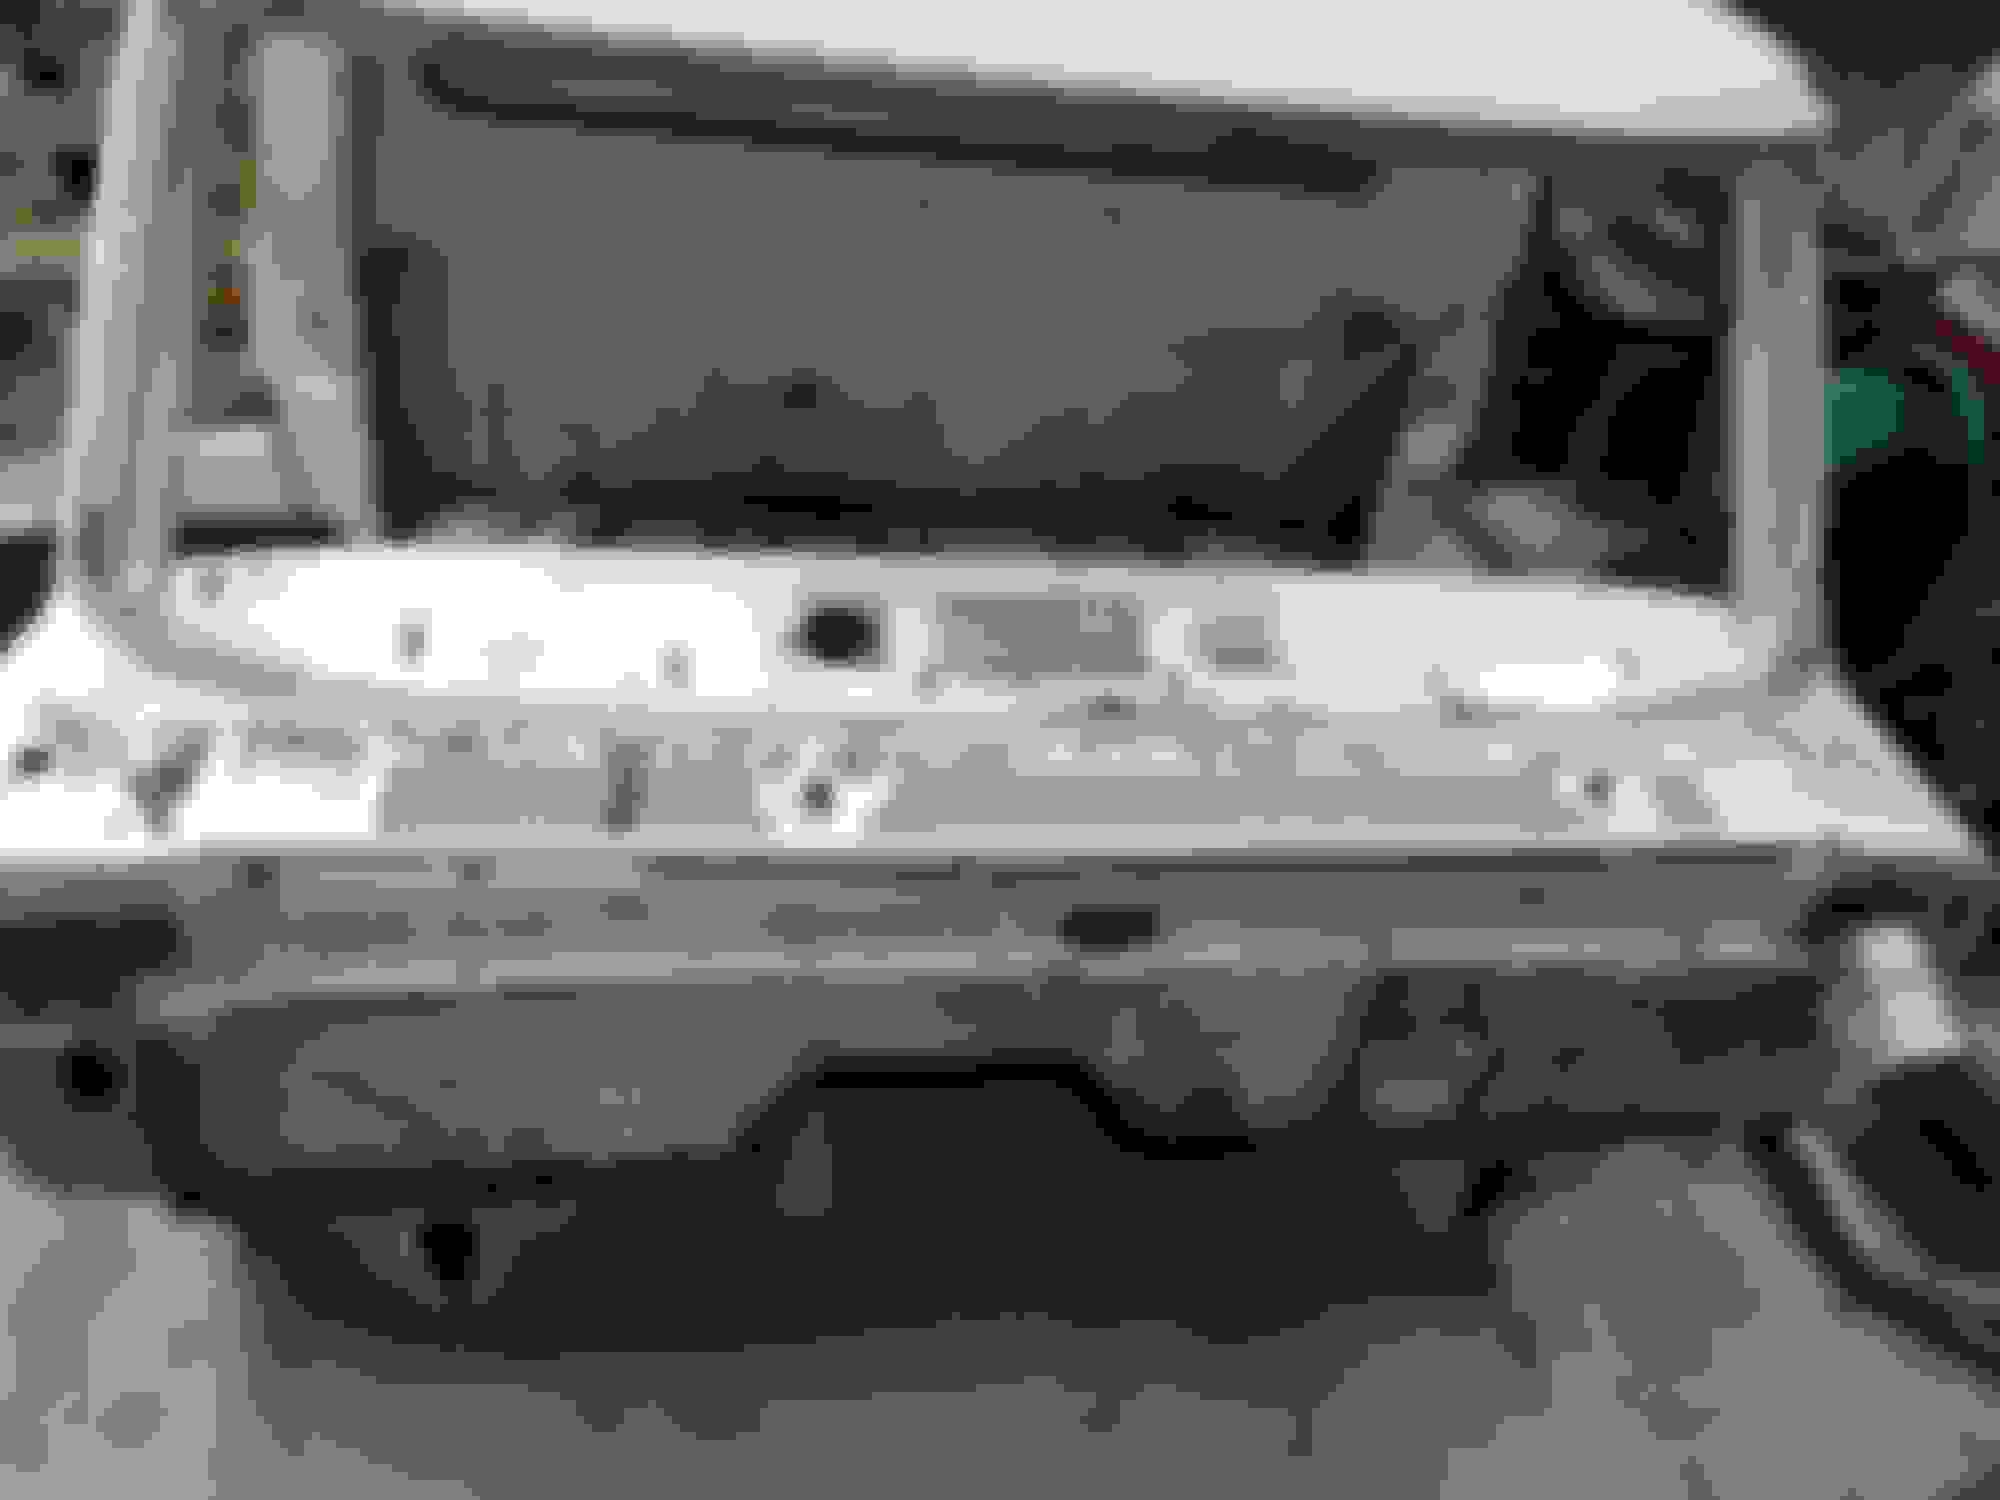
After getting the front off the truck I decided it best to remove the cab to get to the frame. I ended up using my engine hoist and two 2"x6"x8' boards bolted to either side of where you bolt the chain for lifting on. There's a picture of someone else on here doing it and that is where I got my idea from. It worked a treat. I forgot to get pictures of it, but below is how the truck sat after removing the cab. Cab getting ready to get removed. Cab resting in place for now with the 2x6's we used for lifting it. Cab as it sits now. Decided to remove the front glass to reduce some weight during cab removal. Picture of my storage garage (will be a shop after I get this truck done) and all the parts for the truck. After the cab was removed from the frame.
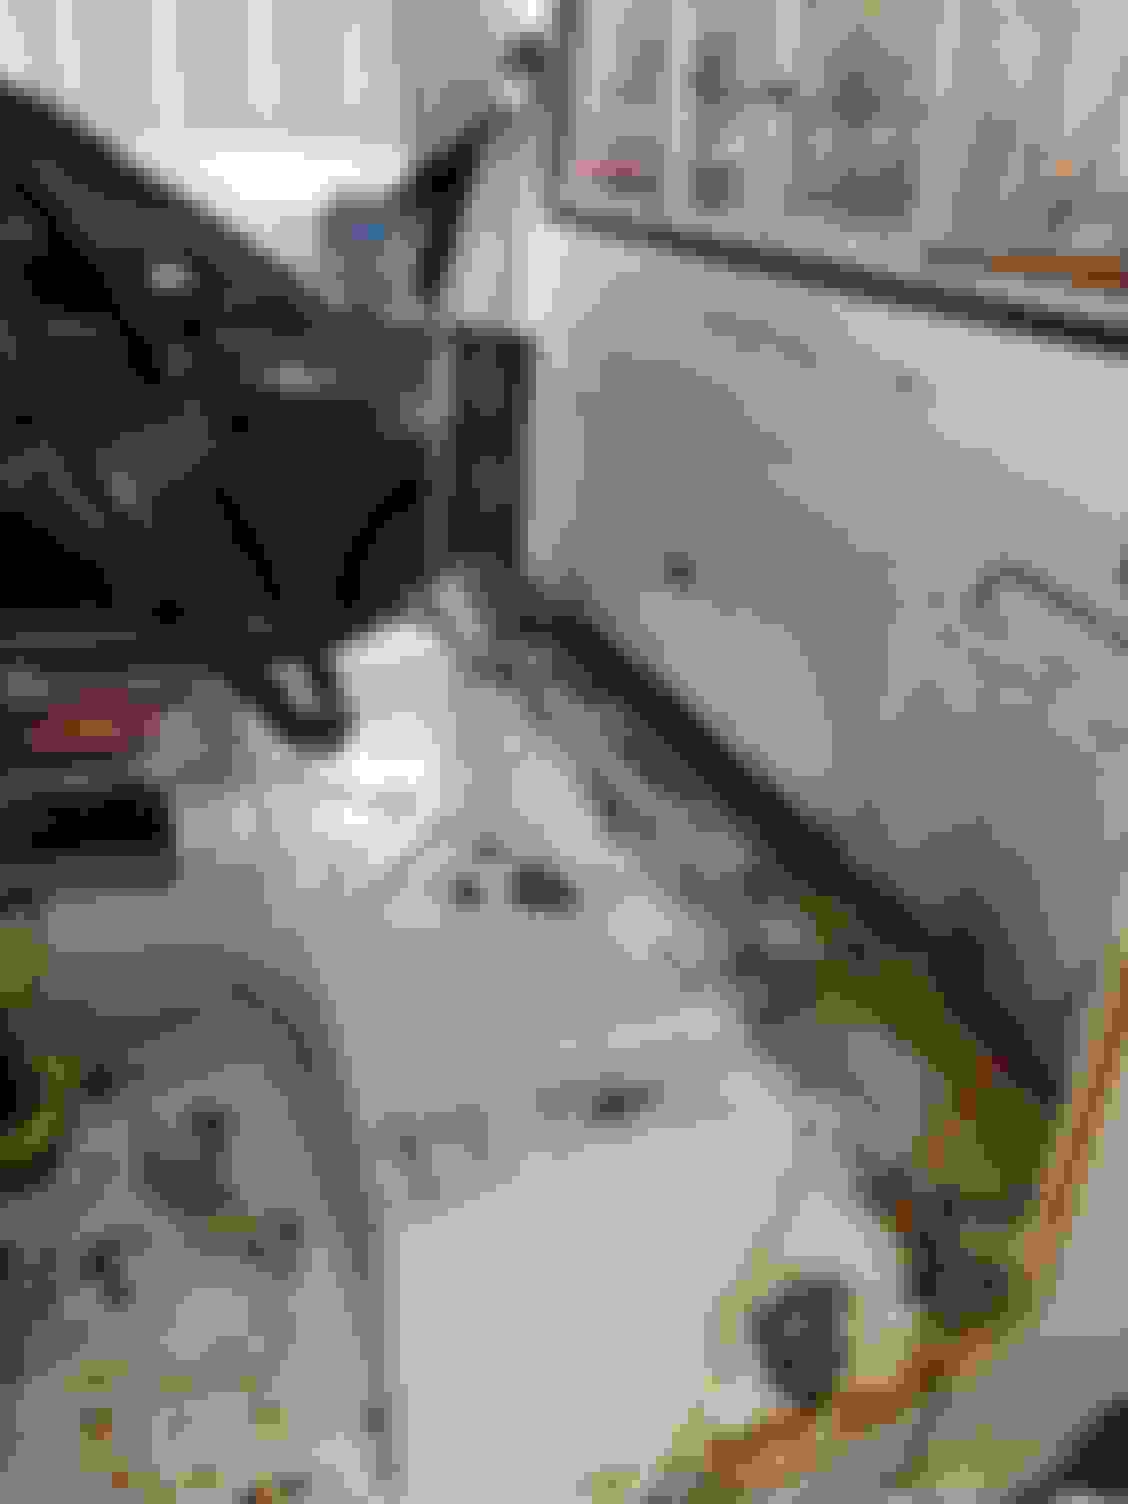
Once the cab was removed I started in on getting the frame cleaned. I have the cheap harbor freight power washer and it seemed to work okay, but didn't get a lot of the grease from the frame removed. I'll have to do a lot of that by hand.
back of frame after washing it. Frame after washing and pushing back into my garage for final disassembly.
After getting the frame cleaned up I started in on removing the suspension. The rear was pretty easy as it was pretty much just six bolts. It's off the frame, but now I need some extra hands to get it out from underneath the frame. That or I need to clean my garage so I can get my engine hoist moved over to lift the frame as I move the rear axle out from under neath. The front was a bit more complicated. But it's removed and sitting by the side of the frame.
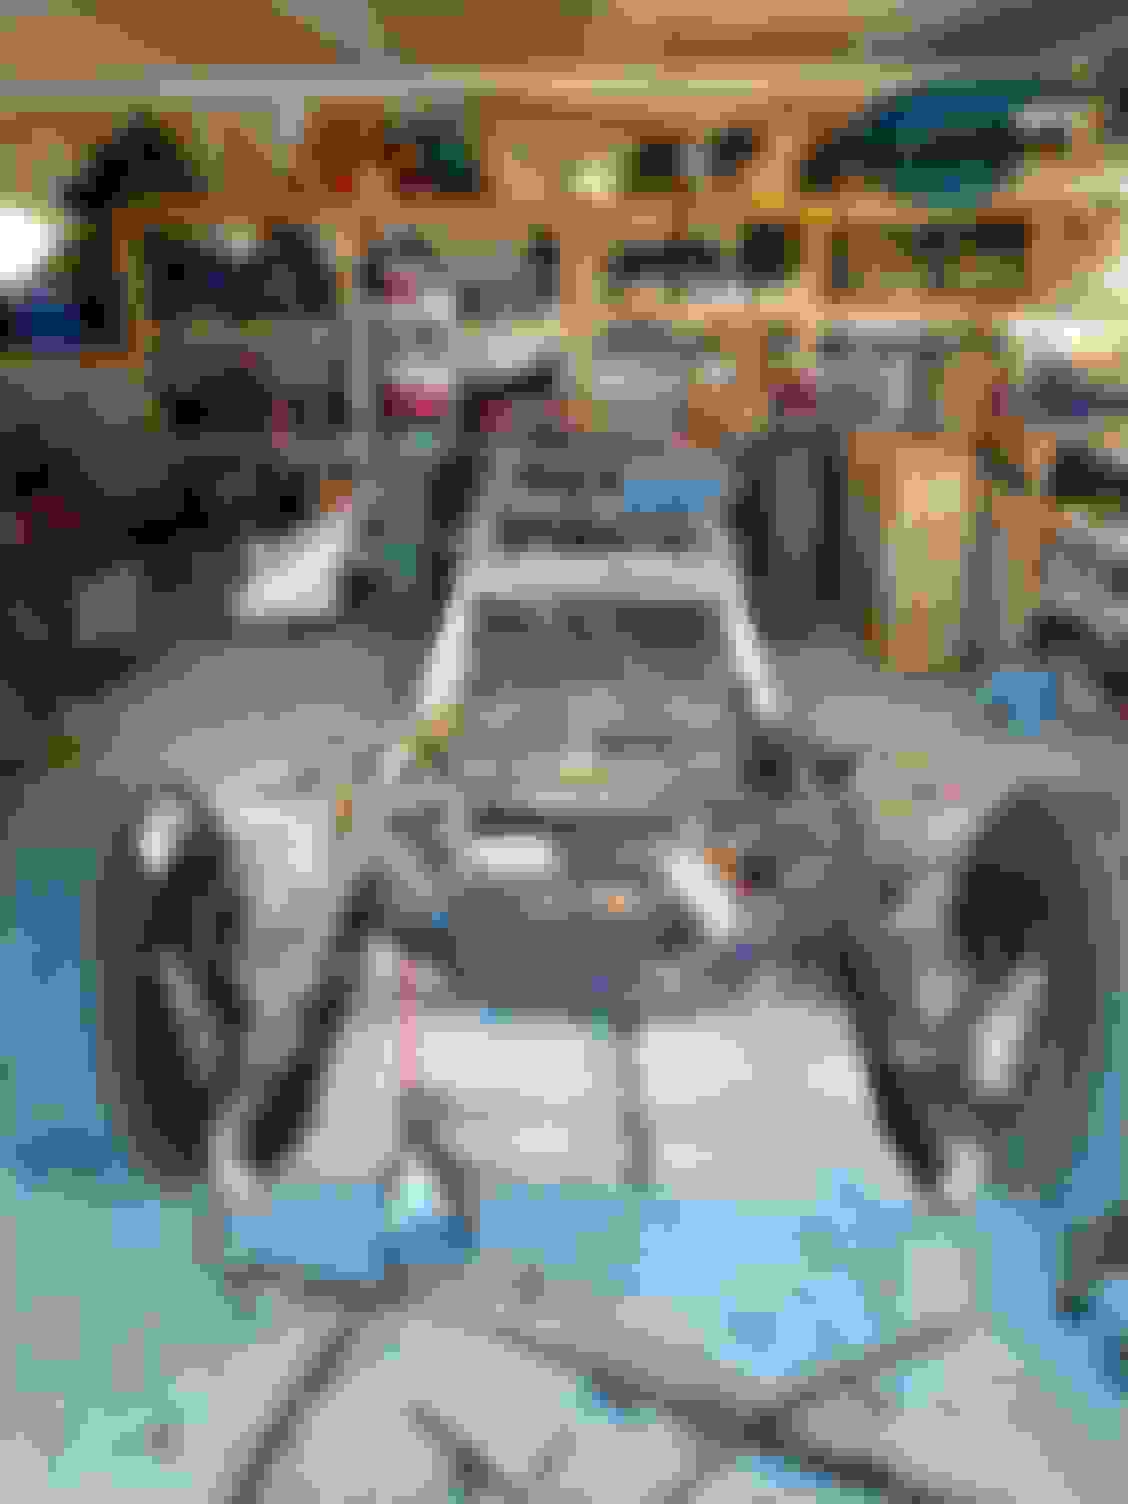
Front end sitting by the frame Frame as it sits today. Several cross members removed and suspension completely removed. Rear axle just needs to be moved from underneath.
So now it's time to weld a cross beam across the front and then cut the main engine cross member out and mount the front Crown Vic front end. I'll be boxing in the front part of the frame. I have purchased several parts from Outcast Autoworks such as the lower control arm mounts, the upper mounts and engine mounts so mounting should be a bit easier.
So I've been able to get out and work on the truck several days in a row now; albeit only for two hours as that's about all I can take in a garage that's 30-ish degrees outside. That and grinding off rivets is mind numbing to say the least. I was able to move the rear end out from under the frame. This took lifting the back of the frame with my engine hoist and using my 3-ton jack was able to roll it to the front of my garage ready to be moved over to my storage area (an RV garage that will later on be turned into a shop.
Rear axle before being moved. rear axle in the front part of my garage.
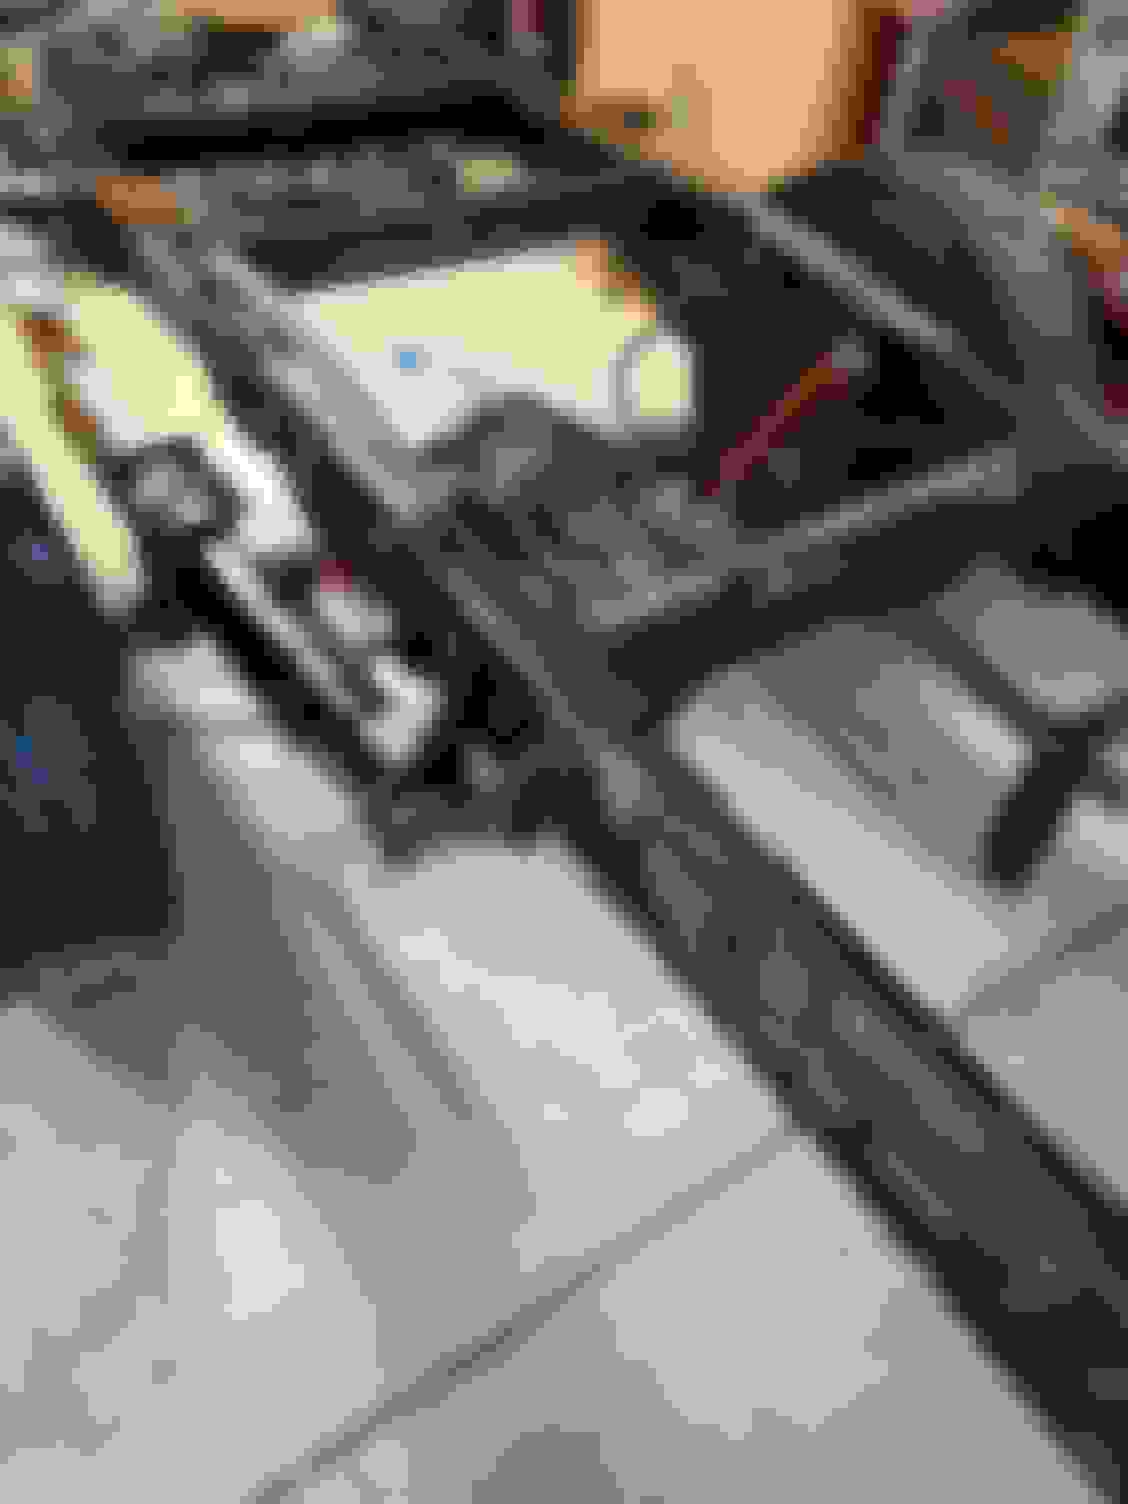
After moving the axle to the front of my garage I got to removing rivets from the spring hangers in the rear. This wasn't too bad as they were pretty well angled so I could get to them. Next was the 'FUN' part. I welded a cross beam across the front to keep the front from splaying wide open. Then I got to removing the front cross member. I was originally thinking of trying to remove it so someone could reuse it if they wanted to, but that quickly became an afterthought. I just cut the damn thing out and was left the front spring perches. What a pain in the a** these rivets were. After about 6 total hours of cutting on the rivets and mounts, I'm left with the inner frame portion of the cross member to remove.
front cross member cut out along with rear spring perches. After about two hours of grinding, cutting and swearing at the front passenger side spring perch it's removed. Now on to the driver side. Front cross member and spring perches removed. Driver side wasn't filled with as many swear words as the passenger side was. Starting to cut away of the inner frame cross member. Almost there... Driver side inner cross member still to go. I'll get there.
So this is where I"m at as of today. I hope to get the rest of the cross member from the inner frame cut out tomorrow and the next day if I can't get it done tomorrow and then it's time to start measuring and installing the through bolt pipes and getting measurements for boxing in of the frame. I grabbed some measurements from the other forum for these trucks and also BookFace. I just need to get a good 3/4" drill bit and 1" hole saw bits and I hope to be good to start drilling. Should be fun. Once the CV front end is bolted in for the first time I can start to clean the front part of the frame and then box it in with 3/16" plate with speed holes (using a dimple die of course). Then to work on installing the rear 2015 mustang IRS. Let's hope I can get that installed by the end of January. We'll see how life goes.

 09-20-2019, 01:15 PM