1952 Ford F-1 build
#1
1952 Ford F-1 build
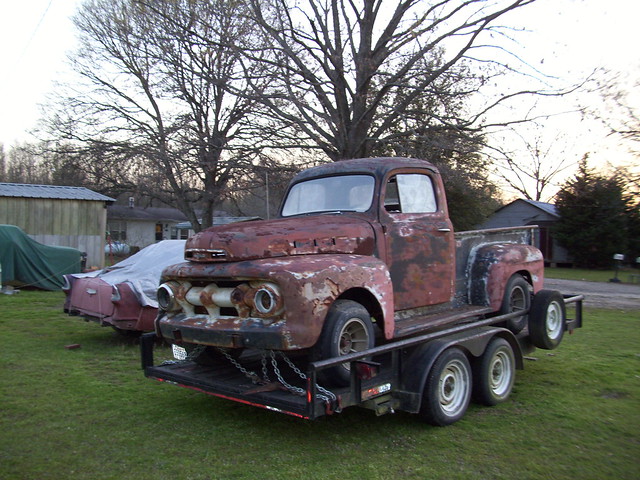
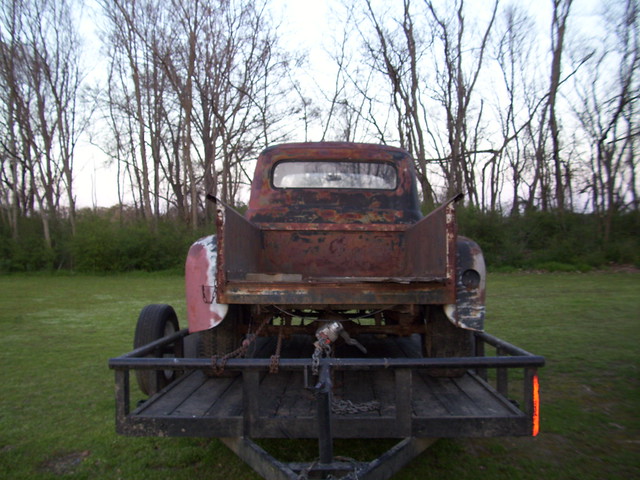
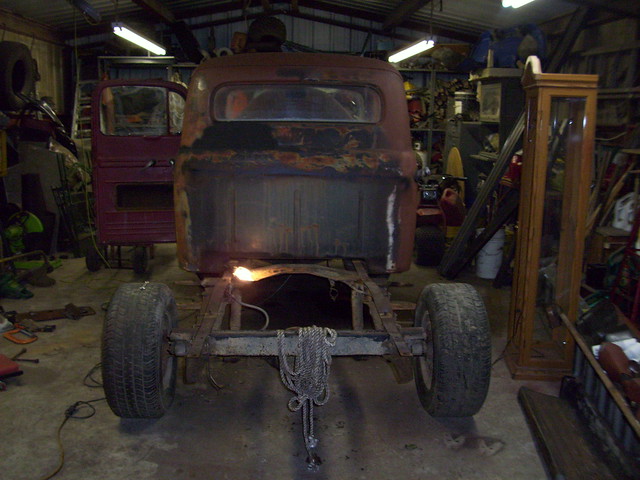
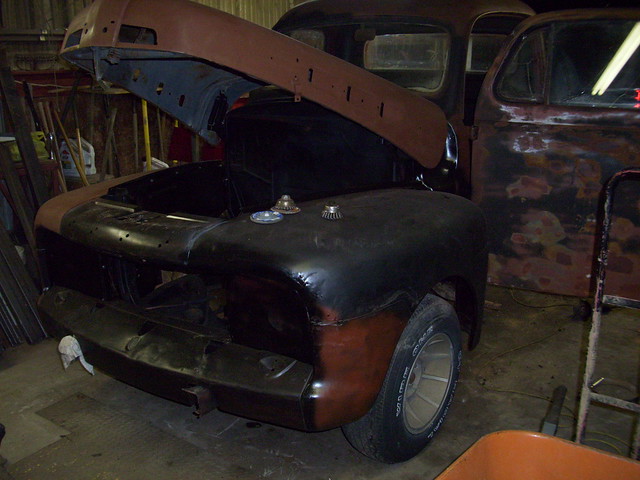
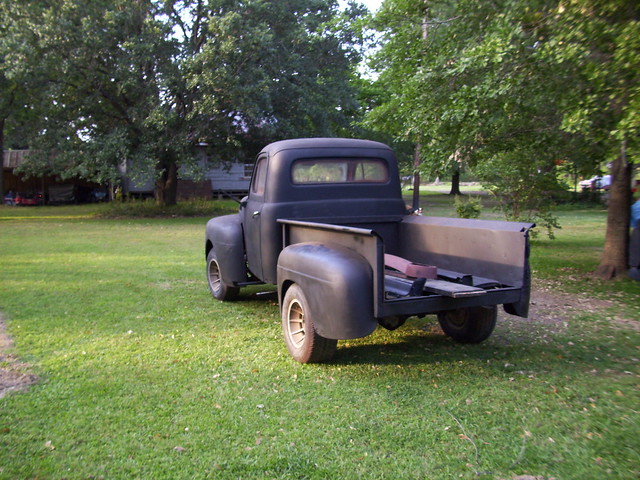
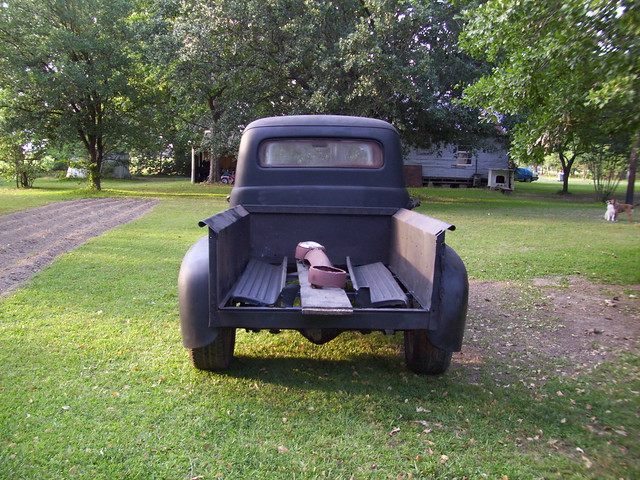
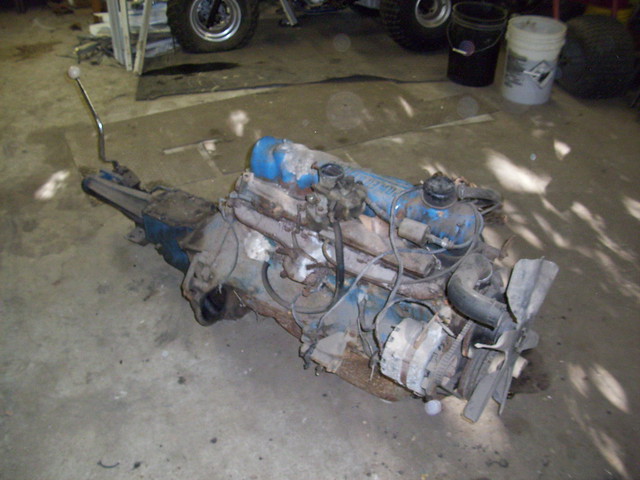
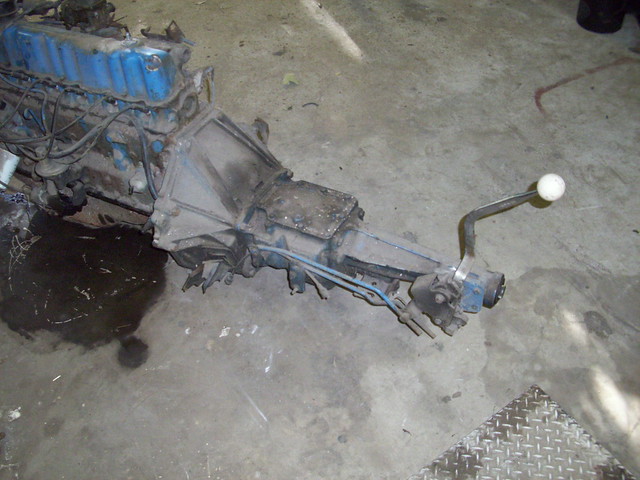
Here are some pictures of the 52 ford I have been working on the last few months since I got it home. It has come a long way but still has a ways to go. Basic plans have been just to get it back running, and get the body straight. I plan on dropping a 250 CID Ford I-6 backed by a RAN tag top loader three speed with a Hurst shifter. I plan on a few mods to the six to see what I can do with it.
I have been thinking about putting the 1974 Jaguar v12 XJ12L IRS and IFS i have on hand under it and putting a the 5.0 H.O/ BOSS 302 hybrid I have been working on in the shed in it.
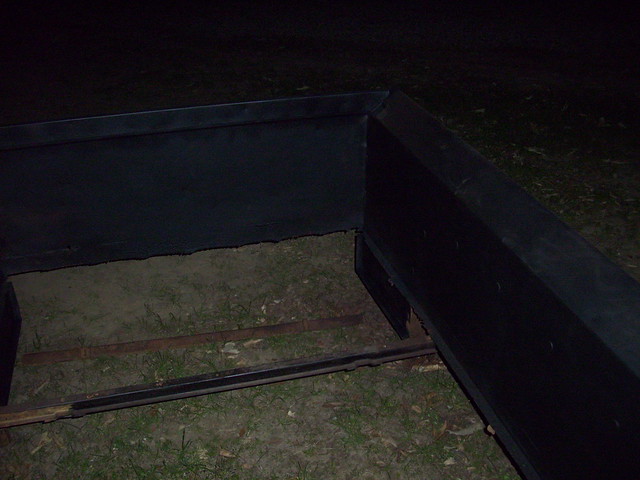
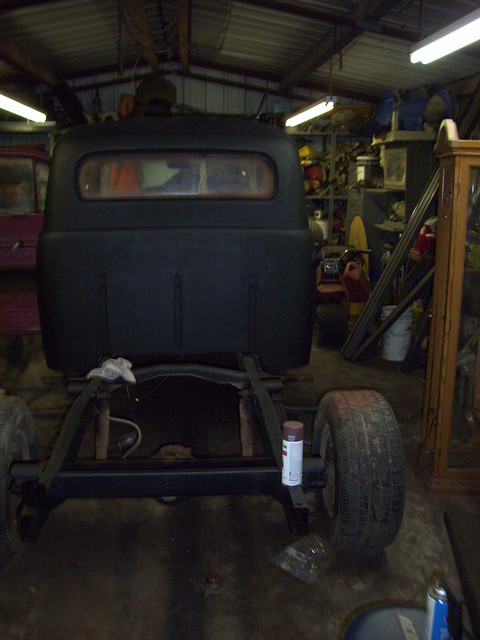
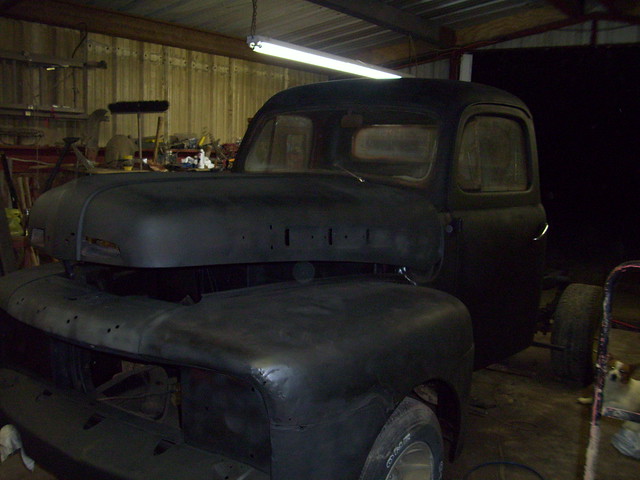
Here is from day one at home to where I have it now.








I have been thinking about putting the 1974 Jaguar v12 XJ12L IRS and IFS i have on hand under it and putting a the 5.0 H.O/ BOSS 302 hybrid I have been working on in the shed in it.
Here is from day one at home to where I have it now.


#4
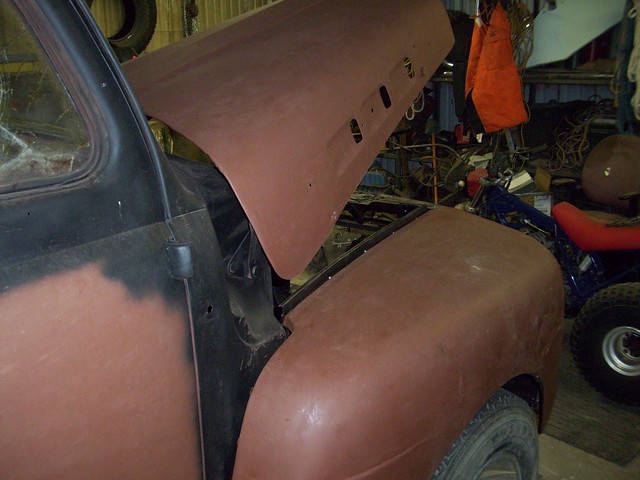
On the hood and main cab I used my wire welder and a piece of brass to fill in the rusted out pin holes. The ft and rear fenders are another story. They are still rough. I looks like the driver side got hit in the FT at one time. They just did a bondo job. I need to do a lot more work on them to get them right. The old bondo is cut out and I have hammered the metal as close as I can get. Just have to rebondo and sand it later. Probaly replace them later on down the road. The rear fenders are rusted out in the FT where the running board bolts too. The rear of the rear fender has a couple of holes that are bigger than quarter size. I will have to cut some metal out and weld it in to get them right.
#7
Trending Topics
#8
That is a sweet looking six, hope I can get mine to looking that good. I have been debating on mine whether or not to drill holes into the intake and have a cast iron flange cut from another junk yard engine welded on or just take the head to a machine shop and have the intake cut off and holes drilled where I can put my own homemade intake.
If you don't mind send me a PM on that tail gate. I think I have one located, but I don't have my hands on it yet. Last one that I was assured someone had was for a chevy, lol.
The next few days I will be ordering brakes. Looking at something like this.
Deluxe Disc Brake Kits: 1948-1956 Ford Half Ton - Speedway Motors, America's Oldest Speed Shop
Has anyone used this kit? I also want MANUAL disks. All the mastercyl adapters I find seem to be for power assisted only.
#9
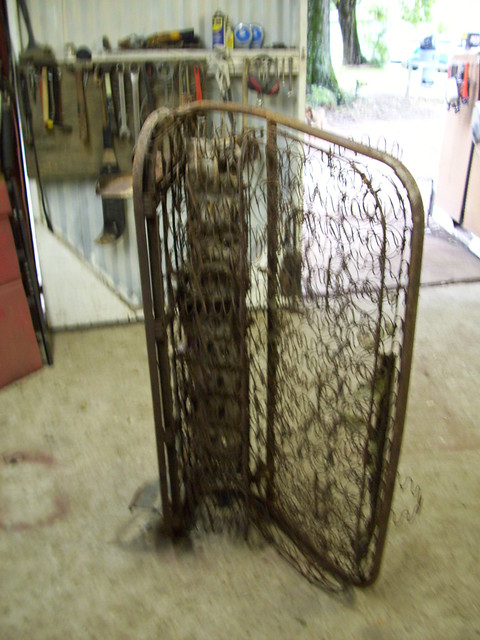
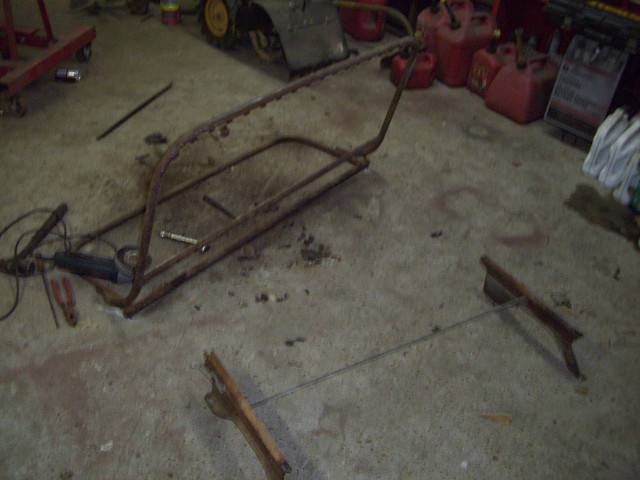
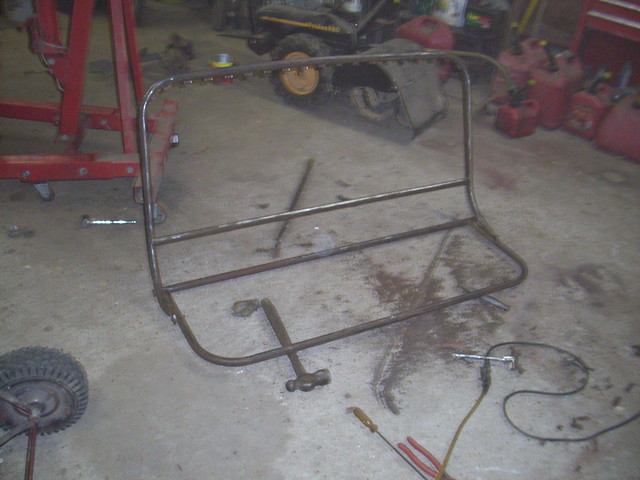
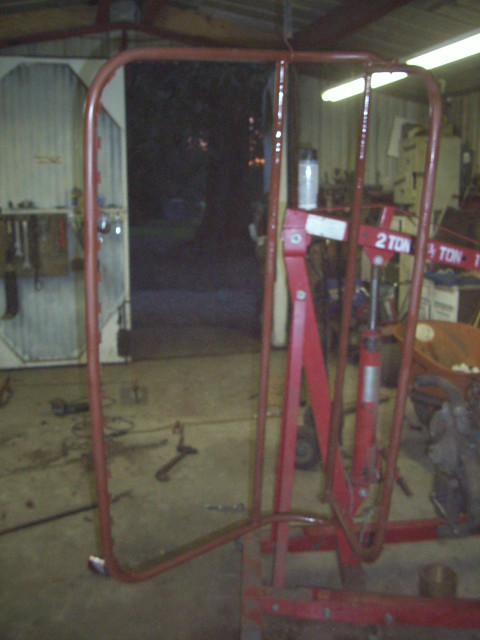
Got a little bit of work done on it today. Last time I was home I picked up a bench seat out of a 1950 F-5 in a local junkyard. The springs were just about gone, but all I wanted was the seat frame. I used a chisel to get the top springs off. Then undid the 4 bolts on the slides to get the bottom springs off. I plan on cutting and putting some 1" x 1" square tube across the bottom. Then trim and fit 1/2 inch plywood to go on top of that. Later on I will put high density foam on the seat and have it covered. I will not have any braces in the dead center of the seat frame for now. I may have to cut out the FT center so the 3 speed shifter will work. Still have some test fitting to do. I also may have to make some spacers between the slides and seat to bring the seat up a tad.
The oil pan is off the 250. The engine was out of a 1969 mustang I had got for parts for my 69 Mach 1. The other car was wrecked in the FT and the oil pan was dented up where you couldn't turn the engine over. I did some hammering on the bottom to get it straight and now going to take it to a local shop to have the small pin hole braised up. The engine still turns freely and will get a good clean up when I get the oil pan back from the shop. A test fit in the 52 will be taking place some time after then.

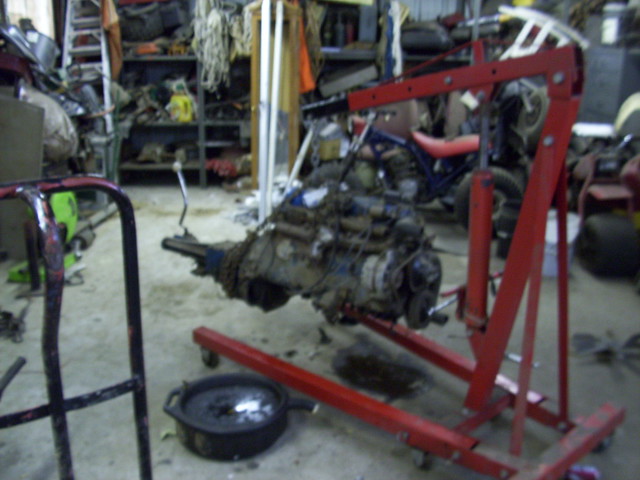
The oil pan is off the 250. The engine was out of a 1969 mustang I had got for parts for my 69 Mach 1. The other car was wrecked in the FT and the oil pan was dented up where you couldn't turn the engine over. I did some hammering on the bottom to get it straight and now going to take it to a local shop to have the small pin hole braised up. The engine still turns freely and will get a good clean up when I get the oil pan back from the shop. A test fit in the 52 will be taking place some time after then.


#10
#11
Check out Engineered Components for your brakes. I think everyone is basically selling their stuff anyway:
Engineered Components, Inc. - Your One Stop Brake Shop!
Engineered Components, Inc. - Your One Stop Brake Shop!
#12
I forgot to mention the seat....if you want to attempt upholstery yourself, try Raybuck. The foam is getting expensive....but you don't need that much anyway. It more or less depends on what a local upholstery guy quotes you on the seat....you've already done the dirty work. The quotes here were $500 to $600 just to re-do the seat. I used the Raybuck cover for $200 & it came out looking pretty good.
Auto Body Replacement Panels - Rust Repair Body Parts - Chevy Ford Dodge

to this

To this:

Auto Body Replacement Panels - Rust Repair Body Parts - Chevy Ford Dodge
to this
To this:
#14
I usually cheat on the foam and go used. My local junk yards have a lot of newer vans, trucks and car back seats to choose from. The back seats of mid to late 80's Thunderbird I know for a fact is solid foam. I am sure I will find something I like then just reshape it some before it gets recovered.
#15
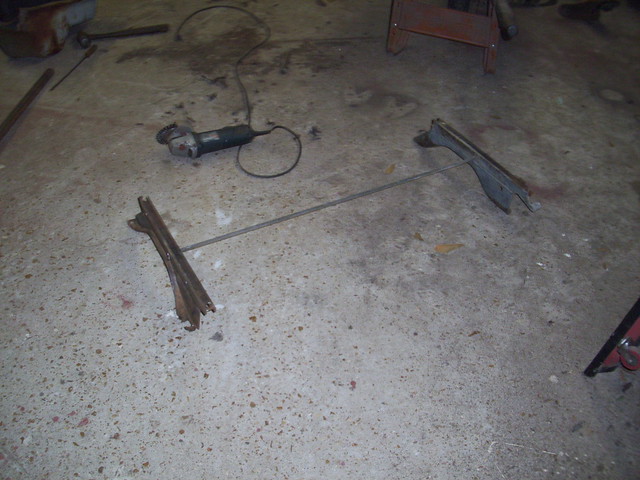
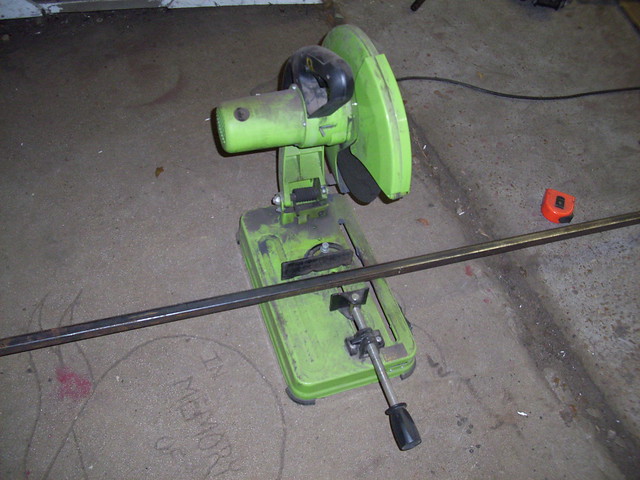
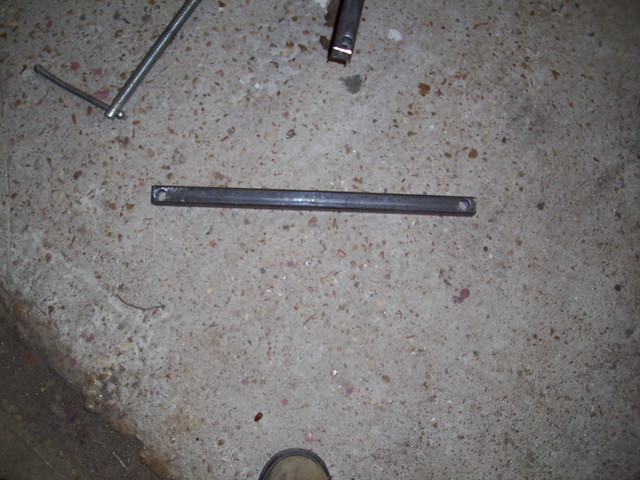
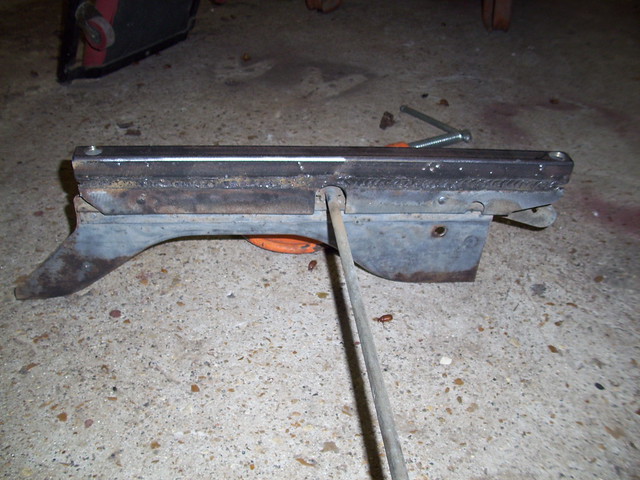
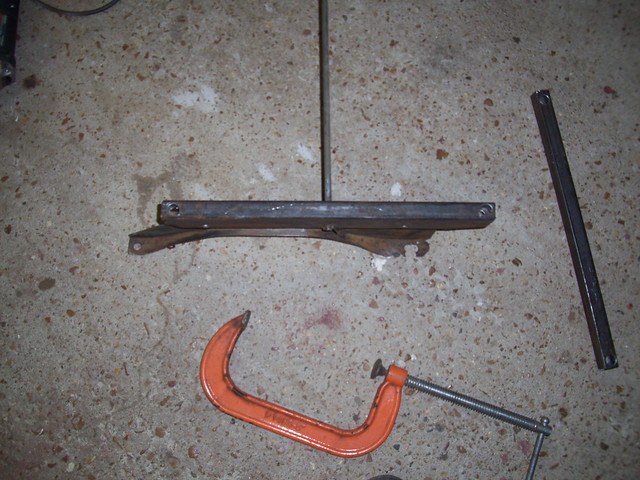
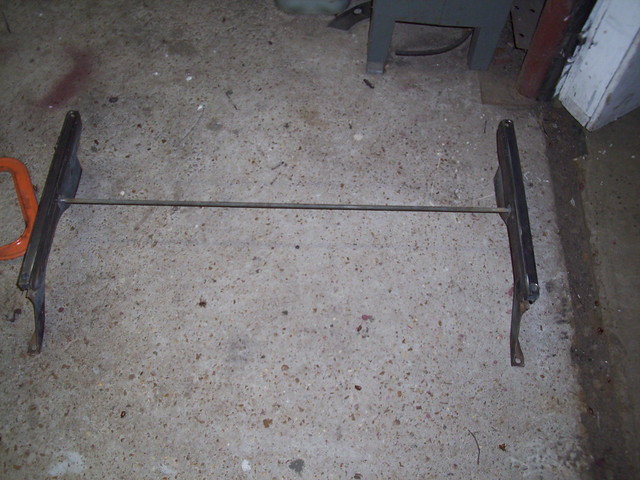
Got started back on the seat slides today. The slides where the seat bolted to the seat was torn out. I measured how long they were and then cut me two pieces 17.5" long. I then found my centers on the bolt holes for the seat. After drilling them out I C-clamped them to the slides and welded them into place. The 1" x 1" square tubing will raise the seat frame just 1" from stock, but I am using foam and can trim it back if it is too high. also the bolt holes shouldn't tear out anymore because the metal of the tubing is a lot thicker than the stock seat slides metal. Tomorrow when the black paint has dried it will be time to doing some test fitting.
Also tomorrow I will be putting the oil pan on the 250 and doing some test fitting in the chassis.
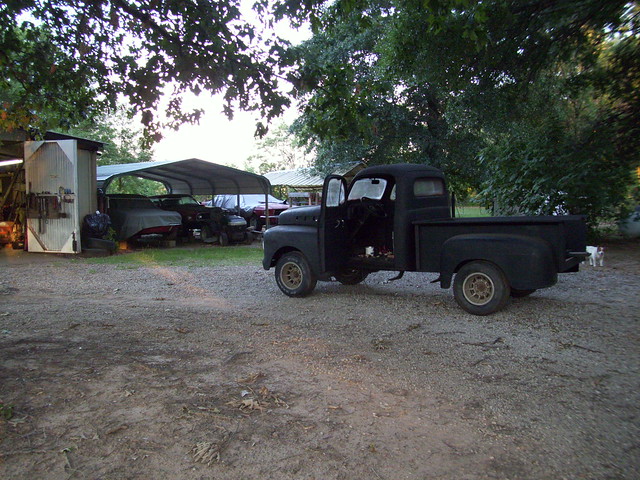
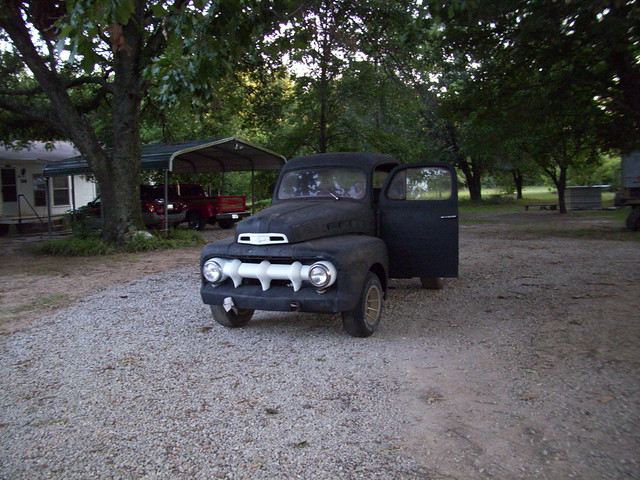
Got a shot of it with the grill in also.

Also tomorrow I will be putting the oil pan on the 250 and doing some test fitting in the chassis.
Got a shot of it with the grill in also.


